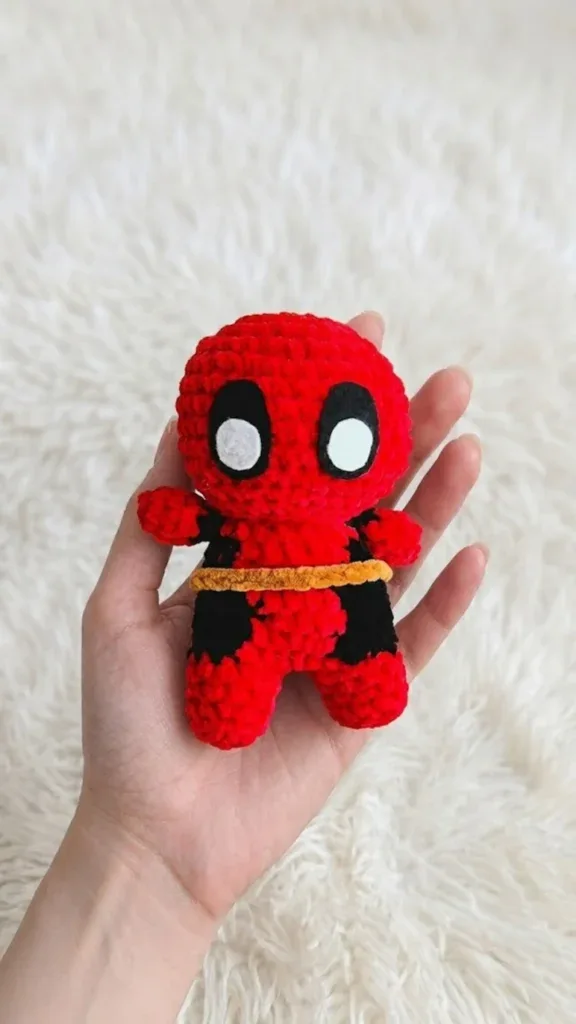
About This Pattern
This little guy is a red-and-black plush with a felt face. He fits in a few evenings, not just one. The head alone takes eight rounds of careful shaping. He needs chenille yarn, sharp scissors for the felt, and a steady hand with fabric glue. Good for a quiet weekend project, piece by piece at the kitchen table.
In the basket
Abbreviations
- R
- round
- st
- stitch
- mr
- magic ring
- ch
- chain
- sc
- single crochet
- dc
- double crochet
- sl st
- slip stitch
- inc
- increase
- dec
- decrease
- BLO
- back Loop only
- FO
- fasten off
- cc
- change color
Amigurumi antihero plush crochet pattern with felt eyes
Head
- Round 18sc in a mr (8)
- Round 28inc (16)
- Round 3(sc, inc)x8 (24)
- Round 4(3sc, inc)X6 (30)
- Round 5(2sc, inc, 2sc)x6 (36)
- Rounds 6–1036sc (36) – 5 rounds(36)
- Round 11(4sc, dec)x6 (30)
- Round 12(3sc, dec)x6 (24)
- Round 13(4sc, dec)x4 (20)Cut yarn, FO with an invisibile join.Add fiber fill (stuff a lot).
Body pt.1
Start with red yarn
- Round 15sc in a mr (5)
- Round 25inc (10)
- Round 3BLO 10sc (10)
- Rounds 4–510sc (10) – 2 roundsCut yarn and FO with an invisibile join. Make another leg but this time don’t cut yarn and ch2.(10)
- Round 6Insert the hook in any of the first leg sts and make 4sc, cc to black 3sc, cc to red 3sc, 2sc in the 2ch, 3sc, cc to black 3sc, cc to red 4sc, 2sc in the 2ch (24)
Arms (x2)
Start using red yarn
- Round 14sc in a mr (4)
- Round 24inc (8)
- Rounds 3–48sc (8) – 2 rounds(8)
- Round 5cc to black 8sc (8)
- Round 6fold the arm and close it making 4sc (4) – don’t stuff the armCut yarn leaving a long tail.(4)
Body pt.2
- Round 73sc, cc to black inc, 3sc, inc, cc to red 6sc, cc to black inc, 3sc, inc, cc to red 5sc (28)
- Rounds 8–113sc, cc to black 7sc, cc to red 6sc, cc to black 7sc, cc to red 5sc (28) 4 roundsStart stuffing as you go, when you stuff the feet remember to keep them flat.(28)
- Round 123sc, cc to black dec, 3sc, dec, cc to red 6sc, cc to black dec, 3sc, dec, co to red 5sc (24)
You can now cut black yarn.
- Round 13(4sc, dec)x4 (20)Finish stuffing.Cut yarn Leaving a long tail for sewing.
Belt
Use brown yarn Slip knot, ch 25 or desired length.
Cut yarn leaving a long tail for Sewing.
More pictures
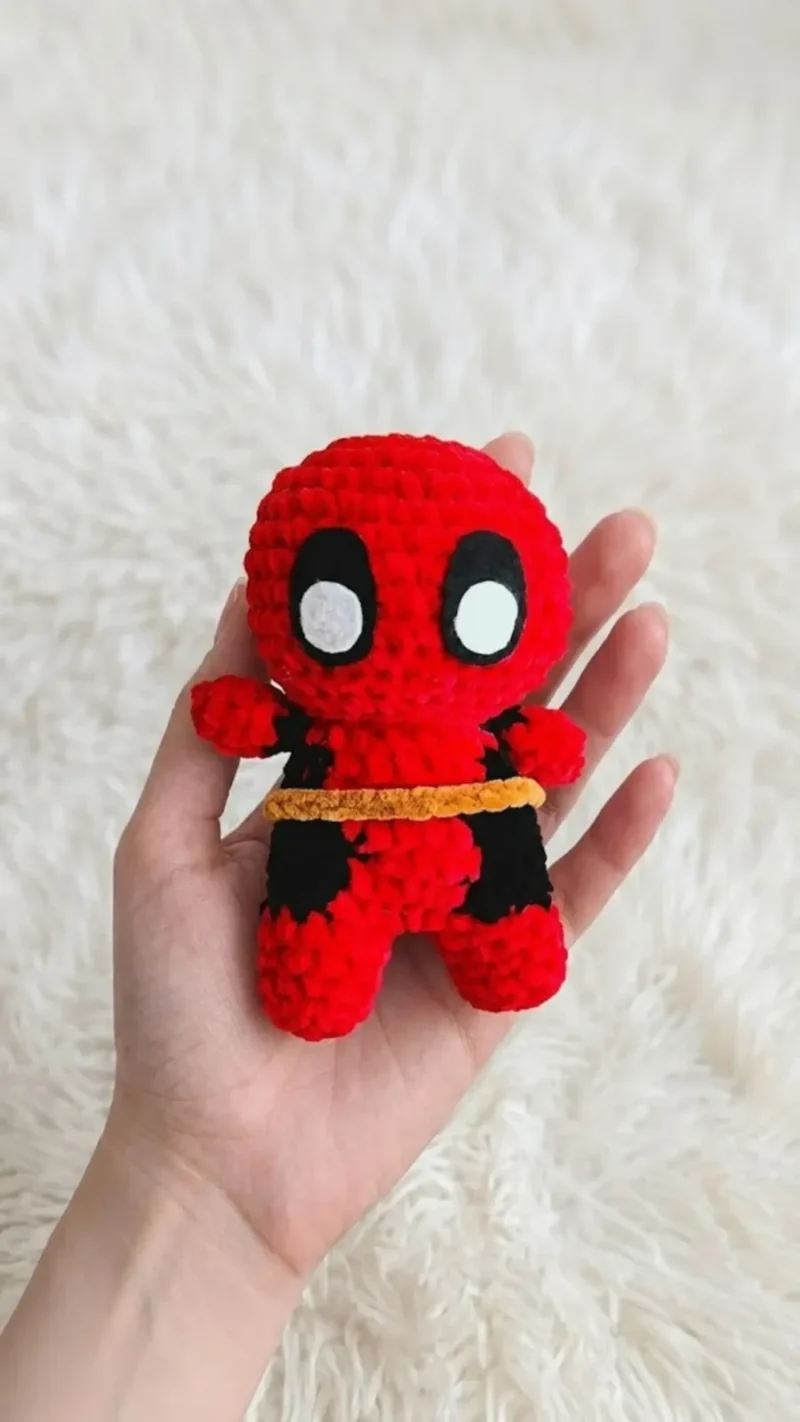
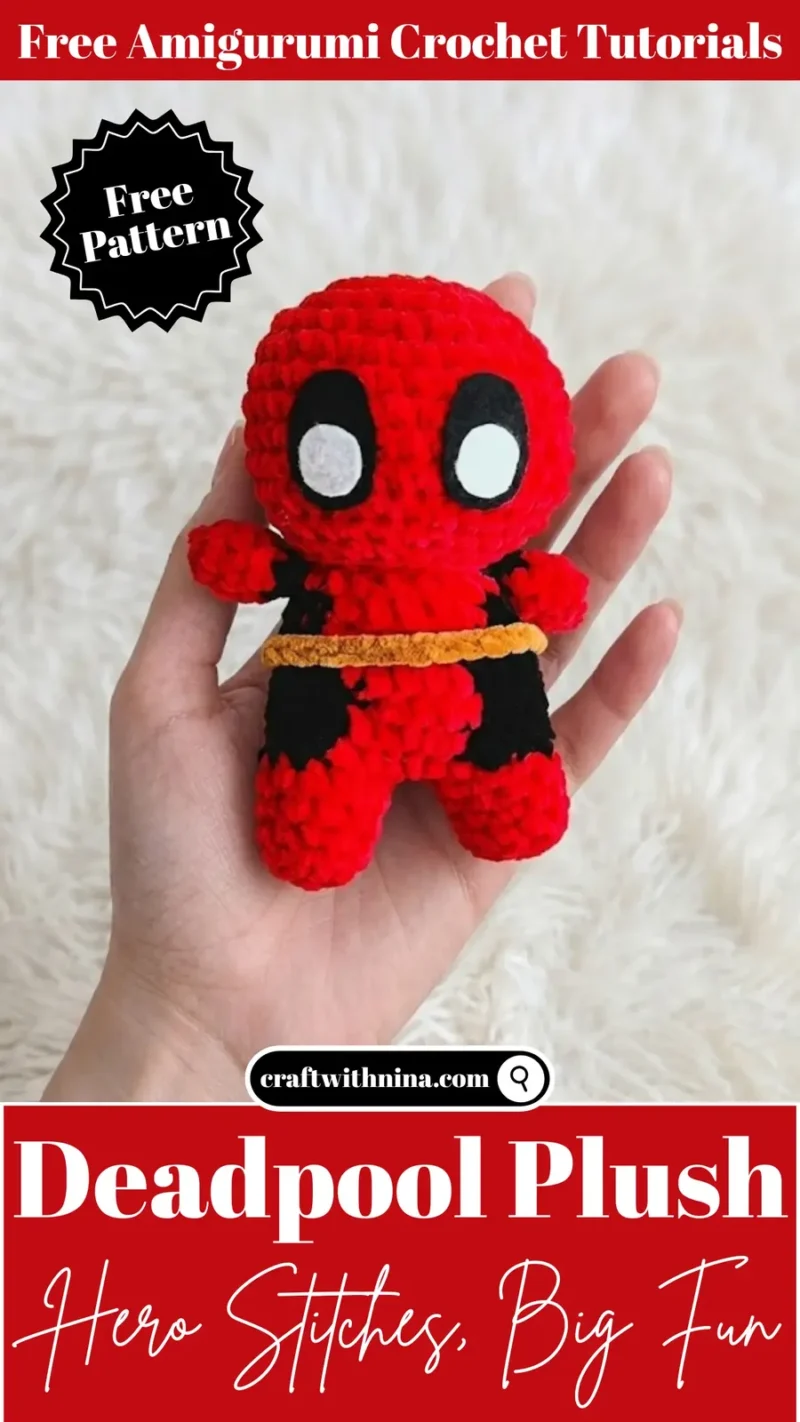
Before the first stitch
- Check you have both red and black chenille wound and ready.
- Place a stitch marker before round one of the head.
- Read through the Body pt.1 leg instructions twice before starting.
Minutes per piece
- Head about 45 minutes, because eight rounds need careful shaping
- Body, arms, and belt about 1.5 hours, because of the two-leg start and color changes
Other yarns that work
- Acrylic, worsted weight Lighter drape, easier stuffing, same 5mm hook works well
- Cotton blend, worsted weight Firmer stitches, smaller finished size, may need a 5.5mm hook
Where it ends up
- An addition to your own handmade amigurumi collection.
- A gift for a comic book fan.
- A soft toy to add a smile to someone's day.
Joining up
- Step 1 Sew the head to the body, add fiber fill while sewing if needed
- Step 2 Sew the arms to the body at R12-13
- Step 3 Sew the belt to the body at R9
- Step 4 Cut black and white felt and attach the eyes between R6-10, 3 visibile sts apart
- Step 5 Note that the size may vary according to the yarn you are using
Small notes
- Let the fabric glue dry completely before anyone plays with the finished plush.
- Mark your first stitch every round. Continuous rounds hide your place fast.
- Pull new color through the last loop of the old stitch for a clean red-to-black line.
Little questions
Can I use regular worsted yarn instead of chenille?
Yes, regular worsted works fine. The plush will look slightly less fuzzy, but the stitch counts stay the same.
Why does Body pt.1 ask me to make two legs?
Each leg starts separately with its own magic ring. The second leg joins with a chain two to continue into the body without cutting yarn.
How do I keep the feet from looking lumpy?
Press the fiber fill flat with your fingers as you stuff. Do this before closing each leg, not after.
What if my felt eye edges look rough?
Use sharp fabric scissors, not craft scissors. Cut slowly along a drawn line for a clean curve.
Original pattern: https://craftwithnina.com/free-amigurumi-pattern-crochet-deadpool-plush/

About the Author
Tamsin Okoro Who writes the patterns at Yarn Gallery, how a pattern gets from the hook to the page, and what this site will never do.


