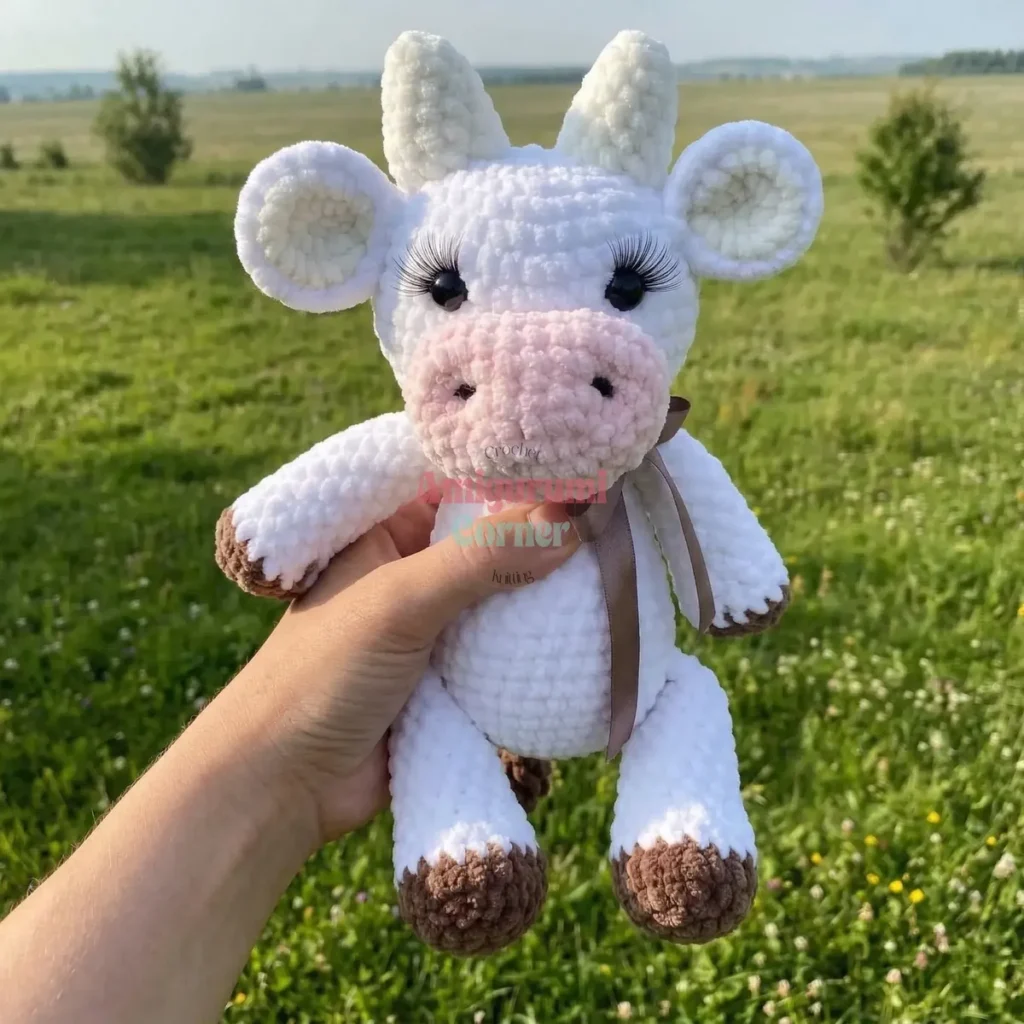
About This Pattern
This little bull comes together in soft chenille, worked in continuous rounds. He has a round head, a shaped muzzle, two small horns, and sturdy arms and legs. Nothing about him rushes. He fits into a quiet evening, one part at a time, with stuffing as you go. He needs a 4mm hook, two colors of yarn, two safety eyes, and fiberfill. Keep a stitch marker close. He rewards patience more than speed.
In the basket
Yarn
Stuffing
Safety Eyes
Toning Chalks
Sewing Needle
Stitch Markers
Abbreviations
- ch
- Chain
- sl st
- Slip Stitch
- sc
- Single Crochet
- inc
- Increase (2 single crochet in the same stitch)
- dec
- Decrease (invisible decrease recommended for amigurumi)
- mr
- Magic Ring
- Rnd
- Round
- Row
- Row
- (X)
- Stitch count at the end of the round/row
Little chenille bull crochet pattern for beginners
Head
Begin with main color yarn.
Step by step: Begin with secondary color yarn. This piece is worked in continuous spirals.
Step by step: Each ear consists of two layers: one light-colored and one main-colored; Light-colored Ear Piece (Make 2); Begin with secondary color yarn.
Step by step: Begin with main color yarn. Stuff as you go.
- Round 16 sc in mr (6)
- Round 26 inc (12)
- Round 3(1 sc, inc)*6 (18)Step by step: Cut yarn, fasten off, and weave in ends; Main-colored Ear Piece (Make 2); Begin with main color yarn.Do not cut yarn. Place one light-colored piece and one main-colored piece together, matching the edges. With the main color yarn, sc around the entire edge through both layers to join them, creating a neat border. At the end, fold the finished ear in half and make 2 sc through both folded layers to secure the fold. Fasten off, leaving a long tail for sewing.Step by step: Fasten off, leaving a long tail for sewing.
- Round 4(2 sc, inc)*6 (24)
- Round 5(3 sc, inc)*6 (30)
- Round 62 sc, inc, (4 sc, inc)*5, 2 sc (36)Step by step: 36 sc In the next round, we will attach the legs.6 sc, 6 sc through stitches of the body and the leg, 12 sc, 6 sc through stitches of the body and the second leg, 6 sc (36)Step by step: 36 sc (4 rounds); (4 sc, dec)*6 (30); 30 sc (2 rounds).
- Round 736 sc
- Round 8(5 sc, inc)*6 (42)
- Rounds 9–1342 sc (5 rounds) Insert safety eyes between Rnds 9 and 10, with 6 sc between them. Secure the backs firmly.
- Round 14(5 sc, dec)*6 (36)
- Round 152 sc, dec, (4 sc, dec)*5, 2 sc (30)
- Round 16(3 sc, dec)*6 (24)Step by step: 24 sc (2 rounds).
- Round 17(2 sc, dec)*6 (18)
18 sc In the next round, we will attach the arms. You may need to work a few extra sc to bring your working yarn to the back center of the body. Use stitch markers to identify 6 middle stitches on each side of the body where the arms will be attached. There should be 3 sc remaining between the arm attachment points on the front and 3 sc on the back.
6 sc through stitches of the body and the first arm, 3 sc across the front of the body, 6 sc through stitches of the body and the second arm, 3 sc across the back of the body (18)
- Round 18(1 sc, dec)*6 (12)12 sc Fasten off, leaving a very long tail for sewing the head to the body. Stuff the body firmly.
- Round 196 dec (6)Stuff the head moderately, ensuring the stuffing is evenly distributed, especially in the areas of increases and decreases. Cut yarn, cinch the opening closed, fasten off, and hide the tail inside the head.
Muzzle
Begin with secondary color yarn. This piece is worked in rows around a starting chain to create an oval shape.
- Round 1Ch 6. Starting in the 2nd ch from hook: sc in next 4 ch, 3 sc in the last ch. Working along the other side of the chain: sc in next 3 ch, 2 sc in the first ch of the chain. (12)
- Round 2inc, 3 sc, (inc) 3, 3 sc, (inc) 2 (18)
- Round 31 sc, inc, 3 sc, (1 sc, inc) 3, 3 sc, (1 sc, inc) 2 (24)
- Round 42 sc, inc, 3 sc, (2 sc, inc) 3, 3 sc, (2 sc, inc) 2 (30)
- Round 53 sc, inc, 3 sc, (3 sc, inc) 3, 3 sc, (3 sc, inc) 2 (36)
- Round 636 sc
- Round 73 sc, dec, 3 sc, (3 sc, dec) 3, 3 sc, (3 sc, dec) 2 (30)Fasten off, leaving a long tail for sewing. Do not stuff yet.
Horns (Make 2)
Begin with secondary color yarn.
- Round 16 sc in mr (6)
- Round 2(1 sc, inc)*3 (9)
- Round 39 sc
- Round 4(2 sc, inc)*3 (12)
- Rounds 5–712 sc (3 rounds) Cut yarn, fasten off, leaving a long tail for sewing. Stuff the horns firmly.
Tail
Begin with main color yarn.
- Round 13 sc in mr (3)
- Rounds 2–153 sc (14 rounds) Cinch the opening closed. For the tail tip, cut several strands of yarn (about 4-6 inches long), fold them in half, and attach them to the end of the tail using a hook, creating a small tassel. Trim to desired length.
Arms (Make 2)
Begin with hoof color yarn. Stuff as you go.
- Round 16 sc in mr (6)
- Round 26 inc (12)
- Round 3(3 sc, inc)*3 (15)Change to main color yarn.
- Rounds 4–615 sc (3 rounds)
- Round 73 dec, 9 sc (12)
- Rounds 8–1612 sc (9 rounds) Work 5 additional sc to bring the yarn to the side. Fold the opening flat and sc 6 through both layers to close. Fasten off, leaving a long tail for sewing. Using a piece of yarn and a needle, make an indentation between Rnd 2 and Rnd 6 to define the hoof shape.
Legs (Make 2)
Begin with hoof color yarn. Stuff as you go.
- Round 1Ch 5 (5)
- Round 2Starting in the 2nd ch from hook: sc in next 3 ch, 3 sc in the last ch. Working along the other side of the chain: sc in next 2 ch, 2 sc in the first ch of the chain. (10)
- Round 3(inc) 3, 2 sc, (inc) 3, 2 sc (16)
- Round 4(1 sc, inc) 3, 2 sc, (1 sc, inc) 3, 2 sc (22)
- Round 522 sc Change to main color yarn.
- Rounds 6–722 sc (2 rounds)
- Round 81 sc, 4 dec, 13 sc (18)
- Round 93 dec, 12 sc (15)
- Rounds 10–1915 sc (10 rounds)
- Round 20(3 sc, dec)*3 (12)Work 4 additional sc to bring the yarn to the side. Fold the opening flat and sc 6 through both layers to close. Fasten off, leaving a long tail for sewing. Using a piece of yarn and a needle, make an indentation between Rnd 2 and Rnd 6 to define the hoof shape.
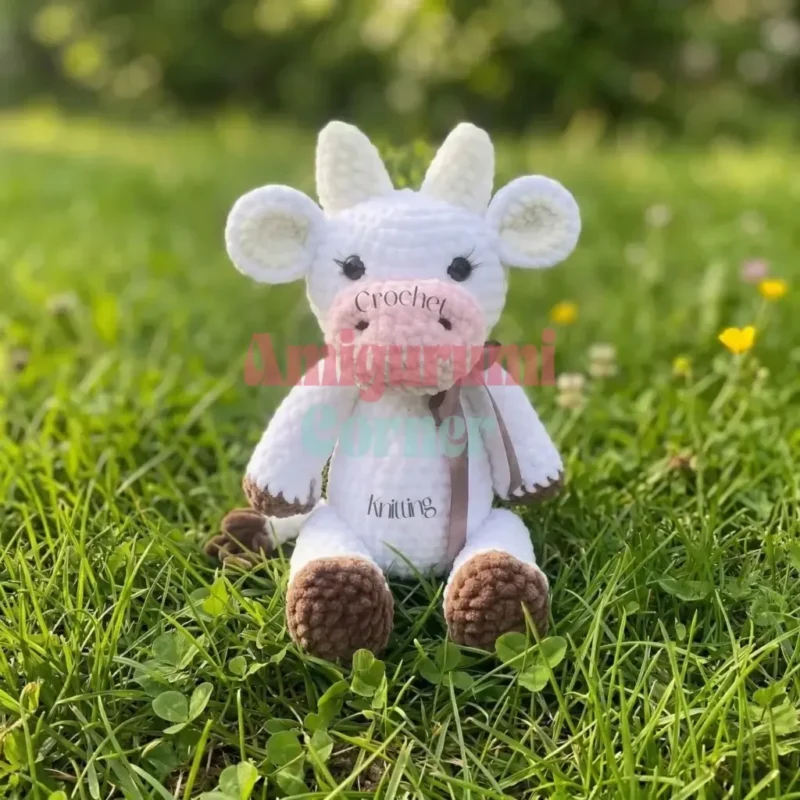
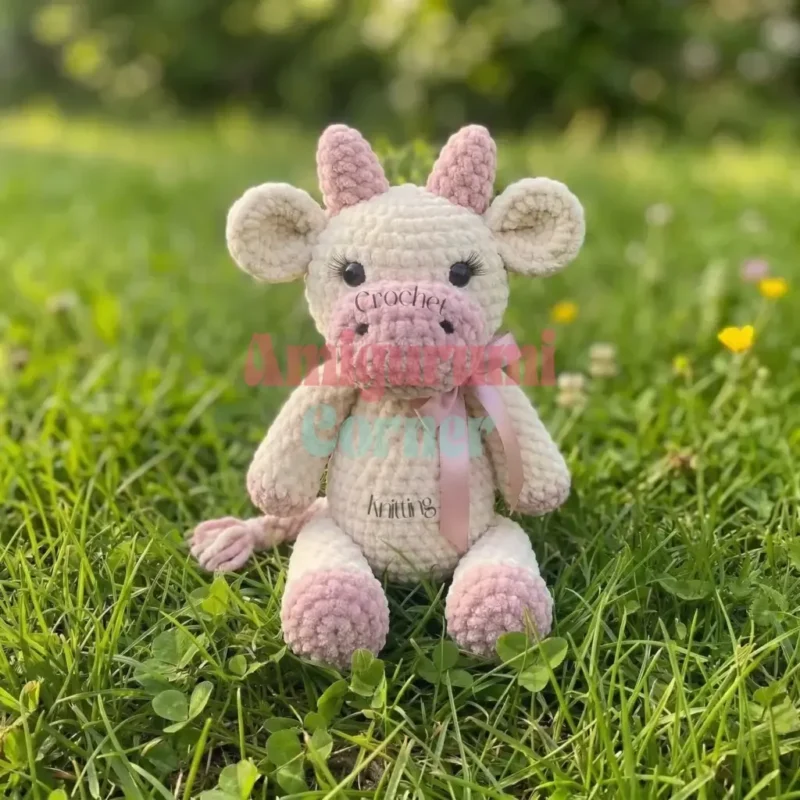
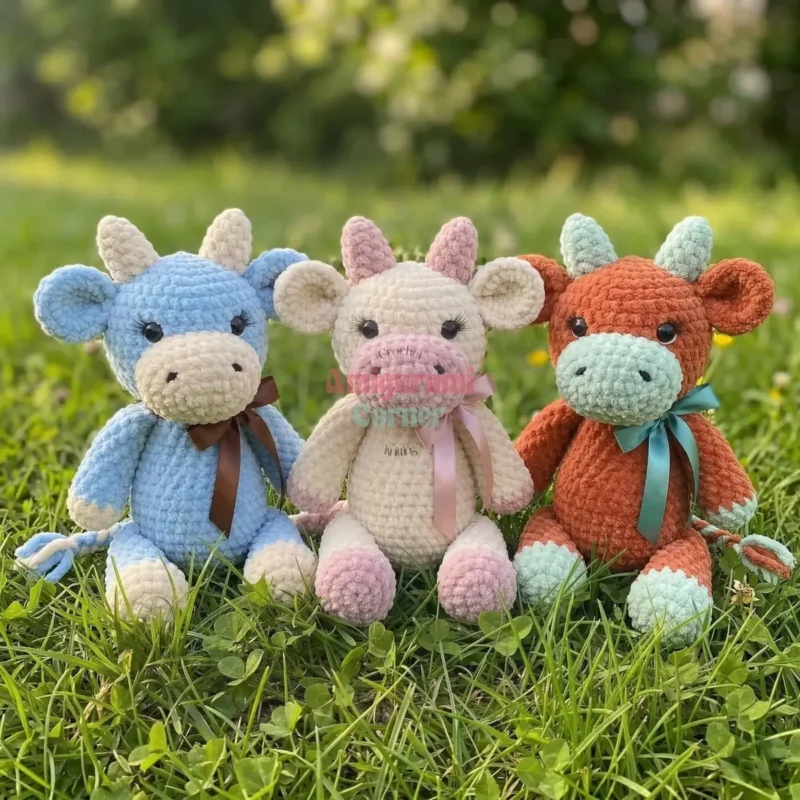
More pictures
Before the first stitch
- Set a stitch marker ready. This pattern works in continuous spirals, and you will lose your place without one.
- Read through the Muzzle rows once first. It works flat, around a starting chain, unlike the other round pieces.
Minutes per piece
- Head about 60-75 minutes, because it runs 15 rounds with a color change and two ear layers
- Legs and Arms about 50-60 minutes total, because four limbs add up even at 6-10 rounds each
Other yarns that work
- acrylic chenille, bulky weight keeps the same soft texture and size, with similar stitch definition and hook size
- cotton-acrylic blend, worsted weight gives a smaller, firmer bull with crisper stitches, so drop to a smaller hook and expect less plush drape
Where it ends up
- A shelf companion for a child's room, paired with other small amigurumi animals.
- A soft toy for quiet play, sized to sit in one hand.
- A thoughtful handmade gift for a new baby's nursery shelf.
Joining up
- Step 1 Bringing your amigurumi bull to life involves careful assembly. Take your time with each step for the best results.
- Step 2 Attach Horns: Position the horns on top of the head, centered, between Rnd 2 and Rnd 5. Pin them in place and sew them securely.
- Step 3 Attach Ears: Place the ears one round back from the horns, ensuring they are symmetrically aligned. Pin and sew firmly.
- Step 4 Attach Muzzle: Position the muzzle on the front of the head, centered, between Rnd 10 and Rnd 15. Pin in place. Lightly stuff the muzzle before sewing it securely around the edge.
- Step 5 Create Nostrils: Using a piece of yarn and a needle, make small indentations on the muzzle between Rnd 3 and Rnd 4 to form the nostrils. You can use toning chalks or a bit of embroidery floss to highlight them if desired.
- Step 6 Muzzle Indentation (Optional but Recommended): For a more defined face, insert a long needle from the bottom center of the muzzle, exiting at the top center of the muzzle, between the safety eyes. Skip 1 sc, insert the needle back into the muzzle, and exit at the bottom in Rnd 4, skipping 1 sc from your initial entry point. Pull the yarn gently to create a slight indentation, then secure the yarn ends.
- Step 7 Attach Mouth Base: Position the small mouth base piece on the muzzle, just below the indentation. Sew it in place.
- Step 8 Attach Head to Body: Carefully align the head onto the neck opening of the body. Use long pins or knitting needles to secure it in place, ensuring it’s centered and upright. Using the long tail from the body, sew the head to the body securely around the entire circumference. As you sew, if the neck feels wobbly, add a little more stuffing to the neck area to provide extra support.
- Step 9 Hoof Indentations: If you haven’t already, use a piece of yarn and a needle to create indentations on the hooves of the arms and legs, pulling the yarn taut to define the shape.
- Step 10 Attach Tail: Sew the tail to the back of the body, centered, between Rnd 8 and Rnd 9.
Small notes
- Keep your tension tight throughout. Chenille yarn hides gaps less than you expect, so loose stitches will show stuffing.
- Use a stitch marker without fail. Every piece but the muzzle is worked in continuous spirals, and rounds blur fast.
- Stuff the head gradually as you go, not at the end. The pattern builds this in, round by round.
Little questions
Can I make this bull without chenille yarn?
Yes, any bulky or super bulky yarn will work. You will lose some of the velvety texture, but the shape holds the same.
Is the muzzle worked the same way as the head?
No, the muzzle works in rows around a starting chain, not in rounds. This gives it an oval shape rather than a sphere.
What size hook does this pattern need?
A 4mm hook throughout. Keep your tension tight so the stuffing stays hidden inside each piece.
Original pattern: https://amigurumicorner.com/cute-amigurumi-bull-free-crochet-pattern/

About the Author
Tamsin Okoro Who writes the patterns at Yarn Gallery, how a pattern gets from the hook to the page, and what this site will never do.


