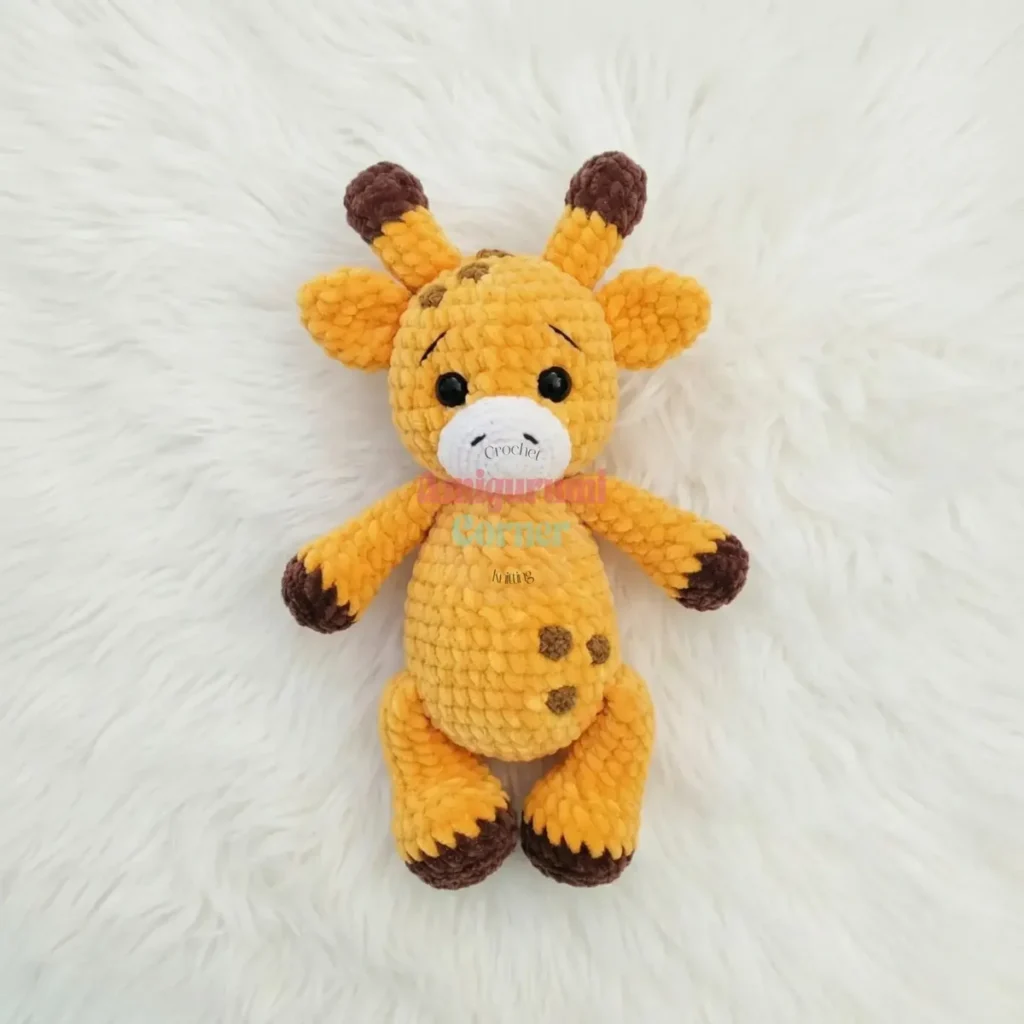
About This Pattern
This giraffe fits in a quiet evening, maybe two. The body alone runs seventeen rounds, so I like company while I work it. Arms and legs are small and portable, good for a bag. The muzzle and horns need a steady hand and a smaller hook. Nothing here is hard. It just needs patience and good light, plus firm stuffing so the shape holds its own weight.
In the basket
Yarn
Crochet Hooks
Stuffing
Tapestry Needle
Abbreviations
- ch
- Chain
- sl st
- Slip Stitch
- sc
- Single Crochet
- hdc
- Half Double Crochet
- dc
- Double Crochet
- mr
- Magic Ring
- inc
- Increase (2 sc in same stitch)
- dec
- Decrease (invisible decrease for 3D/spiral work)
- BLO
- Back Loop Only
- FLO
- Front Loop Only
- st(s)
- Stitch(es)
- Rnd
- Round
Little giraffe amigurumi pattern for beginners
Arms (Make 2)
Using 3.5mm hook and brown plush yarn.
- Round 16 sc in mr (6)
- Round 26 inc (12)
- Round 312 sc BLO (12)Change to yellow plush yarn.
- Rounds 4–512 sc (2 rounds) (12)
- Round 63 sc, 3 dec, 3 sc (9) Stuff the bottom part firmly, then lightly stuff the middle, leaving the very top empty for easier attachment to the body.(9)
- Rounds 7–139 sc (7 rounds) (9)Fold the opening flat and sc through both loops to close. Fasten off. Weave in the end.
Legs (Make 2)
Using 3.5mm hook and brown plush yarn.
- Round 16 sc in mr (6)
- Round 26 inc (12)
- Round 3(1 sc, inc) x 6 (18)
- Round 418 sc BLO (18)Change to yellow plush yarn.
- Rounds 5–618 sc (2 rounds) (18)
- Round 75 sc, 4 dec, 5 sc (14)
- Round 85 sc, 2 dec, 5 sc (12) Stuff the bottom part firmly, then lightly stuff the middle, leaving the very top empty for easier attachment to the body.(12)
- Rounds 9–1512 sc (7 rounds) (12)Fold the opening flat and sc through both loops to close. Fasten off. Weave in the end.
Ears (Make 2)
Using 3.5mm hook and yellow plush yarn.
- Round 17 sc in mr (7)
- Round 27 sc (7)
- Round 37 inc (14)
- Rounds 4–514 sc (2 rounds) (14)
- Round 6(1 sc, dec) x 6, 2 sc (8)Fasten off, leaving a long tail for sewing.
Horns (Make 2)
Using 3.5mm hook and brown plush yarn.
- Round 16 sc in mr (6)
- Round 26 inc (12)
- Round 312 sc (12)
- Round 4(2 sc, dec) x 3 (9)Change to yellow plush yarn.
- Rounds 5–89 sc (4 rounds) (9)Fasten off, leaving a long tail for sewing.
Body
Using 3.5mm hook and yellow plush yarn.
- Round 16 sc in mr (6)
- Round 26 inc (12)
- Round 3(1 sc, inc) x 6 (18)
- Round 4(2 sc, inc) x 6 (24)
- Round 5(3 sc, inc) x 6 (30)
- Round 6(4 sc, inc) x 6 (36)
- Round 736 sc (36)
- Round 8Attach Legs: 6 sc joining with first leg (sc through both loops of leg and body), 12 sc on body, 6 sc joining with second leg, 12 sc on body (36)
- Rounds 9–1136 sc (3 rounds) (36)
- Round 125 sc, (1 sc, dec) x 4, 19 sc (32)
- Rounds 13–1432 sc (2 rounds) (32)
- Round 156 sc, 4 dec, 18 sc (28)
- Round 1628 sc (28) Begin stuffing the body, shaping the giraffe’s belly firmly.(28)
- Round 17(2 sc, dec) x 7 (21)
- Round 1821 sc (21)
- Round 19Attach Arms: 4 sc joining with first arm, 5 sc on body, 4 sc joining with second arm, 8 sc on body (21)
- Round 20(1 sc, dec) x 7 (14)Sl st to join. Fasten off, leaving a long tail for sewing. Finish stuffing the body firmly, ensuring the neck area is well-filled to support the head.
Head
Using 3.5mm hook and yellow plush yarn.
- Round 16 sc in mr (6)
- Round 26 inc (12)
- Round 3(1 sc, inc) x 6 (18)
- Round 4(2 sc, inc) x 6 (24)
- Round 5(3 sc, inc) x 6 (30)
- Round 6(4 sc, inc) x 6 (36)
- Rounds 7–1336 sc (7 rounds) (36)Insert safety eyes between Rnds 9 and 10, approximately 6-7 stitches apart. Gradually stuff the head as you continue to crochet.
- Round 14(4 sc, dec) x 6 (30)
- Round 15(3 sc, dec) x 6 (24)
- Round 16(2 sc, dec) x 6 (18)
- Round 17(1 sc, dec) x 6 (12)
- Round 186 dec (6)Fasten off, weave the tail through the remaining 6 stitches and pull tight to close the opening. Leave a long tail for sewing. Before attaching the muzzle, create eye indentations by running a yarn needle from the eye socket to a hidden spot on the head, pulling gently to create a slight dip, then securing the yarn.
Muzzle
Using 2mm hook and light colored DK cotton yarn.
- Round 16 sc in mr (6)
- Round 26 inc (12)
- Round 3(1 sc, inc) x 6 (18)
- Round 4(2 sc, inc) x 6 (24)
- Round 5(3 sc, inc) x 6 (30)
- Round 6(4 sc, inc) x 6 (36)
- Rounds 7–836 sc (2 rounds) (36)Fasten off, leaving a long tail for sewing. Gently stretch the muzzle sideways to give it a slightly oval shape.
Tail
Using 2mm hook and yellow DK cotton yarn.
Chain 12. Fasten off, leaving a long tail for sewing.
For the tassel: Join brown DK cotton yarn to the end of the chain. Ch 2, make 2 dc in the same chain space, ch 3, then sl st into the same chain space. Fasten off, securing the yarn ends.
Spots (Make 6)
Using 2mm hook and brown DK cotton yarn.
- Round 17 sc in mr (7)Sl st to join. Fasten off, leaving a long tail for sewing. You will need 6 spots in total: 3 for the head and 3 for the body.
More pictures
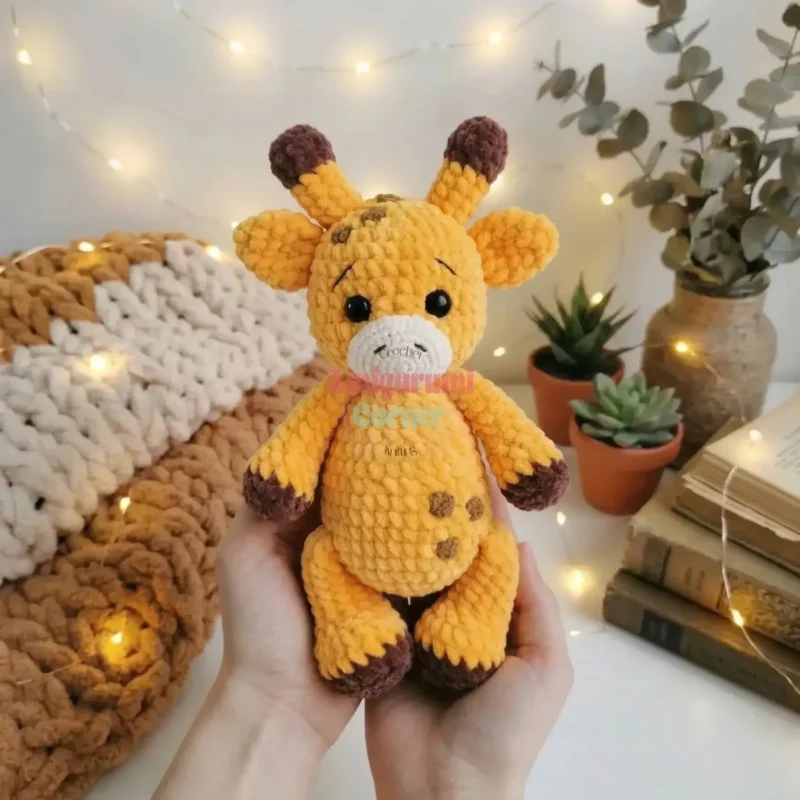
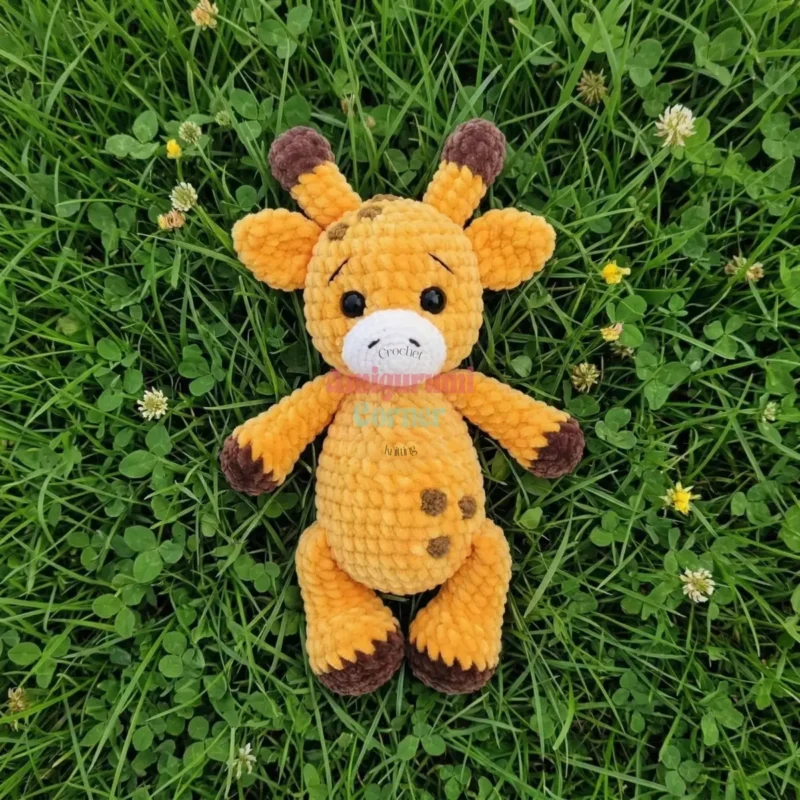
Before the first stitch
- Check you have both plush yarn colors in the right amounts before starting the body.
- Read through the Arms section first since it has the most rounds of the small parts.
Minutes per piece
- Body about 60-75 minutes, because it runs seventeen rounds
- Arms and Legs (both pairs) about 45-60 minutes, because four small pieces add up
Other yarns that work
- Worsted weight acrylic Smaller finished size, less plush drape, pair with a 4mm hook instead.
- DK weight cotton throughout A flatter, firmer toy overall, with crisper stitch definition and less stuffing give.
Where it ends up
- A shelf companion for a child's room, next to other soft animals.
- A gift for a new baby, paired with a small blanket.
- A quiet hand project for travel, worked piece by piece between stops.
Joining up
- Step 1 Attach Muzzle: Position the muzzle on the giraffe’s face, centered below the eyes. Sew it securely in place using the long tail, stuffing lightly before fully closing the seam to give it a slight projection.
- Step 2 Attach Horns: Sew the two horns to the top of the head, slightly behind the eyes, using the long tails.
- Step 3 Attach Ears: Sew the ears to the sides of the head, positioned slightly below and behind the horns.
- Step 4 Attach Head to Body: Using the long tail from the body, carefully sew the head to the body. Ensure the head is centered and sits upright. Stuff the neck area firmly as you sew to provide good support.
- Step 5 Attach Tail: Sew the tail to the back of the body, centered, near the bottom.
- Step 6 Attach Spots: Distribute the 6 brown spots evenly on the giraffe. Sew 3 onto the head and 3 onto the body, referring to a giraffe’s natural markings for placement inspiration.
- Step 7 Embroider Facial Details:
- Step 8 Eyebrows: Using brown DK cotton yarn and a tapestry needle, embroider small eyebrows above each safety eye.
- Step 9 Nostrils: Embroider two small upside-down V-shapes or straight lines on the muzzle to create nostrils.
- Step 10 Final Touches: Weave in any remaining loose ends. Give your giraffe a gentle squeeze and fluff to even out the stuffing.
Small notes
- Keep a stitch marker in place for every round. All parts spiral continuously, so losing the start point costs real time.
- Work tight stitches throughout. Loose tension lets the fiberfill show, especially on the yellow body sections.
- Stuff firmly as you close each piece, not just at the end. A giraffe stands better when its legs are dense.
- Gauge is not crucial for this project, but aim for tight stitches to prevent stuffing from showing through. If your stitches are too loose, try going down a hook size.
- Color changes should be made at the end of the round or as indicated in the pattern to ensure a seamless transition.
- This pattern uses US crochet terminology. When fastening off, leave a long tail for sewing components together unless otherwise noted.
Little questions
Can I make the giraffe bigger?
Yes, a thicker plush yarn with a larger hook will scale it up. Just expect the fiberfill amount to grow with it.
Why two different hook sizes?
The 3.5mm hook suits the bulky plush yarn for the main body parts. The 2mm hook keeps the DK cotton muzzle and spots tight and neat.
How firm should the stuffing be?
Firm enough that the legs hold the body upright. Stuff as you close each round, not after the piece is finished.
Do I need to mark the rounds?
Yes, every part works in a continuous spiral. A stitch marker saves you from losing your place partway through.
Original pattern: https://amigurumicorner.com/cuddly-amigurumi-giraffe-crochet-pattern-beginner-friendly-stuffed-toy/

About the Author
Tamsin Okoro Who writes the patterns at Yarn Gallery, how a pattern gets from the hook to the page, and what this site will never do.


