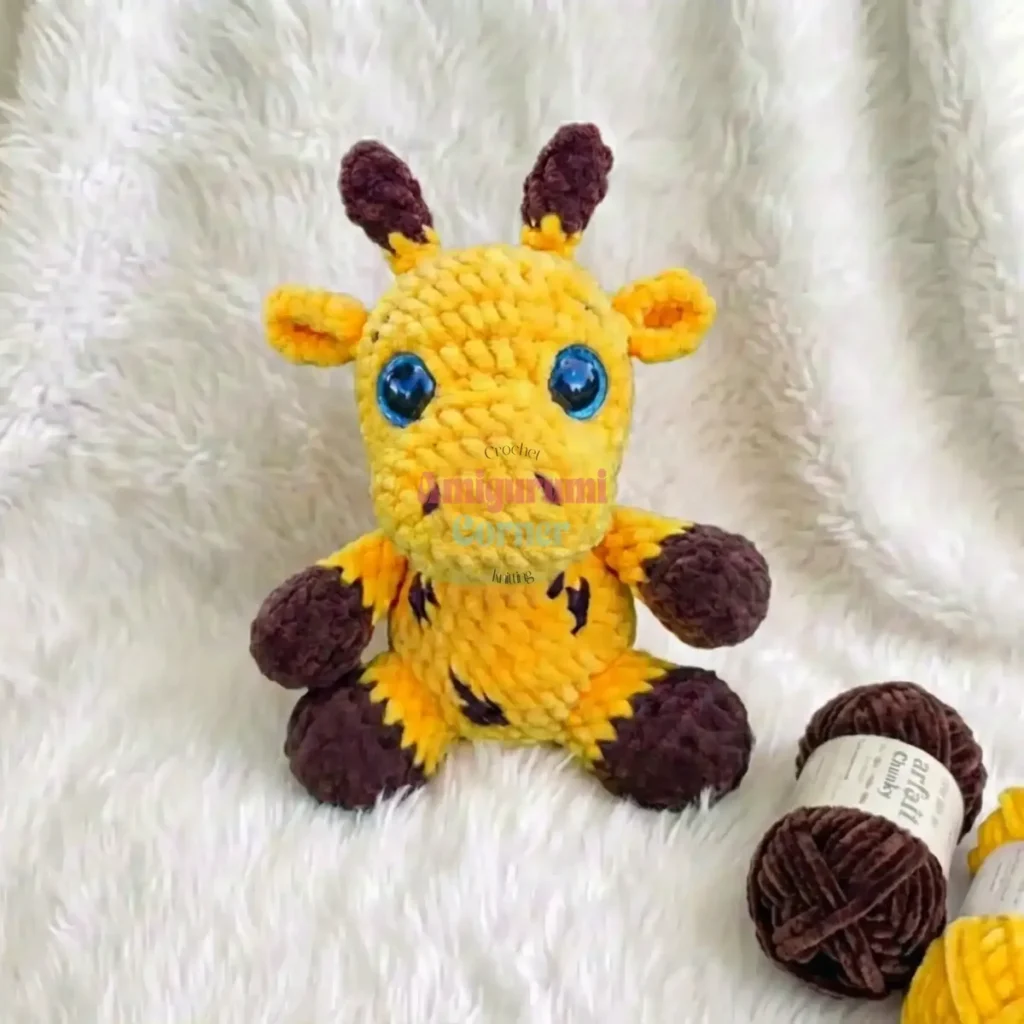
About This Pattern
Ginny the Giraffe is a charming amigurumi with a playful sitting pose, embroidered eye details, and textured spots across her back and belly. She's built one round at a time: the head first, with its shaped muzzle and tiny ossicones, then the body, and finally the small parts — arms, legs, ossicones, and ears, each made twice for symmetry. Chenille yarn gives her a soft, cuddly finish, though any yarn weight can be substituted. Worked in continuous rounds using US crochet terminology, she stands about 6-8 inches tall depending on your yarn and tension. Pattern by vales.enchanted.hook.
In the basket
Abbreviations
- MR
- magic ring
- CH
- chain
- SC
- single crochet
- SLST
- slip stitch
- HDC
- half double crochet
- HDC INC
- half double crochet increase
- DC
- double crochet
- DC INC
- double crochet increase
- INC
- increase
- DEC
- invisible decrease
- FO
- fasten off
- FLO
- front loop only
- BLO
- back loop only
- [X,Y]
- work the instructions in the same stitch (used on ears)
- (XY)
- total number of stitches at the end of the round
Amigurumi giraffe crochet pattern with chenille yarn
Head
In Main Color.
Chain 7. Start from 2nd ch from the hook.
- Round 1inc, 4sc, 4sc in the last ch, on the other side of the chain 4sc, inc (16)
- Round 2inc, 5sc, (1sc, inc) x 2, 4sc, inc, 1sc (20)
- Round 32sc, inc, 4sc, (2sc, inc) x 2, 6sc, inc (24)
- Rounds 4–524sc (2 rounds) (24)
- Round 63sc, FLO 7inc, 14sc (31)
- Round 73sc, (1sc, inc) x 7, 14sc (38)
- Rounds 8–938sc (2 rounds) (38)
- Round 10(17sc, dec) x 2 (36)Insert the safety eyes between round 6-7 with 5inc in between.Stuff the muzzle firmly and the head as you go.
- Round 11(4sc, dec) x 6 (30)
- Round 12(3sc, dec) x 6 (24)
- Round 13(2sc, dec) x 6 (18)
- Round 14(1sc, dec) x 6 (12)
- Round 15dec x 6 (6)FO and leave a tail to close the hole using the FLO of round 15.
Note The increases should be in the center. Depending on your tension you can adjust it by adding or removing sc before the increases.
Body
In Main Color.
Stuff as you go.
- Round 1MR 8sc
- Round 2inc x 8 (16)
- Round 3(inc, sc) x 8 (24)
- Round 4(2sc, inc) x 8 (32)
- Rounds 5–932sc (5 rounds) (32)
- Round 10(2sc, dec) x 8 (24)
- Rounds 11–1224sc (2 rounds) (24)
- Round 13(1sc, dec) x 8 (16)
- Rounds 14–1516sc (2 rounds) (16)
FO and leave a tail to sew the head.
Arms (Make 2)
Start with Contrast Color.
- Round 1MR 6sc
- Round 2inc x 6 (12)
- Round 3(1sc, inc) x 6 (18)
- Round 4(1sc, dec) x 6 (12)Stuff the hoof.
- Round 5(2sc, dec) x 3 (9) – Color change to Main Color(9)
- Rounds 6–109sc (5 rounds) (9)
Do not overstuff.
Fold in half and do 4sc through both sides.
Leave a long tail to sew.
Legs (Make 2)
In Contrast Color.
- Round 1MR 6sc
- Round 2inc, hdc inc, 2dc inc, hdc inc, inc (12)
- Round 31sc, inc, hdc, hdc inc, dc, 2dc inc, dc, hdc inc, hdc, inc, sc (18)
- Round 4BLO 18sc (18)
- Round 5(2sc, dec) x 4, 2sc (14)
Color change to Main Color.
- Rounds 6–814sc (3 rounds) (14)Stuff and FO. Leave a long tail to sew.
Ossicones (Make 2)
In Contrast Color.
- Round 1MR 4sc
- Round 2(1sc, inc) x 2 (6)
- Round 36sc (6)
- Round 4(1sc, dec) x 2 (4)
Color change to Main Color.
- Rounds 5–64sc (2 rounds) (4)
Do not stuff. FO and leave a long tail to sew.
Ears (Make 2)
In Main Color.
- Round 1MR 6sc
- Round 22inc, [1hdc, 1dc], [1dc, 1hdc], 2inc (12)Fold in half and do 2 slst through both sides. FO and leave a long tail to sew.
Assembly
Follow these steps to put your giraffe together:
Sew the ossicones between R10 and R11, 4sc apart.
Sew the ears 3sc to the side of the ossicones, 2 rounds away from the eyes.
Sew the head to the body, between R6 and R10 of the head.
Sew the arms to the body between R10 and R13.
Sew the legs between R5 and R8 with 6sc in between.
Tail Attach the yarn on the centre of the back between R4 and R5 and chain 5. Then sc back in to the chain and slst where you have attached the yarn.
Face Shaping
Face Shaping Insert the needle in point 1, come out through point 2, insert the needle in point 3 and come out through point 4. Then insert the needle through point 5 and come out through point 6 – one stitch to the side of point 1. Pull the tail until you reach your desired result and fasten off.
Muzzle Shaping Insert the needle through point A, come out through point B, insert the needle in point C and come out through point D – one stitch to the side of point A. Pull the tail until you reach your desired result and fasten off.
Finishing
Adding Spots Cut a piece of yarn in contrast color (50cm/20inch) and make some spots on the back and on the belly of the giraffe.
Cut a piece of yarn (about 20cm/8inch long) in contrast color and fold it in three. Pull a loop up in the last stitch of the tail and pull the loose ends through that loop, then pull tight. With scissors trim the ends. I recommend you to burn it lightly with a lighter, so the ends don't shed.
Eye Details Cut a tail of the white cotton yarn and embroider the sclera. Then cut a tail of the black cotton yarn and embroider the eyelid/eyelashes and eyebrows.
More pictures
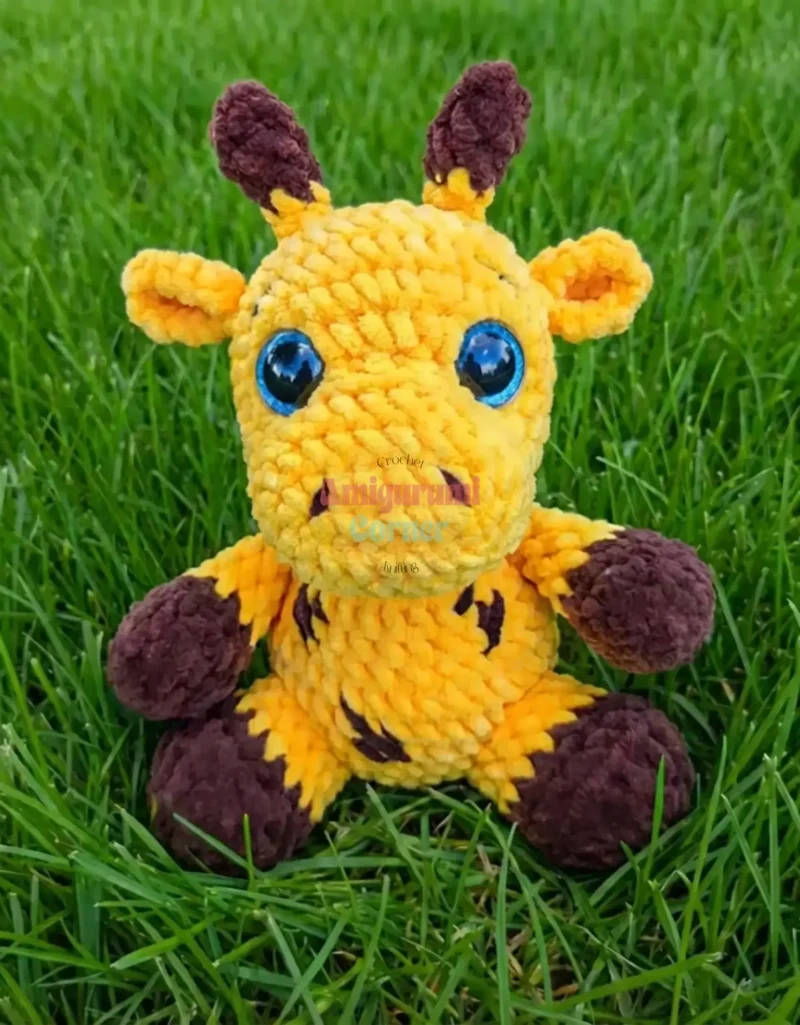
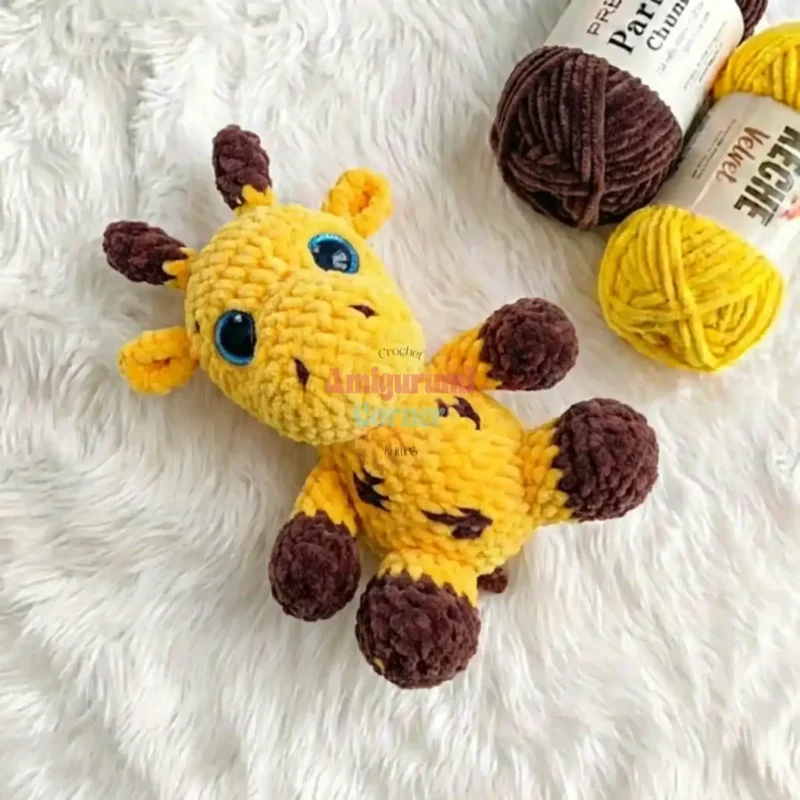
Small notes
- Use a 3.5mm crochet hook for the chenille yarn, or a size appropriate for your chosen yarn weight; crochet tightly enough that the stuffing doesn't show through your stitches.
- Mark your round starts with a stitch marker, since the pattern is worked in continuous rounds.
- Stuff firmly but evenly through the head, body, and limbs as you go.
- The finished giraffe sits approximately 6-8 inches tall, depending on your yarn choice and tension. The pattern is worked in continuous rounds using US crochet terminology. It is free for personal use, and you may sell finished items made from it as long as you credit the original designer, vales.enchanted.hook.
Little questions
What size hook should I use for this giraffe pattern?
The pattern recommends a 3.5mm crochet hook when using chenille yarn. However, you should choose a hook size that matches your chosen yarn weight. The key is to crochet tightly enough that the stuffing doesn't show through your stitches.
Can I use a different yarn type instead of chenille?
Yes, absolutely! You can use any yarn weight you prefer. Just adjust your hook size accordingly. Cotton, acrylic, or wool yarns all work beautifully for amigurumi. Keep in mind that different yarn types will result in different finished sizes.
How do I make the giraffe spots look natural?
Use a contrast color yarn to embroider irregular oval shapes on the body, back, and belly. There's no set pattern—giraffes have randomly placed spots, so feel free to be creative with placement and size. Just make sure to space them naturally across the body.
What are ossicones and why doesn't this pattern stuff them?
Ossicones are the horn-like protrusions on a giraffe's head. The pattern instructs not to stuff them because they're small and narrow—stuffing would make them too stiff and bulky. Leaving them unstuffed allows them to sit naturally on the head.
Original pattern: https://amigurumicorner.com/free-ginny-the-giraffe-crochet-pattern-amigurumi-tutorial/

About the Author
Tamsin Okoro Who writes the patterns at Yarn Gallery, how a pattern gets from the hook to the page, and what this site will never do.


