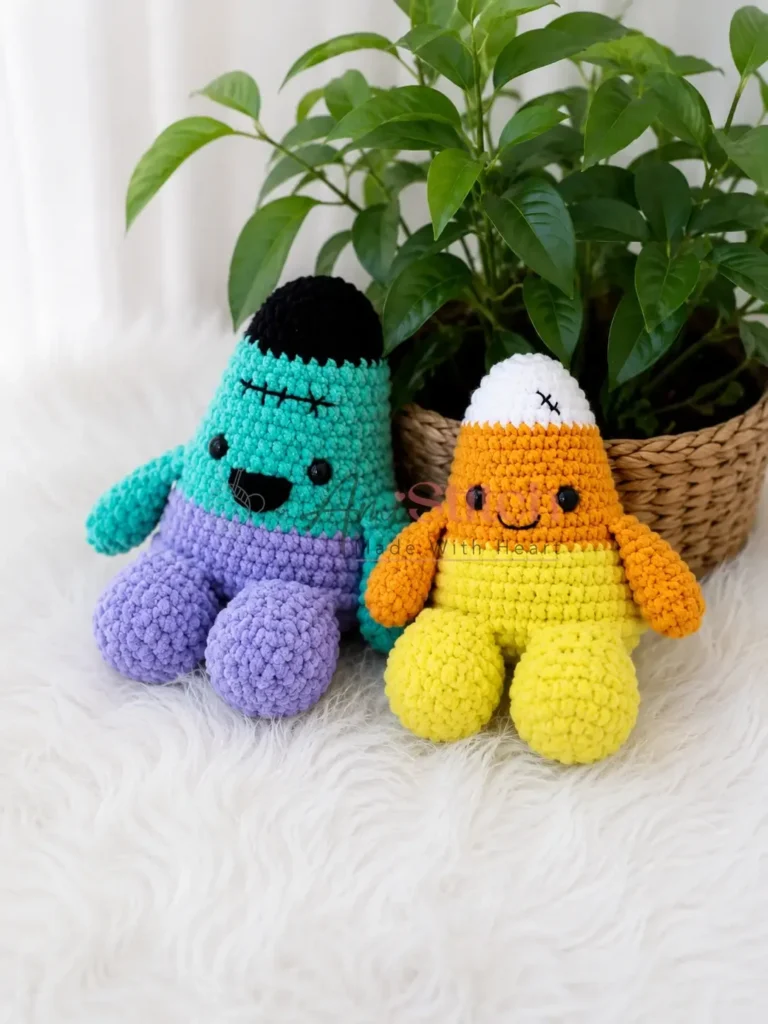
About This Pattern
This little monster sits somewhere between a toy and a decoration. It has two legs, two arms, a round purple body, and a small sewn mouth. The body alone runs twenty-one rounds, so it is not a quick make. It needs plush yarn in purple, green, and black, a steady E-4 hook, and patience for the color changes. A fine steel hook handles the mouth. It needs a quiet evening, good light, and a stitch marker that stays put.
In the basket
Yarn (Bulky / Chenille-style)
Yarn (Light Weight / Cotton-blend)
Hook sizes
Safety eyes
Stuffing
Abbreviations
- BLO
- Back Loop Only
- ch
- Chain
- dec
- Invisible Decrease (insert hook into front loops of next 2 sts, yarn over, pull through both, yarn over, pull through 2 loops)
- inc
- Increase (2 sc in same stitch)
- MR
- Magic Ring
- sc
- Single Crochet
- sl st
- Slip Stitch
- SM
- Stitch Marker
- st / sts
- Stitch / Stitches
Candy corn monster amigurumi crochet pattern
Legs (make 2)
Work with purple yarn and E-4 / 3.5 mm hook.
- Round 1Ch 4. Starting in the 2nd ch from hook, work along the chain: inc, sc, 3 sc in the last ch; working back along the opposite side of the foundation chain: 2 sc. (8)
- Round 22 inc, sc, 3 inc, sc, inc. (14)
- Round 3sc, inc repeat 2 times, sc, sc, inc repeat 3 times, 2 sc, inc. (20)
- Round 4Move SM to the heel. Work 2 sc to reposition, then work 20 sc in BLO around. (20)
- Round 520 sc. (20)
- Round 66 sc, 4 dec, 6 sc. (16)
- Round 7dec, 4 sc, dec repeat 2 times. (12) Stuff the foot section only with fiberfill now.
- Round 84 sc, 2 dec, 4 sc. (10)
- Round 910 sc. (10)
- Round 10Work a partial round of 8–9 sc to align the seam. Fold the piece flat and work 5 sc through both layers to close. Ch 1, turn, work 5 sc back along the same edge. Do not stuff above the foot. Fasten off and leave a long yarn tail for attachment.Step by step: Work your 8–9 sc to bring the working yarn to roughly the side edge of the leg, fold the top flat, then crochet through both layers as you would a normal sc. This creates a clean, finished top edge that attaches neatly to the body.
Arms (make 2)
Work with green yarn and E-4 / 3.5 mm hook.
- Round 1Starting in MR, work 6 sc. Pull ring closed. (6)
- Round 2inc in each st around. (12)
- Rounds 3–4sc in each st around. (12) (2 rounds)(12)
- Round 54 sc, dec repeat 2 times. (10)
- Round 63 sc, dec repeat 2 times. (8)
- Round 78 sc. (8) Stuff the arm with fiberfill up to this round only.
- Round 82 sc, dec repeat 2 times. (6)
- Round 96 sc. (6)
- Round 10Fold flat and work 3 sc through both layers to close. Fasten off and leave a long yarn tail for attachment.
Body
Work with purple yarn and E-4 / 3.5 mm hook.
- Round 1Ch 15. Starting in the 2nd ch from hook, work along the chain: inc, 12 sc, 4 sc in the last ch; working back along the opposite side of the foundation chain: 12 sc, inc. (32)
- Round 22 inc, 12 sc, 2 inc repeat 2 times. (40)
- Round 3sc, inc repeat 2 times, 12 sc, inc, sc repeat 2 times — work this sequence twice around. (48)
- Round 4Sl st shift; work 48 sc in BLO around. (48)
- Round 5(join legs): 5 sc, then work 5 sc joining the first leg (working through both the body stitch and the corresponding leg stitch simultaneously), 4 sc, then work 5 sc joining the second leg in the same way, 29 sc. (48)Step by step: Work the first joining stitches loosely, pause, and visually check that both legs sit at matching positions before pulling tight. Ripping back one joining stitch is far easier than seam-correcting a finished piece.
- Round 648 sc. (48)
- Round 7Sl st shift; 3 sc, dec, 14 sc, dec, 3 sc repeat 2 times. (44)
- Rounds 8–9sc in each st around. (44) (2 rounds) Switch to green yarn.
- Round 103 sc, dec, 12 sc, dec, 3 sc repeat 2 times. (40)
- Round 1140 sc. (40)
- Round 12(join arms): 3 sc joining the first arm (working through both body and arm simultaneously), 14 sc, 3 sc joining the second arm in the same way, 20 sc. (40)Step by step: Work the first joining stitches loosely, pause, and visually check that both arms sit at matching positions before pulling tight. Ripping back one joining stitch is far easier than seam-correcting a finished piece.
- Round 13Sl st shift; 3 sc, dec, 10 sc, dec, 3 sc repeat 2 times. (36)
- Rounds 14–15sc in each st around. (36) (2 rounds)(36)
- Round 16Sl st shift; 3 sc, dec, 8 sc, dec, 3 sc repeat 2 times. (32)
- Round 1732 sc. (32) Insert 12 mm safety eyes now, between Rounds 13 and 14, with 8 stitches between the inner posts of the eyes.Switch to black yarn.
- Round 18Sl st shift; 2 sc, dec, 6 sc, dec, 2 sc repeat 2 times. (24)
- Round 1924 sc. (24)
- Round 202 sc, dec, 4 sc, dec, 2 sc repeat 2 times. (20)
- Round 21Sl st shift; 4 sc, dec, 8 sc, dec, 4 sc. (18)
- Round 22sc, dec repeat 6 times. (12)
- Round 23sc, dec repeat 4 times. (8)Stuff the body firmly. Sl st to close. Cut yarn, leaving a tail. Thread the tail through the slip stitch loop and use a yarn needle to cinch the opening closed. Weave in ends securely.Using yarn or embroidery thread, embroider small scar stitches onto the body for decoration.
Mouth
Work with black light-weight cotton-blend yarn and 1.75 mm hook, worked in flat rows.
- Round 1MR, work 4 sc into the ring. Ch 1, turn. (4)
- Round 2inc in each st across. Ch 1, turn. (8)
- Round 3sc, inc repeat 4 times. (12) Fasten off, leaving a long yarn tail for sewing.
More pictures
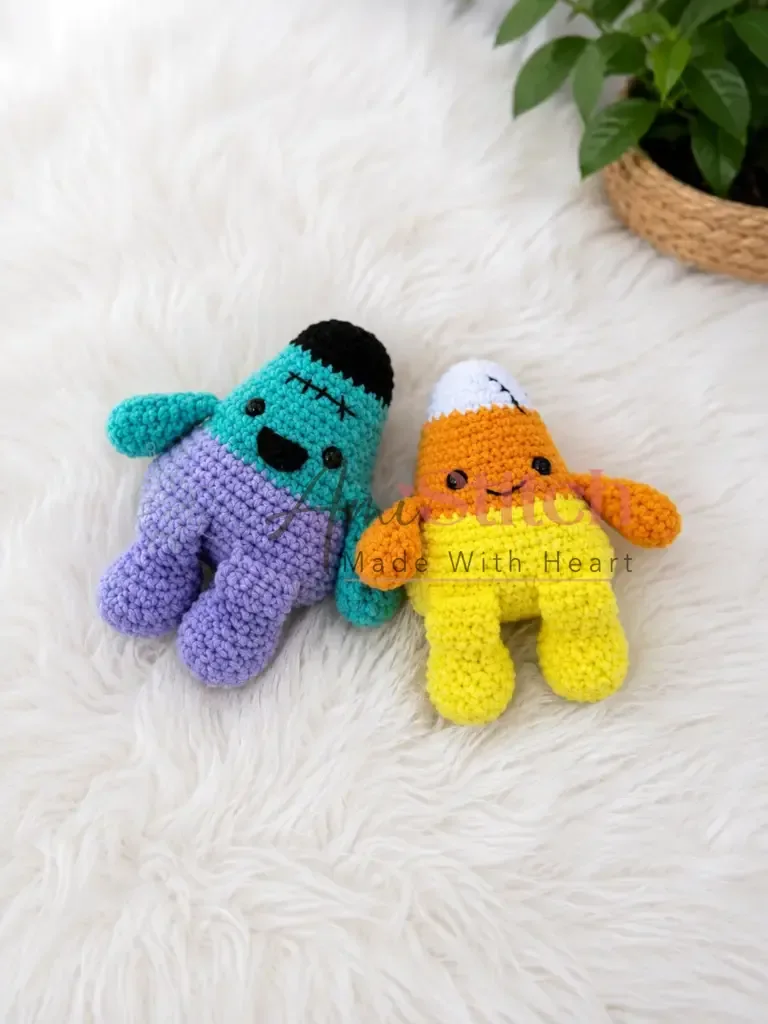
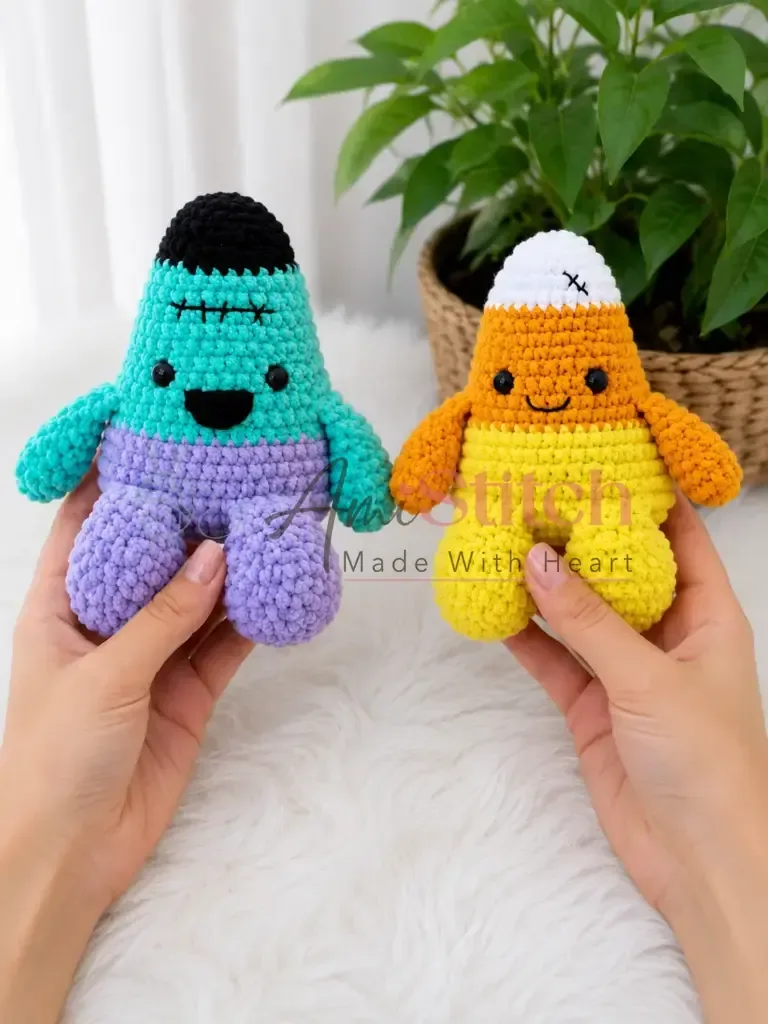
Before the first stitch
- Weigh your purple, green, and black plush yarn against the gram amounts listed.
- Set a stitch marker ready for Rnd 1, since this pattern works in spirals.
- Read Rnd 5 and Rnd 12 of the body first, since legs and arms join there.
Minutes per piece
- Legs and arms about 1.5 hours total, because ten and nine rounds each add up with shaping
- Body and mouth about 3 hours, because twenty-one rounds and a hook swap slow the pace
Other yarns that work
- Worsted-weight acrylic Finished monster will be smaller and firmer, so size down stuffing slightly.
- Chunky cotton-acrylic blend Drape will be stiffer, so move up to an F or G hook for ease.
Where it ends up
- A soft toy for a child's shelf, paired with other small amigurumi.
- A desk companion at work, next to a mug or a plant.
- A gift for a crochet-loving friend, wrapped with a spare skein.
Joining up
- Step 1 The legs are already joined to the body during Rnd 5 of the body — no further leg attachment is needed. Weave in any remaining leg yarn tails.
- Step 2 The arms are already joined to the body during Rnd 12 of the body — no further arm attachment is needed. Weave in any remaining arm yarn tails.
- Step 3 Pin the mouth to the front of the body, centered below the safety eyes. Using the yarn tail and a yarn needle, sew the mouth on using whipstitch around the full perimeter. Pull snug so the piece lies flat against the body.
- Step 4 Embroider scar stitches across the body using a contrast yarn or embroidery floss — a few uneven straight stitches in a cross formation work perfectly.
- Step 5 Weave in all remaining yarn ends.
Small notes
- Keep your tension tight when working with plush yarn — chenille and velvet-style yarns tend to produce looser stitches than standard acrylic. Go down a hook size if needed; your stitches should be snug enough that no fiberfill peeks through.
- Stuff the body firmly before closing, since plush yarn hides gaps less than you expect.
- This pattern is written in US crochet terminology.
- Gauge is not critical for this project, but your fabric should be tight enough that no stuffing shows through.
- When working the body, place your stitch marker strictly at the left side of the toy — it will appear on your right as you work. The pattern includes occasional slip stitch shifts (noted as sl st shift) to reposition the round start for even shaping; work these wherever needed based on your tension.
- Mark the correct round for the safety eyes before you reach it — plush yarn makes it genuinely difficult to count rounds after the fact. When you finish Round 13, place a removable stitch marker or a scrap of yarn between that round and Round 14 so you know exactly where to insert the eyes when you arrive at Round 17's note.
- Stuff the body in stages. Because the body tapers sharply toward the top, it's easiest to add fiberfill gradually as you work the decreasing rounds, rather than trying to stuff from the top at the very end — that makes it hard to fill the bottom sections evenly.
Little questions
Can I skip the steel hook for the mouth?
The mouth uses lightweight cotton-blend yarn, so a finer hook keeps stitches tight. A regular E-4 hook will leave the mouth loose and gappy. I would stick with the steel 1.75 mm here.
Do I attach the legs and arms after finishing the body?
No, the legs join during Rnd 5 and the arms during Rnd 12. There is no separate attachment step for either. Just weave in the leftover tails once the body is done.
How much yarn do I actually need?
Plan for about 43 grams of purple, 23 grams of green, and 5 grams of black plush yarn. The mouth takes only a small amount of the cotton-blend black. Buy a little extra if your tension runs loose.
What size are the safety eyes?
This pattern calls for two 12 mm pieces. Insert them before you close up the head, since they cannot go in after stuffing. Center them before pinning the mouth below.
Original pattern: https://amistitch.com/candy-corn-monster-amigurumi-free-crochet-pattern/

About the Author
Tamsin Okoro Who writes the patterns at Yarn Gallery, how a pattern gets from the hook to the page, and what this site will never do.


