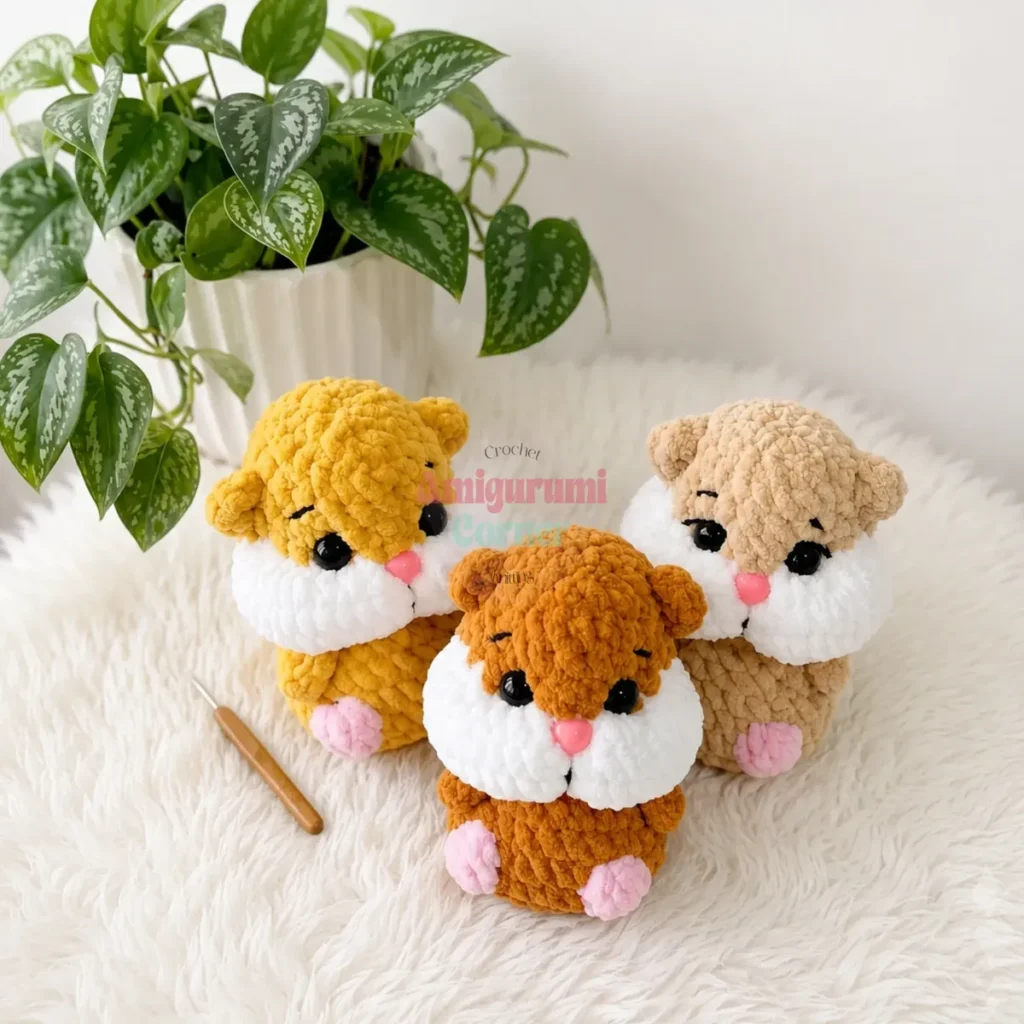
About This Pattern
This hamster is a small, round project. I work the body in one piece, bottom to top. Nineteen rounds build the shape, then two tiny ears finish the head. It uses chunky chenille yarn, so stitches grow fast. The eyes and nose go in after stuffing, with a cinch for the muzzle. It sits well in a single evening, with a cup of tea nearby. It needs safety eyes, a nose, and steady hands for finishing.
In the basket
Yarn
Hook
Safety eyes
Adhesive safety nose
Abbreviations
- Bobble
- 3 dc in same stitch, all closed together at shared top
- CC
- contrast color (white)
- ch
- chain
- dc
- double crochet
- dec
- invisible decrease
- hdc
- half double crochet
- inc
- increase: 2 sc in same stitch
- MC
- main color
- Puff
- 4 hdc worked into same stitch, left open (paw stitch)
- sc
- single crochet
- sc4tog
- insert hook through each of 4 hdc tops in turn; draw yarn through all 5 loops on hook (closes Puff)
A chunky chenille hamster to crochet in an evening
Body (worked as one piece, bottom to top)
Begin with an oval foundation chain.
Foundation: Ch 5.
- Round 1Starting in 2nd ch from hook: inc, 2 sc, 4 sc in last ch (tip); working back along opposite side of foundation ch: 2 sc, inc. (12)
- Round 22 inc, 2 sc, 4 inc, 2 sc, 2 inc. (20)
- Round 3(1 sc, inc) × 2, 2 sc, (1 sc, inc) × 4, 2 sc, (1 sc, inc) × 2. (28)
- Round 44 sc, [Puff in same st — Pink], 5 sc, [Puff in same st — Pink], 10 sc, [Bobble in same st — MC], 6 sc. (28)
The two Pink Puffs form the front paws on the underside; the Bobble forms the tail nub at the back.
- Round 54 sc, [sc4tog over Puff — Pink], 5 sc, [sc4tog over Puff — Pink], 17 sc. (28)
- Round 628 sc. (28)
- Round 7(dec, 1 sc) × 2, 3 sc, (dec, 1 sc) × 4, 1 sc, (dec, 1 sc) × 2. (20)
- Round 8(3 sc, dec) × 4. (16)
- Round 92 sc, [Arm: ch 4, 3 hdc back along ch starting in 2nd ch from hook], 6 sc, [Arm: ch 4, 3 hdc back along ch starting in 2nd ch from hook], 8 sc. Change to CC at end of rnd; do not cut MC. (16)
Arms are surface appendages worked off a chain; they do not affect the main stitch count.
- Round 10With CC: inc × 10; with MC: inc × 6. (32) [CC section: 20 sts | MC section: 12 sts]
- Round 11With CC: (1 sc, inc) × 10; with MC: 12 sc. (42) [CC: 30 sts | MC: 12 sts]
- Round 12With CC: 30 sc; with MC: 12 sc. (42)
- Round 13With CC: 30 sc; with MC: 12 sc. (42)
- Round 14With CC: (1 sc, dec) × 10; with MC: 12 sc. (32) [CC: 20 sts | MC: 12 sts]
- Round 15With CC: 4 dec, 4 sc, 4 dec; with MC: 12 sc. Fasten off and secure CC. (24) MC only from this point forward.
- Round 1624 sc. (24)
- Round 17(2 sc, dec) × 6. (18)
- Round 1818 sc. (18)
- Round 1918 sc. (18)Insert 12 mm safety eyes between Rnds 16 and 17, spaced 4–5 stitches apart. Stuff the body firmly, packing extra fiberfill into the white cheek section. Then work 10 dec continuously, disregarding round start. Fasten off leaving a long tail; close the remaining opening with your tapestry needle.
Ears (make 2)
Ear: At the level of Rnd 18, join MC to a stitch. Work 3 hdc into that same stitch. Fasten off and secure. Repeat on the opposite side of the head, spacing both ears evenly.
More pictures
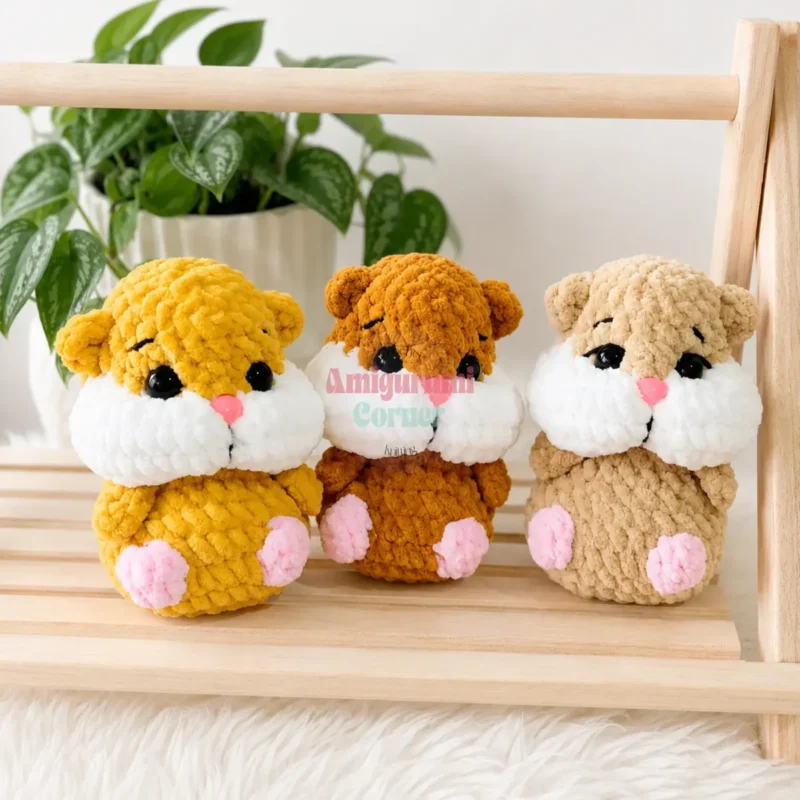
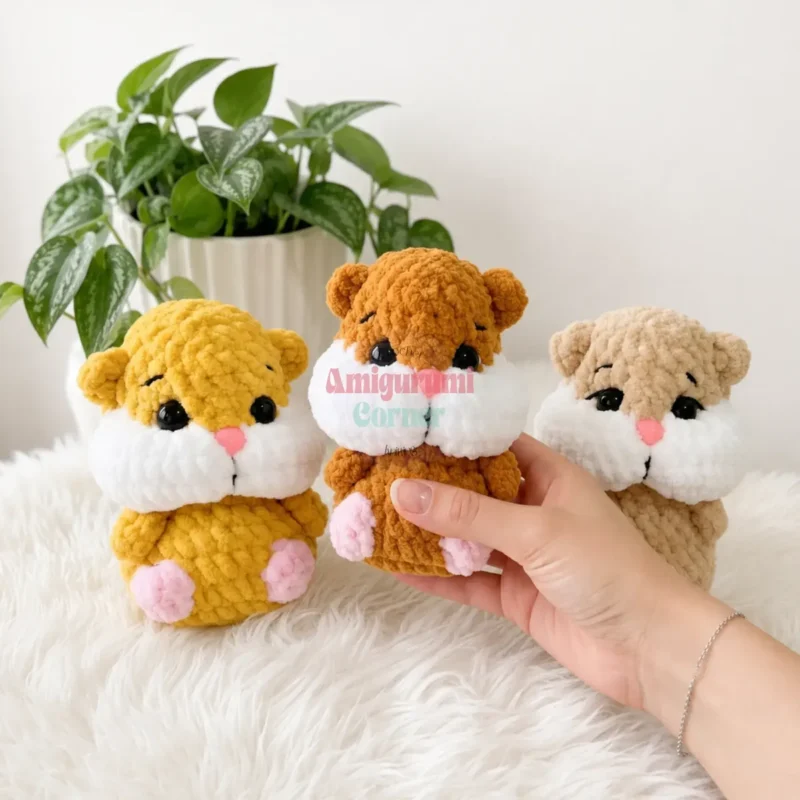
Before the first stitch
- Weigh out 30 g main color, 15 g white, and 5 g pink.
- Place a stitch marker at the start; the body spirals with no joins.
- Read Round 1 first, since it shapes the nose tip oval.
Minutes per piece
- Body, worked bottom to top about 3 to 4 hours, because nineteen rounds shape the whole body
- Ears about 10 minutes, because each ear is only three stitches
Other yarns that work
- Worsted-weight plain acrylic yarn The hamster shrinks a little, since this yarn is thinner than chenille. Use a smaller hook, around 3.5 mm, and extra stuffing for firmness.
Where it ends up
- A quiet shelf companion, sitting beside other small amigurumi animals.
- A desk toy, good for a quick fidget during calls.
- A small gift for a child, paired with a soft blanket.
Joining up
- Step 1 Eye cinching: Thread a length of strong thread onto a needle. Enter from the bottom of the head and exit at the inner lower corner of the first safety eye. Re-enter at the outer corner of that same eye and return the needle to the bottom of the head. Repeat for the second eye. Pull both ends of the thread taut simultaneously — this draws the eyes inward and cinches the center of the muzzle. Knot securely.
- Step 2 Nose: Apply a small dot of craft glue to the back of the 11 mm adhesive nose. Press it into the center of the white muzzle, positioned between the two eyes.
- Step 3 Face embroidery: Using black embroidery thread, stitch eyelids, eyebrows, and a small mouth to give your hamster its expression.
- Step 4 Weave in all remaining yarn ends.
Small notes
- Use the hook size from your yarn label. That is usually 4.0 to 5.0 mm for chenille.
- Move your stitch marker up every round. The body spirals, with no joining slip stitches.
- Stuff firmly before closing the last rounds. If stuffing peeks through, drop half a hook size.
- This pattern is written in US crochet terminology.
- Stitch count is given at the end of each round in parentheses: (##).
- Rounds 10–15 use two colors simultaneously in the same round. Carry the unused color loosely on the inside; do not cut either color until instructed.
- Insert safety eyes before you finish stuffing and close the head — once the back washer is locked in place, the eye cannot be moved or removed safely.
- Work tighter than feels natural. Chenille is visually forgiving, but a loose fabric lets stuffing show through. If you can see any light between stitches, drop down half a hook size before starting over.
- Practice the Puff and sc4tog before Rnd 4. These two stitches form the front paws and behave differently than anything else in this pattern. A quick test swatch with your pink yarn builds the muscle memory you need so Rnd 4 goes smoothly on the actual piece.
- Stuff the cheeks early. Once you begin decreasing in Rnd 14, the opening shrinks fast. Load extra fiberfill into the white muzzle section during Rnds 12 and 13 while you still have comfortable access. Firm, evenly distributed cheeks are what make the cinching step work.
- Keep your carried yarn loose. In Rnds 10–15 you're carrying one color while working the other. If the carried strand pulls too tight against the inside of the piece, you'll see puckers on the white cheek section from the outside. Spread your stitches on the hook slightly before drawing the new color through.
- The cinching step is non-negotiable. It's what turns a round chenille ball into a face with personality. Pull the thread evenly on both eyes at the same time, check from the front for symmetry, then knot. This single finishing step does more for the final look than any other part of the pattern.
Little questions
Can I use regular yarn instead of chenille for this pattern?
Yes, any bulky or worsted weight yarn will work, though the finished look will differ significantly. Chenille produces the dense, velvety texture that gives this hamster its chubby, soft appearance. A smooth or plied yarn will show crisper stitch definition but a much less plush result. Match your hook size to whatever yarn you choose by following the label recommendation.
Where exactly should the safety eyes go?
Insert the 12 mm safety eyes between Rounds 16 and 17, spaced 4 to 5 stitches apart from each other. Place them toward the front of the face, sitting just above the upper edge of the white muzzle section. Always install safety eyes before you finish stuffing and close the head — once the back washer is snapped on, the eye cannot be moved or removed safely.
My hamster's white cheeks look lopsided — what went wrong?
Uneven cheeks are nearly always a stuffing issue rather than a crochet error. The fix is to add more fiberfill to the white muzzle section during Rounds 12 and 13, before the opening becomes too narrow to work comfortably. The eye cinching step also shapes the face significantly — pulling the thread at equal tension on both sides at the same time is key to getting a symmetrical muzzle.
How do I stop the arms from flopping around or twisting?
The arms in this pattern are short chain-and-hdc appendages worked directly off the body in Round 9, so they do have some natural movement by design. If you want them more anchored, use the yarn tail at the base of each arm to add one or two small whipstitches through the body, pulling the arm snug against the side. This keeps each arm angled forward in a natural position without stiffening it completely.
Original pattern: https://amigurumicorner.com/chunky-chenille-hamster-amigurumi-free-crochet-pattern/

About the Author
Tamsin Okoro Who writes the patterns at Yarn Gallery, how a pattern gets from the hook to the page, and what this site will never do.


