About This Pattern
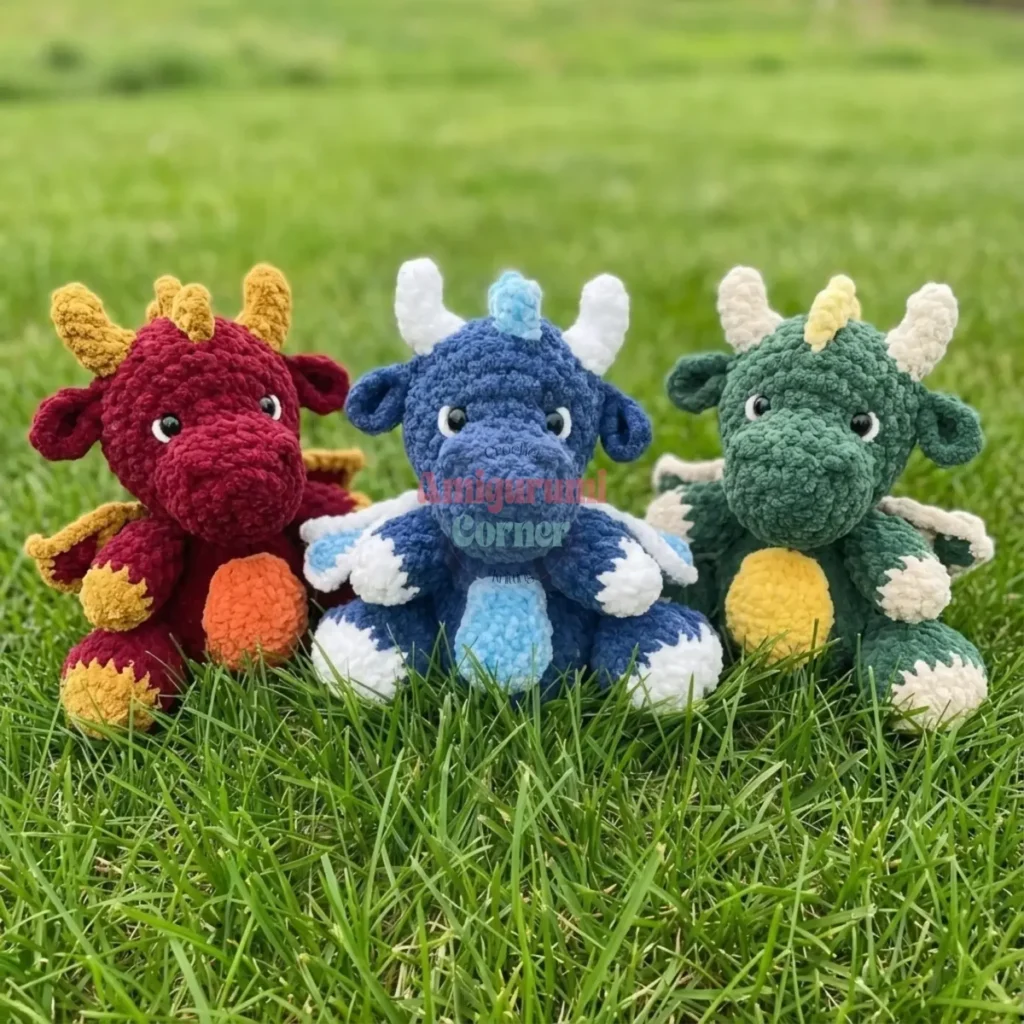
Dallas starts as a pile of parts on my table. A head, a body, a curled tail, two arms, two legs. Add nine small spikes, two wings, two horns, two ears, one belly panel. Each piece is small enough for one quiet evening. I like how the plush yarn fills in gaps fast, so shaping comes quickly. He needs three yarn colors, a 5mm hook, and safety eyes. Stuffing firmly from the start keeps him round and steady, not floppy.
In the basket
Yarn Specifications (original design)
General Supplies
Optional
Abbreviations
- SC
- Single Crochet
- SLST
- Slip Stitch
- INC
- Increase
- DEC
- Decrease
- HDC
- Half Double Crochet
- DC
- Double Crochet
How to crochet a soft amigurumi dragon toy
Head
Start the head using navy plush yarn.
- Round 1Ch 5; skip 1 and sc into the next stitch; place stitch marker here; 2 sc, 3 sc in one, 3 sc, 3 sc in 1; finish with a slst in the first marked stitch. (12)
- Round 2(sc, inc) x6. (18)
- Round 3(2 sc, inc) x6. (24)
- Round 424 sc. (24)
- Round 5(4 sc, dec) x4. (20)
- Round 6(sc, inc) x2, 9 inc, (sc, inc) x3, sc. (34)
- Round 74 sc, (sc, inc) x10, 10 sc. (44)
- Round 83 dec, 28 sc, 5 dec. (36)
- Round 91 dec, (3 sc, inc) x6, 3 dec, 4 sc. (38)
- Rounds 10–1138 sc. (38)
- Round 12(4 sc, dec) x6, dec. (31)
- Round 13(3 sc, dec) x6, sc. (25)
- Round 14(2 sc, dec) x6, sc. (19)Insert safety eyes between Rounds 7 and 8, 7 stitches apart, once you reach Round 14; stuff the head firmly, making sure it is firm, before continuing to Round 15.
- Round 153 sc, (sc, dec) x4, 4 sc. (15)
- Round 167 dec, sc. (8)Tie off the yarn and weave in the ends.
Body
Start the body using navy plush yarn.
Stuff the body after Round 15.
Tie off the yarn and weave in the ends.
- Round 16 sc in a magic ring. (6)
- Round 26 inc. (12)
- Round 3(sc, inc) x6. (18)
- Round 4(2 sc, inc) x6. (24)
- Round 5(3 sc, inc) x6. (30)
- Round 6(4 sc, inc) x6. (36)
- Rounds 7–1136 sc. (36)
- Round 129 dec, (3 sc, dec) x3, sc, dec. (23)
- Round 135 dec, (2 sc, dec) x3, sc. (15)
- Rounds 14–1515 sc. (15)
- Round 16(sc, dec) x5. (10)
- Round 175 dec. (5)
Tail
Start the tail using navy plush yarn.
Tie off the yarn and leave a tail for sewing.
- Round 14 sc in a magic ring. (4)
- Round 2(1 sc, inc) x2. (6)
- Round 36 sc. (6)
- Round 4(sc, inc) x3. (9)
- Round 5(2 sc, inc) x3. (12)
- Round 6(3 sc, inc) x3. (15)
- Round 7(4 sc, inc) x3. (18)
- Round 8(5 sc, inc) x3. (21)
- Round 921 sc. (21)
Arms
Make 2Start the arms with white plush yarn.
Change colors to navy plush yarn on the last stitch of Round 3.
Stuff the arm before closing the top (Round 11).
Tie off the yarn and leave a tail for sewing. Repeat this exact process again to make two arms.
- Round 16 sc in a magic ring. (6)
- Round 26 inc. (12)
- Round 312 sc. (12)
- Rounds 4–712 sc. (12)
- Round 8(4 sc, dec) x2. (10)
- Round 910 sc. (10)
- Round 10(3 sc, dec) x2. (8)
- Round 11Close the two ends of the arm together by making 4 sc across the top through both sides.
Legs
Make 2Start the legs with white plush yarn.
Change colors to navy plush yarn on the last stitch of Round 4.
Stuff the leg before closing the top (Round 15).
Tie off the yarn and leave a tail for sewing. Repeat this exact process again to make two legs.
To make the toes more prominent, insert your yarn at the back of the foot, through to the front of the foot in between the toe. Loop the yarn back through the front of the toe, to the back of the foot where you first inserted the yarn. Tie the ends together, and weave them into the leg. Repeat this between each toe on both feet!
- Round 16 sc in a magic ring. (6)
- Round 26 inc. (12)
- Round 3(3 sc in 1, slst) x3, (sc, inc) x3. (21)
- Round 4sc, (sc, inc, slst) x3, 11 sc. (24)
- Round 5sc, (sc, 2 inc, slst) x3, 11 sc. (30)
- Round 64 sc, dec, (3 sc, dec) x2, 14 sc. (27)
- Round 72 sc, (2 dec, slst) x3, 10 sc. (21)
- Round 8(4 sc, dec) x3, 3 sc. (18)
- Round 9(3 sc, dec) x3, 3 sc. (15)
- Rounds 10–1315 sc. (15)
- Round 14(4 sc, dec) x2, sc, dec. (12)
- Round 15Close the two ends of the leg together by making 6 sc across the top through both sides.
Spikes
Make 9Make the spike using light blue plush yarn.
- Round 14 sc in a magic ring. (4)
- Round 2(sc, inc) x2. (6)
- Round 36 sc. (6)Tie off the yarn, and leave a tail for sewing. Repeat these steps to make 9 spikes total.
Bottom Tail Tip
Make the tip of the tail using light blue plush yarn.
Tie off the yarn, and leave a small tail for sewing.
- Round 14 sc in a magic ring. (4)
- Round 24 inc. (8)
- Round 38 sc. (8)
- Round 4(2 sc, dec) x2. (6)
- Round 53 dec. (3)
Wings
Make 2Use light blue plush yarn for Rounds 1-8.
Repeat this process again to make two wings. Make sure the wings are facing opposite directions (you can do this by simply turning one wing over when you begin crocheting the white border around it).
- Round 1Make a slipknot on your hook and chain 16.
- Round 2In the second chain from the hook, make 15 sc. (15)
- Round 3Ch 2, turn, starting in the third chain from the hook, make 11 hdc.
- Round 4Ch 3, turn, starting in the fourth chain from the hook make 9 hdc, 2 sc.
- Round 5Ch 2, turn, starting in the 3rd stitch from the hook make 7 hdc.
- Round 6Ch 3, turn, starting in the fourth chain from the hook make 5 hdc, 2 sc.
- Round 7Sc all the way around the wing; tie off the yarn, and leave a tail for sewing.
- Round 8Make 3 dec across the bottom of the wing.
- Round 9With white plush yarn, make a slip knot on your hook and insert it at the bottom corner of the wing; sc around the wing, but when you get back to the bottom, stop.
- Round 10Make single crochets directly into the wing from the bottom of the wing to the top; when you meet the white edge at the top, make a DC into the edge, tie off the yarn, and weave in the tail.
- Round 11To make the other white line on the wing, make a slip knot on your hook, and insert it on the bottom of the wing where you left off with the sc previously; make single crochets up to the top of the wing to the opposite edge; when you get to the opposite edge, make 1 DC into the edge of the wing, tie off the yarn, and weave in the ends.
Horns
Make 2Make the horns using white plush yarn.
Tie off, and leave a tail on the end of the horn for sewing. Repeat this process again to make two horns.
- Round 15 sc in a magic ring. (5)
- Round 25 sc. (5)
- Round 3(sc, inc) x2, inc. (8)
- Round 42 inc, 2 sc, 2 dec. (8)
- Round 52 sc, 2 inc, 2 sc, dec. (9)
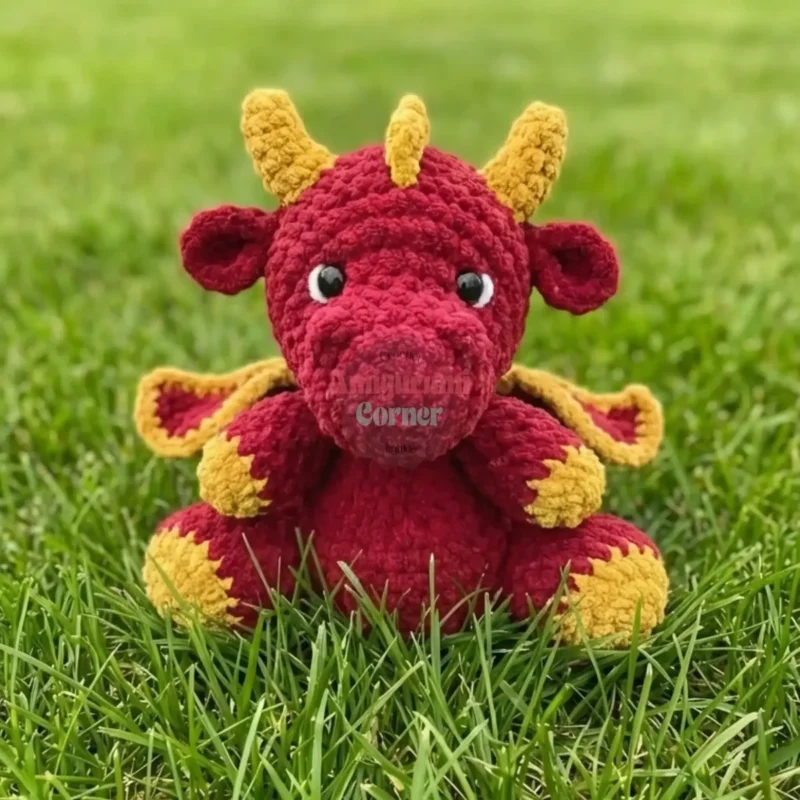
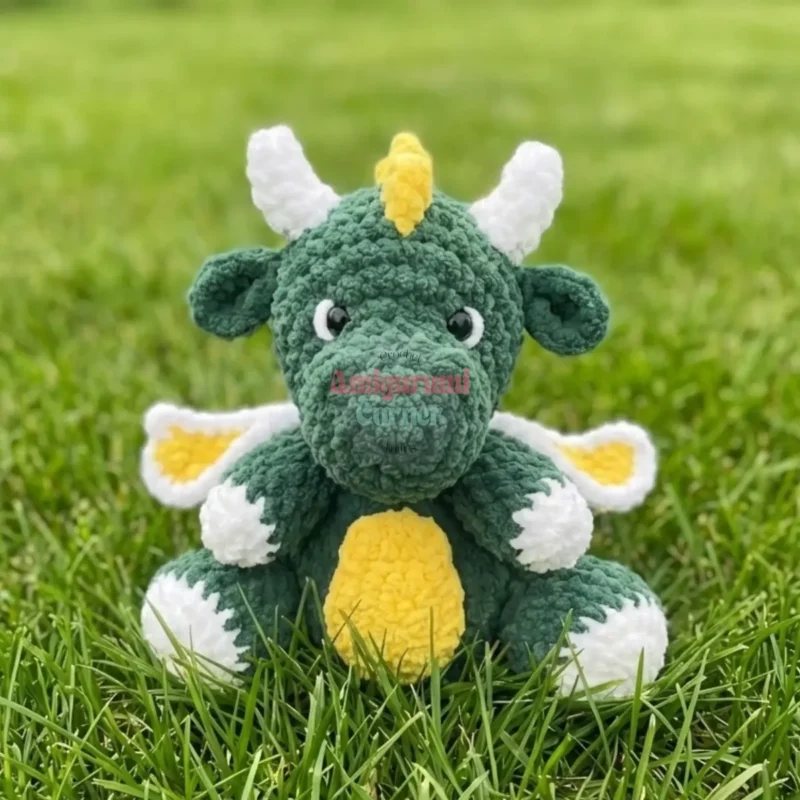
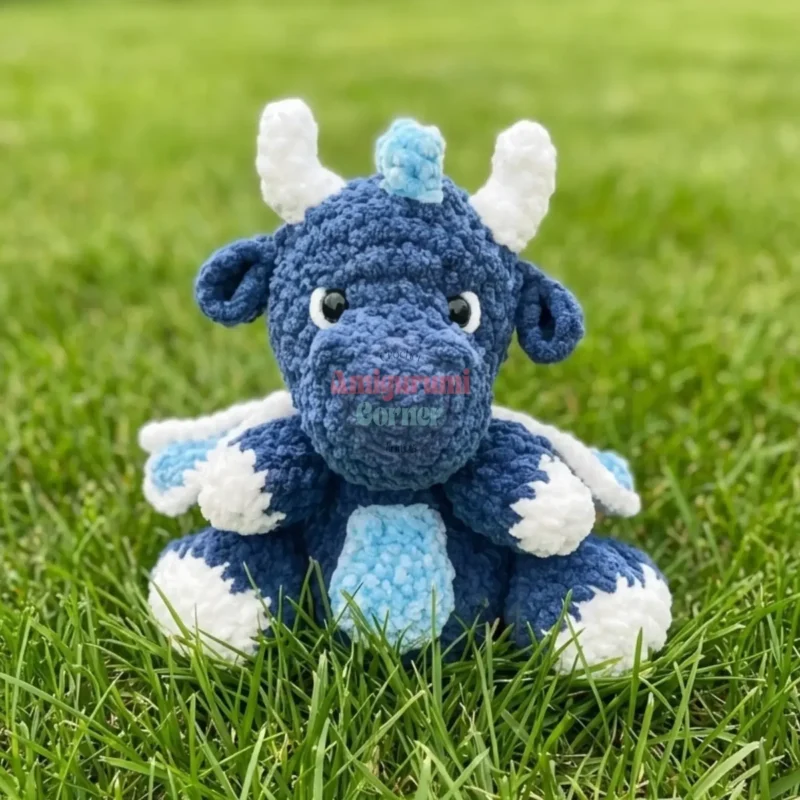
More pictures
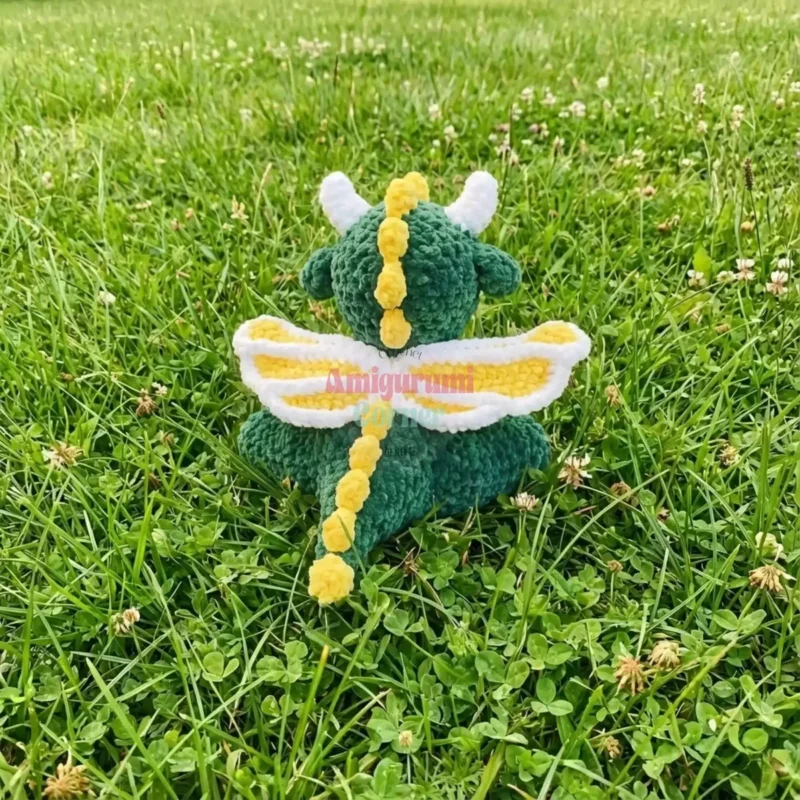
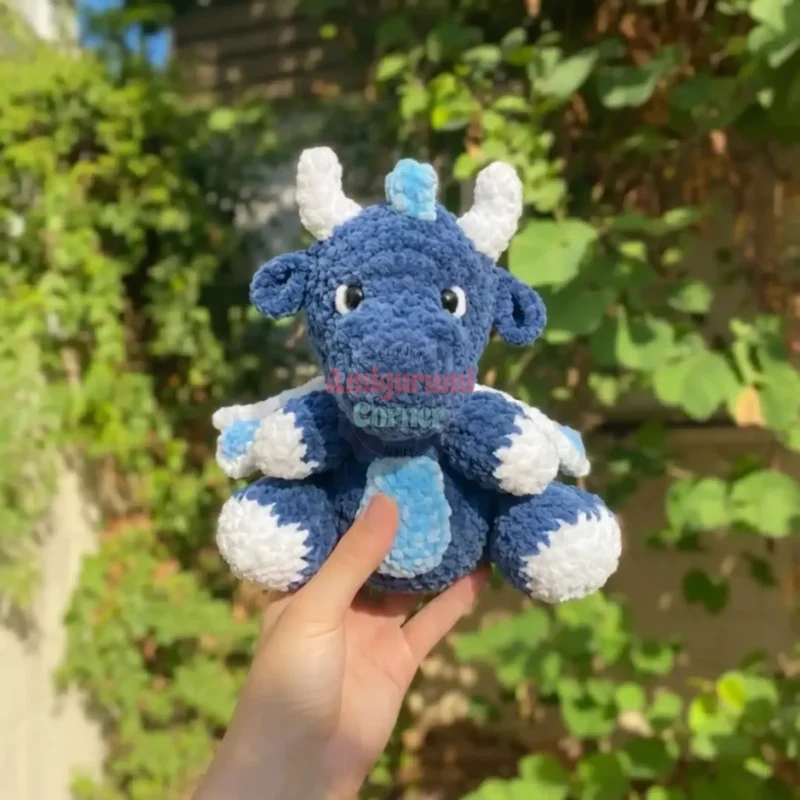
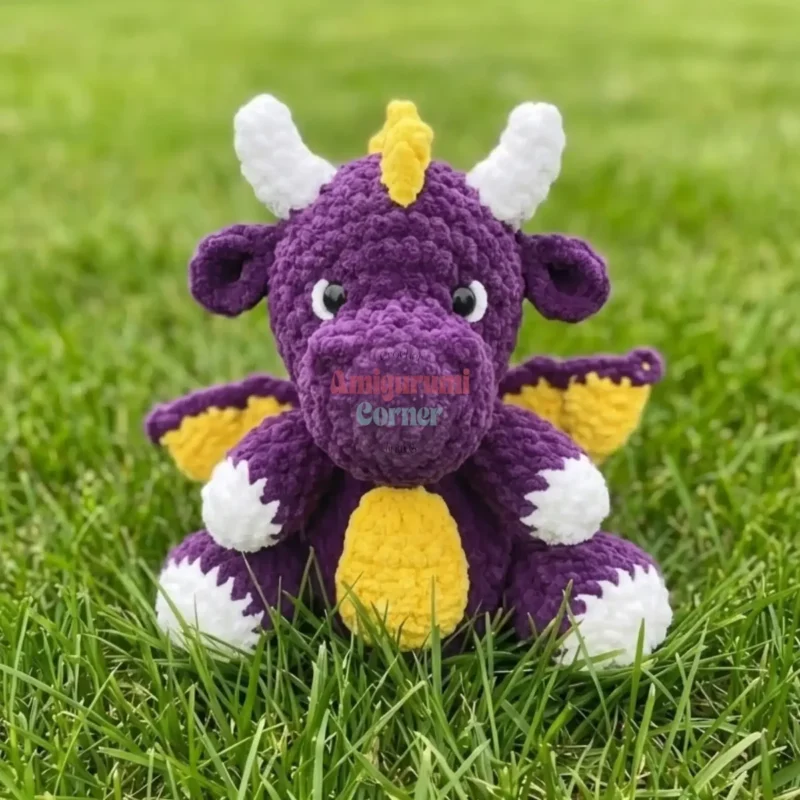
Before the first stitch
- Check you have one ball of navy yarn, plus white and blue.
- Keep a stitch marker ready for every round you work.
- Read Round 1 of the head before you start stitching.
Minutes per piece
- Head and body about 2 hours, because the head has 16 rounds and needs eye placement
- Limbs, wings, spikes, and small parts about 3 hours, because nine spikes and four limbs add up fast
Other yarns that work
- Acrylic, bulky weight This keeps the dragon light and washable. Expect a slightly smaller size than the super bulky original.
Where it ends up
- A shelf companion for a child's room, beside other soft toys.
- A travel toy for car rides, small enough for one hand.
- A gift for a crochet-loving friend, paired with other amigurumi animals.
Small notes
- Stuff the head firmly after inserting the eyes between Rounds 7 and 8, then continue on to Rounds 15 and 16.
- Count your stitches after each round to catch mistakes early.
- Use a stitch marker at the beginning of each round; household items like bobby pins, hair clips, or safety pins can work as substitutes.
- Stuff generously for a firm, round, fluffy shape, adding extra stuffing in areas like the belly to help shape them properly.
- Pull apart clumps of stuffing and add small pieces at a time for a smoother, more even fill and to prevent lumps.
- Feel free to experiment with different color combinations to make the dragon your own.
Little questions
How much yarn do I need for Dallas?
One ball of navy yarn covers most parts. Medium amounts of white and light blue finish the rest.
Why does the head need such precise eye placement?
The eyes sit between Rounds 7 and 8, seven stitches apart. This spacing after Round 14 keeps his face even.
Can I finish Dallas in one sitting?
This dragon has many small parts, from head to spikes. I treat each part as its own quiet project.
Do I need to stuff every part firmly?
The head and body need firm, even stuffing. Smaller parts like ears and horns need just enough to hold shape.
Original pattern: https://amigurumicorner.com/free-amigurumi-dragon-pattern-crochet-dallas-the-dragon/

About the Author
Tamsin Okoro Who writes the patterns at Yarn Gallery, how a pattern gets from the hook to the page, and what this site will never do.


