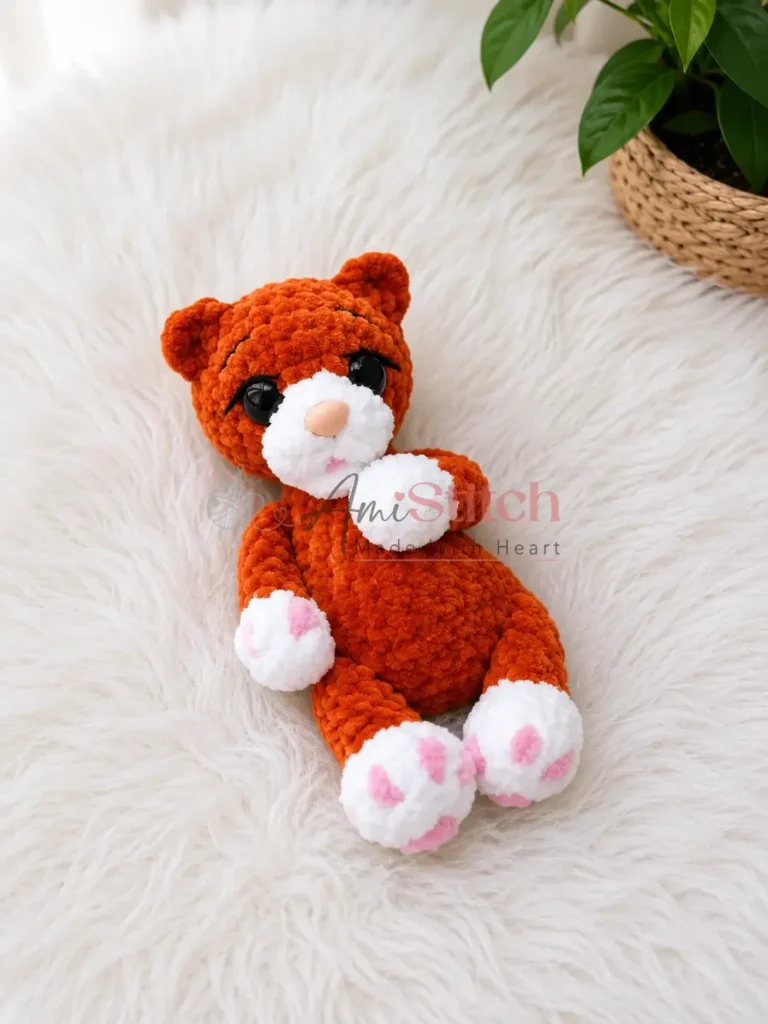
About This Pattern
This kitten works up in small, separate pieces. Body, head, tail, arms, legs, mouth. Each one is soft, quick, and quiet to hold. It fits well into one evening, or two shorter ones. You need bulky plush yarn, a small amount of white, and black yarn for the face. A firm hand with stuffing helps. So does a stitch marker you trust.
The finished toy measures approximately 15 cm (about 6 inches). This pattern is rated beginner-friendly to intermediate — you'll want to know the magic ring, single crochet, increases, decreases, and a few color changes. The ears are crocheted directly into the head, and the legs and arms are joined seamlessly into the body as you go, so there's no tedious sewing of tiny limbs afterward.
In the basket
Embroidery yarn
Hook
Safety eyes
Safety nose
Stuffing
Abbreviations
- BLO
- Back Loop Only
- ch
- Chain
- dc
- Double Crochet
- dec
- Decrease (invisible decrease — 2 sc crocheted together)
- FLO
- Front Loop Only
- inc
- Increase (2 sc in the same stitch)
- MR
- Magic Ring
- sc
- Single Crochet
- sl st
- Slip Stitch
- st / sts
- Stitch / Stitches
Crochet amigurumi kittens: a soft seamless pattern
Upper Arms (make 2)
Start with white (contrast) yarn.
- Round 18 sc in MR. (8)
- Round 2sc in each st around. (8)
- Round 3dec, 2 sc repeat twice. (6)Switch to main color yarn. Lightly stuff only the white section before continuing.
- Rounds 4–8sc in each st around. (6) (Work 5 rounds total.) Flatten the piece and close the opening by working 3 sc through both layers. Fasten off and cut yarn.
Lower Legs (make 2)
Start with white (contrast) yarn.
- Round 112 sc in MR. (12)
- Round 2sc in each st around in BLO. (12)
- Round 33 sc, dec 3 times, 3 sc. (9)
- Round 43 sc, then work a 3-stitch decrease (insert hook into next 3 sts and draw through all loops at once to close), 3 sc. (7)Switch to main color yarn. Lightly stuff only the white section before continuing.
- Rounds 5–9sc in each st around. (7) (Work 5 rounds total.) Move your stitch marker to the center back of the leg. Flatten the piece and close the opening by working 3 sc through both layers. Fasten off and cut yarn.
Body
Use main color yarn throughout. Stuff as you go.
- Round 16 sc in MR. (6)
- Round 2inc in each st around. (12)
- Round 31 sc, inc repeat 6 times. (18)
- Round 46 sc, inc repeat twice, 4 sc. (20)
- Round 5sc in each st around. (20)Your stitch marker (start of round) should sit at the center back.
- Round 63 sc, then work the next 3 sts together with the top of one Lower Leg (joining: insert hook through the next body st and the corresponding edge st of the leg simultaneously, sc across 3 sts), 8 sc, then work the next 3 sts together with the top of the second Lower Leg in the same way, 3 sc. (20)
- Round 7dec, 16 sc, dec. (18)
- Round 83 sc, dec repeat 3 times, 3 sc. (15)
- Rounds 9–10sc in each st around. (15) (Work 2 rounds total.) Realign your stitch marker to the center back before the next round.
- Round 112 sc, dec, 3 sc, dec, 2 sc, dec, 2 sc. (12)
- Round 121 sc, then work the next 3 sts together with the top of one Upper Arm (joining the same way as the legs), 4 sc, then work the next 3 sts together with the top of the second Upper Arm, 1 sc. (12)
- Round 13sc in each st around. (12)Finish stuffing the body firmly. Fasten off and leave a long yarn tail for sewing on the head.
Head
Start with white (contrast) yarn.
- Round 1Foundation Chain 5. Starting in the 2nd ch from the hook: inc, 2 sc, 4 sc in the last chain (working around the tip); continuing along the other side of the foundation chain: 2 sc, 2 sc in the first chain (to close the oval). (12)
- Rounds 2–3sc in each st around. (12) (Work 2 rounds total.) Switch to main color yarn.
- Round 41 sc, inc 6 times, 5 sc. (18)
- Round 51 sc, inc repeat 6 times, 6 sc. (24)
- Round 61 sc, inc 3 times, 12 sc, inc 3 times, 5 sc. (30)
- Round 7sc in each st around. (30)Before the next round, mark the positions of the ears with stitch markers. The gap between the ears spans 7 stitches (measured across the eyes).
- Round 8Ears 8 sc, [ch 2, work 2 dc together into the same st in FLO (joined at top), ch 2, sl st into the same st] — first ear made, 6 sc, [ch 2, work 2 dc together into the same st in FLO (joined at top), ch 2, sl st into the same st] — second ear made, 12 sc. (30)
- Round 98 sc, 2 sc into the remaining BLO stitches from the previous round (behind the ear), 6 sc, 2 sc into the remaining BLO stitches from the previous round (behind the second ear), 12 sc. (30)Insert the safety nose (10 × 8 mm) between Rnds 1 and 2 of the muzzle section. Insert the safety eyes (13 mm) between Rnds 4 and 5 of the head. Secure both from the inside.
- Round 103 sc, dec repeat 6 times. (24)
- Round 112 sc, dec repeat 6 times. (18)
- Round 121 sc, dec repeat 6 times. (12)
- Round 13dec 6 times. (6)Pull the remaining opening closed, fasten off, and cut yarn. Sew the head onto the body using the long yarn tail.
Tail
Use main color yarn throughout. Do not stuff.
- Round 18 sc in MR. (8)
- Rounds 2–3sc in each st around. (8) (Work 2 rounds total.)
- Round 4dec, 6 sc. (7)
- Rounds 5–6sc in each st around. (7) (Work 2 rounds total.)
- Round 7dec, 5 sc. (6)
- Rounds 8–14sc in each st around. (6) (Work 7 rounds total.) Flatten the piece and close the opening by working 3 sc through both layers. Fasten off and leave a long yarn tail for sewing.
Mouth (make 1)
Use white (contrast) yarn.
- Round 15 sc in MR. (5)Fasten off and leave a long yarn tail for sewing. Sew the mouth onto the lower part of the muzzle.
More pictures
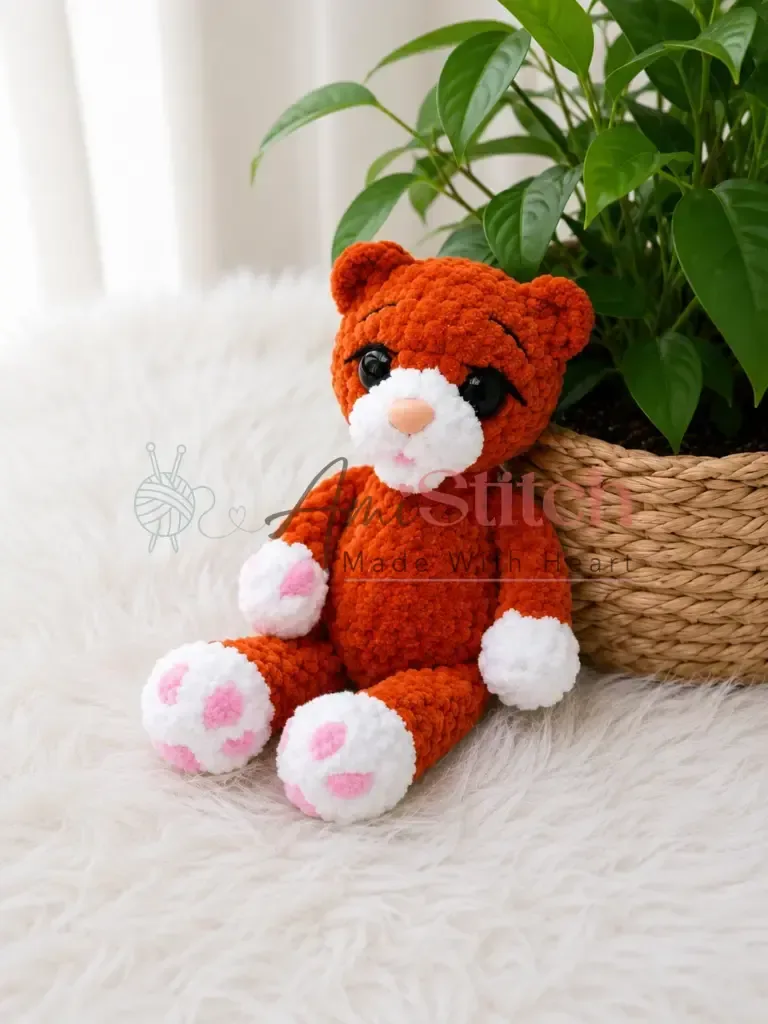
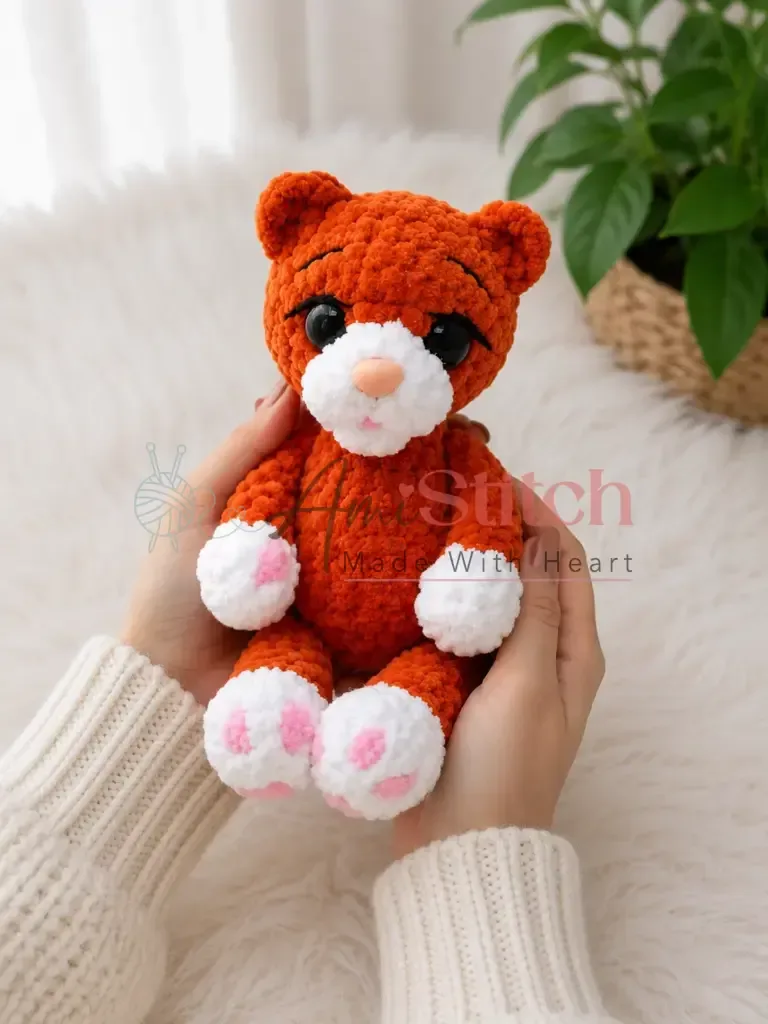
Before the first stitch
- Check you have half a skein of main color, plus a small amount of white.
- Set a stitch marker at the start of every round before you begin.
- Read through the Head and Body rounds once, since both run twelve rounds long.
Minutes per piece
- Body and Head about 2 hours, because each runs twelve rounds with steady shaping
- Arms, Legs, Tail, and Mouth about 2-3 hours, because the small pieces add up and need careful stuffing
Other yarns that work
- acrylic, super-bulky weight Stitches sit larger and firmer, so your kitten grows slightly bigger. You may need a bigger hook to match gauge.
- cotton-acrylic blend, worsted weight The fabric drapes softer and the kitten comes out smaller. Stuff a touch more to keep shape from sagging.
Where it ends up
- A soft toy for a child's shelf, paired with a small basket of other plush animals.
- A quiet desk companion, sitting alongside pens and a small potted plant.
- A handmade gift for a new baby, paired with a soft blanket.
Joining up
- Step 1 With the body fully stuffed and fastened off, use the long yarn tail to sew the Head securely onto the top of the Body , centering it and aligning it so the muzzle faces forward. Use whipstitch around the full opening, pulling snugly. Weave in the tail end.
- Step 2 Sew the Tail onto the back of the body at approximately Row 6, using the long tail end and whipstitch. Weave in the end.
- Step 3 If you haven’t already joined the Lower Legs and Upper Arms during body construction, attach them now by aligning the flat edge with the corresponding round on the body and sewing across with the yarn tail.
- Step 4 Using a strong thread and large needle, create the eye indentation shaping : mark two anchor points below the muzzle approximately 2 stitches apart. Pass the needle in at point 1 below the muzzle and out at point 2, then continue through points 3, 4, 5, and 6, repeating the pass twice. Pull firmly and tie off. This draws the eyes gently inward for a natural, expressive look.
- Step 5 To shape the muzzle , loop a thin acrylic thread around the nose and tie it off. Thread the ends onto a needle, pass them in at the indentation point below the muzzle, and bring them out at the top of the head. Pull gently, tie a knot, and bury the ends inside the head.
- Step 6 Embroider lashes and brows above the safety eyes using black acrylic yarn (such as a fingering-weight yarn).
- Step 7 Sew the Mouth piece below the nose at the base of the muzzle.
- Step 8 Optionally, embroider paw pads on the white sections of the paws using black yarn.
- Step 9 Weave in all remaining ends.
Small notes
- Use the E-4, 3.25 mm hook throughout for a firm, gap-free fabric.
- Move your stitch marker up every round, since there is no joining slip stitch.
- This pattern is written in US crochet terminology.
- Gauge is not critical for amigurumi, but aim for a tight, firm fabric with no gaps that stuffing can show through.
- The lower legs and upper arms are joined directly into the body as you work — read ahead through the Body section before you begin so you're prepared for those rounds.
Little questions
Can I skip the white contrast yarn?
You could work the whole kitten in one color. You would lose the muzzle and paw detail, though, so the face reads flatter.
Why twelve rounds for both Body and Head?
Both need enough rounds to shape a rounded form. This keeps the two pieces proportioned to fit together well.
What if my stitches are loose and stuffing shows through?
Try a slightly smaller hook, since gauge is not fixed here. A tighter fabric matters more than an exact stitch count.
Do I need the strong thread and large needle?
Yes, for shaping the eye indentations after the eyes are placed. It pulls the face into a more expressive, dimensional look.
Original pattern: https://amistitch.com/crochet-amigurumi-kittens-step-by-step-plushie-pattern/

About the Author
Tamsin Okoro Who writes the patterns at Yarn Gallery, how a pattern gets from the hook to the page, and what this site will never do.


