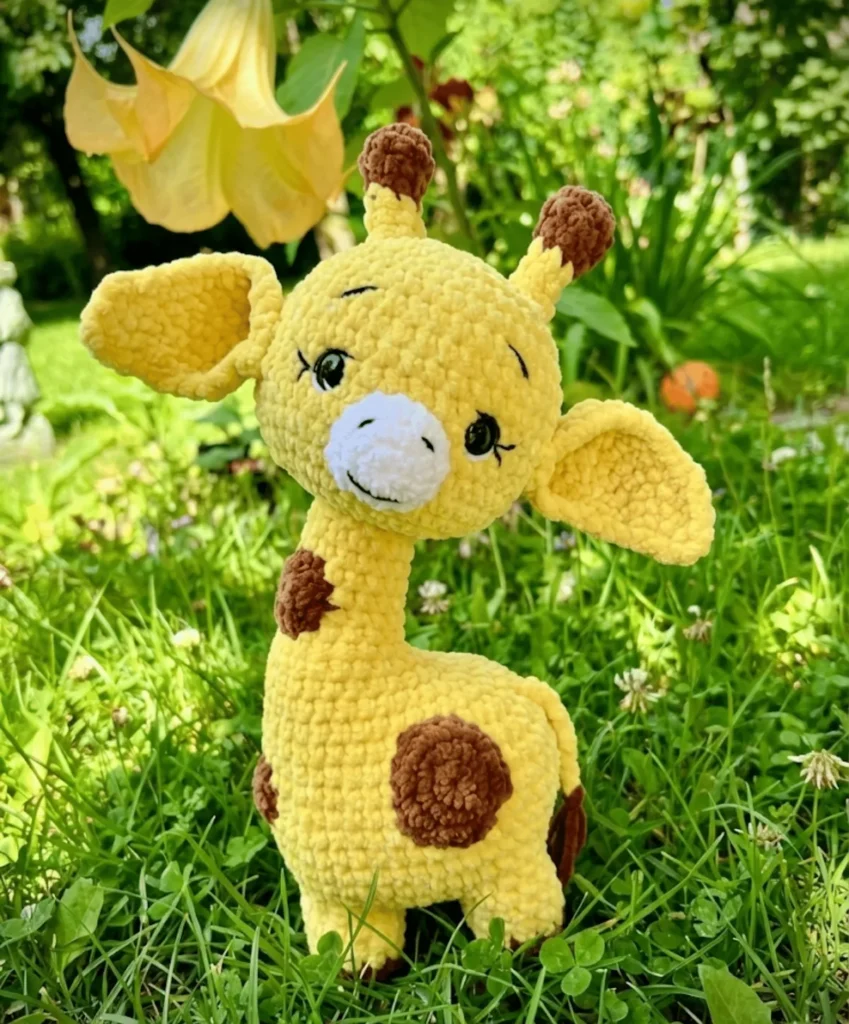
About This Pattern
This giraffe is a patient project, not a rushed one. I made mine over three evenings, one for legs, one for the body, one for the head and spots. The body climbs to forty-eight stitches before it narrows into a long neck, so it rewards a steady hand. It sits well on a shelf or in small arms. Nothing about it needs to be perfect. It just needs stuffing, safety eyes, and a little sewing patience at the end.
In the basket
Yellow yarn
Brown yarn
White yarn
Optional
Optional
Abbreviations
- ch
- chain stitch
- sc
- single crochet
- inc
- increase (two stitches in one)
- dec
- decrease (crochet two stitches together)
- hdc
- half double crochet
- dc
- double crochet
- sl st
- slip stitch
A gentle giraffe to crochet over a few quiet evenings
Constructing the Body
Work in a continuous spiral, marking the beginning of each round. The first round should be worked firmly – consider using a smaller hook if needed.
- Rounds 1–7Work 48 sc
- Round 8Begin shaping with strategic decreases (43)
- Rounds 9–15Continue decreasing gradually to shape the body (20)
Rounds 16-23: Work even on 16 stitches to form the neck If you’re making a movable head, cut the yarn here. Otherwise, continue directly to the head section.
Crafting the Head
Begin with yellow yarn:
- Round 1Chain 16 and join with a slip stitch to form a ring (16)Chain 1, work 15 sc (16)Inc in each stitch around (32)(3 sc, inc) repeat 8 times (40)(19 sc, inc) repeat 2 times (42)
- Rounds 5–12Work 42 sc (5 sc, dec) repeat 6 times (36)
- Round 142 sc, dec, (4 sc, dec) repeat 5 times, 2 sc (30)
Don’t cut the yarn yet – it’s time to add the eyes!
Medium spot
- Round 1Chain 2, work 6 sc in 2nd chain (6)
- Round 2Inc around, slip stitch to finish (12)
Large spot
- Round 1Chain 2, work 8 sc in 2nd chain (8)
- Round 2Inc around, slip stitch to finish (16)
Position the spots randomly on the body and neck for a natural look, then sew them securely in place.
Making the Horns (Make 2)
Work in a continuous spiral: With brown yarn: Chain 2, work 9 sc in the 2nd chain (9)
- Rounds 2–3Work 9 sc (1 sc, dec) repeat 3 times (6)Change to yellow yarn: 5. Work 6 sc 6. Rounds 6-7: Work 6 sc Attach the horns between rounds 15-16, spacing them 4 rounds from the ears.
Making the Legs (Make 4)
Work in a continuous spiral, using a stitch marker to track your rounds.
Starting with brown yarn: Chain 2, work 6 sc in the 2nd chain from hook (6)
Inc in each stitch around (12)
Work 12 sc Change to yellow yarn and work 12 sc, ending with a slip stitch in the previous round
- Rounds 5–6Work 12 sc Fasten off, leaving a long tail for sewing.
Creating the Neck Joint (Optional)
Place the head onto the neck opening. For extra stability, you can insert a plastic ring into the neck before working the joint.
Continue working in the neck stitches:
- Round 24Inc in each stitch (32)
- Rounds 25–26Work 32 sc
- Round 27Dec around (16)
- Round 28Dec around (8)
- Round 29Dec 4 times Make the joint as tight as possible, then fasten off securely. Fill the head firmly, paying special attention to the space between the joint and the head walls. Complete the top of the head: (3 sc, dec) repeat 6 times (24)(1 sc, dec) repeat 8 times (16)Dec around until closed (8)Close the opening completely and weave in the end inside the head.
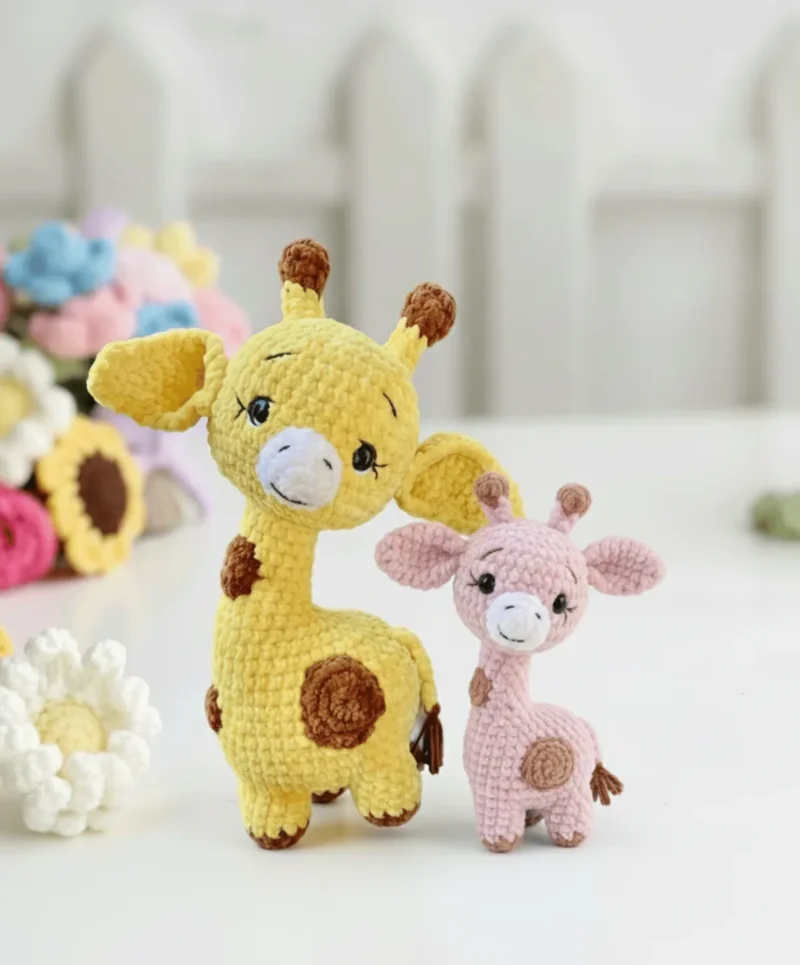
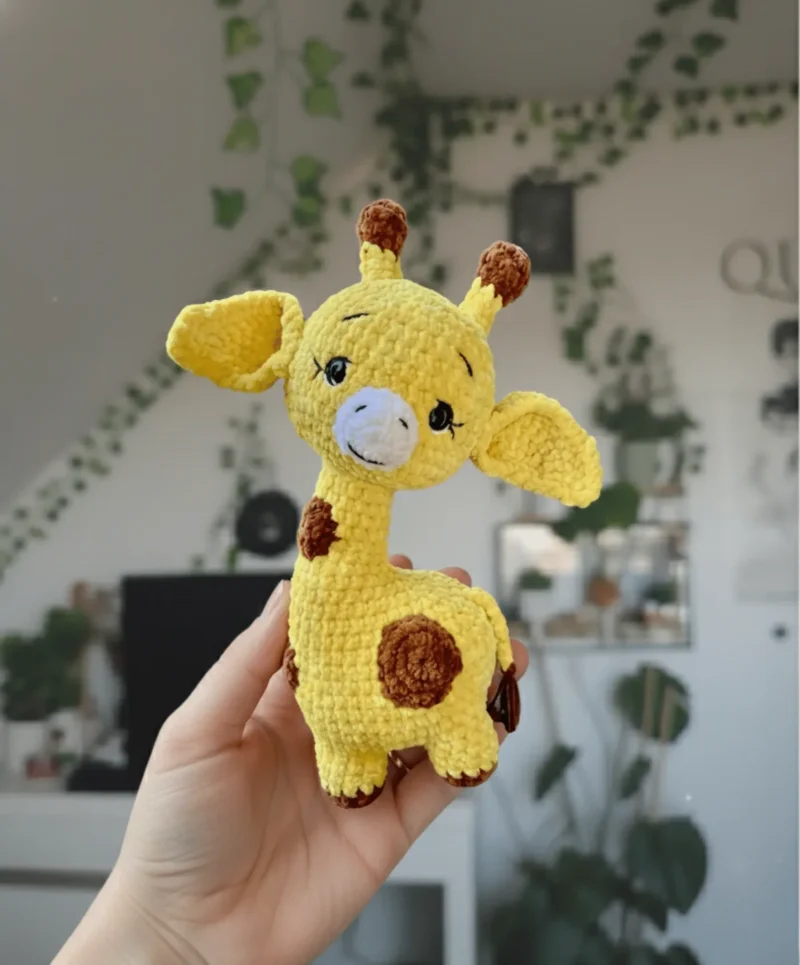
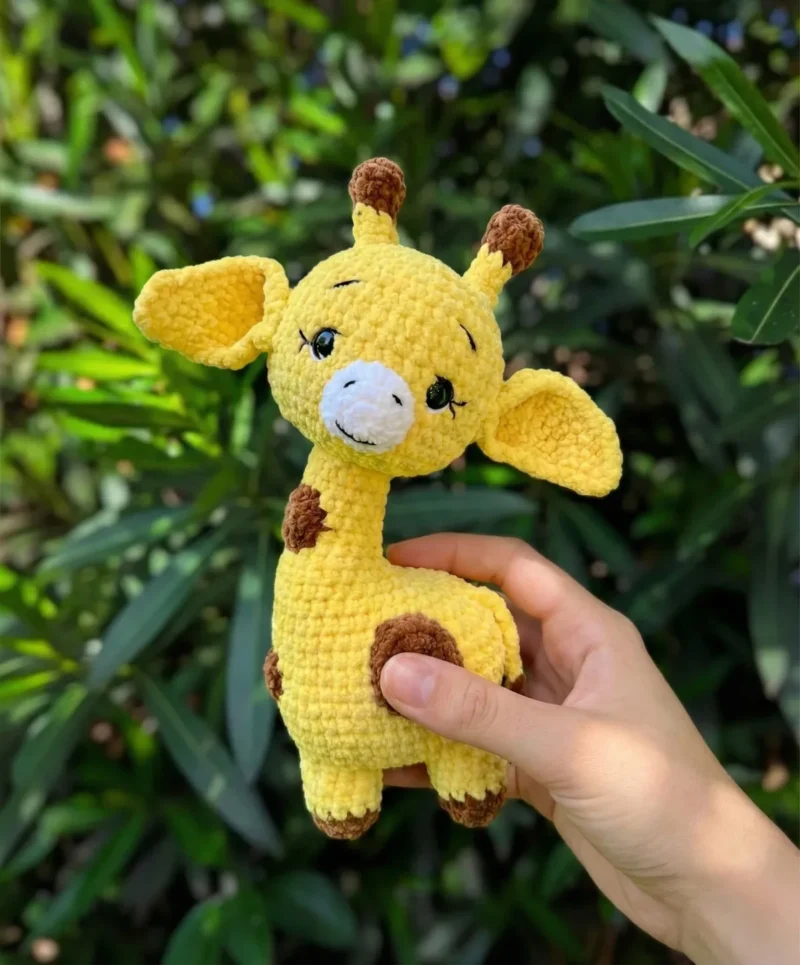
More pictures
Before the first stitch
- Check you have all three yarn colors before starting the body and head.
- Place a stitch marker at round one and move it every round.
- Read through the neck shaping rounds once before you begin decreasing.
Minutes per piece
- Legs (make 4) and body about 2 hours, because four legs plus twenty-three body rounds add up
- Head, spots, and assembly about 2-4 hours, because the head has several short rows and spots need careful placement
Other yarns that work
- cotton-acrylic blend, DK weight gives a crisper stitch definition, but makes a slightly smaller giraffe and may need a touch more stuffing
- acrylic, worsted weight keeps the size close to the original, drapes a bit stiffer, and pairs well with a 4mm hook
Where it ends up
- A nursery shelf companion, paired with a soft blanket in matching yellow tones.
- A quiet-play toy for toddlers, paired with other small amigurumi animals.
- A gift for a new baby, paired with a name tag or small note.
Joining up
- Step 1 Symmetry is key: Take your time positioning ears, horns, and eyes symmetrically for the most professional appearance.
- Step 2 Secure all parts firmly: Since this is a toy, ensure all sewn components are attached securely, especially if it’s intended for children.
- Step 3 Stuff generously: A well-stuffed giraffe maintains its shape beautifully and feels more substantial.
- Step 4 Block if needed: If your giraffe seems uneven, light steam blocking can help even out the stitches.
Small notes
- Use a smaller hook for round one of the body. A firm first round keeps stuffing from peeking through later.
- Move your stitch marker every single round. Losing your place in a forty-eight stitch round costs more time than marking does.
- Stuff the neck rounds a little firmer than the rest. Sixteen stitches worked even needs support to stay upright.
Little questions
Can I make the head removable?
Yes, cut the yarn after round twenty-three of the body. The optional neck joint section then lets you attach the head separately.
How many stitch markers do I actually need?
The pattern calls for eight. I use one for the round start and the rest for tracking spots and leg placement.
What if my body looks uneven after stuffing?
Light steam blocking evens out stitches nicely. Let it cool fully before handling again.
Do I need the plastic ring for the neck?
Only if you want a sturdier, more posable head. Without it, the neck still holds shape, just a little softer.
Original pattern: https://amigurumicorner.com/crochet-giraffe-toy-pattern-easy-amigurumi-tutorial-for-beginners/

About the Author
Tamsin Okoro Who writes the patterns at Yarn Gallery, how a pattern gets from the hook to the page, and what this site will never do.


