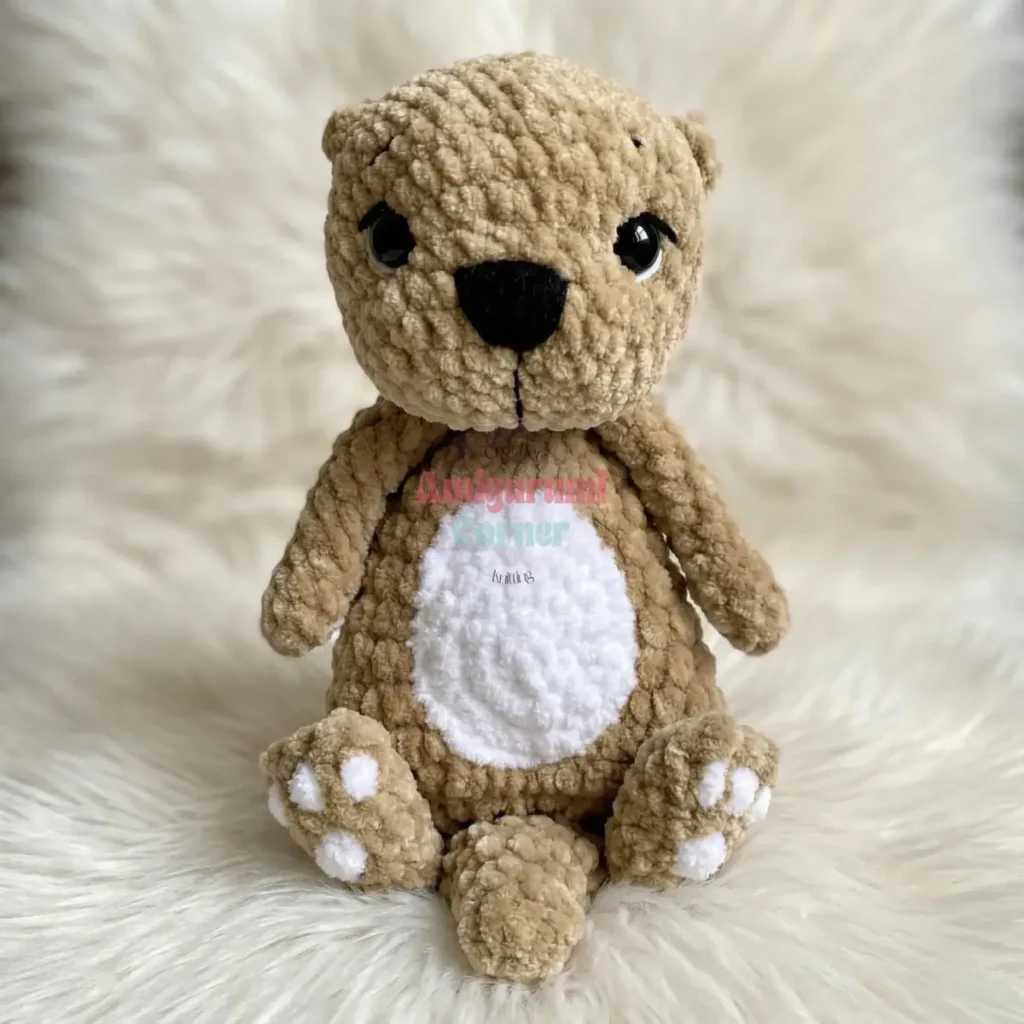
About This Pattern
This otter is a small, round thing for an evening on the sofa. Plush yarn makes the body soft without much effort. The head takes the longest, fourteen rounds of careful counting. Arms, legs, and ears go quickly between longer stretches. It needs safety eyes, fiberfill, and a steady hand with sewing thread at the end. Nothing about it is rushed. It sits well on a shelf once finished, paws tucked, patient and plain.
In the basket
Abbreviations
- ch
- chain
- sl st
- slip stitch
- sc
- single crochet
- hdc
- half double crochet
- dc
- double crochet
- inc
- increase (2 sc or 2 hdc in the same stitch)
- dec
- decrease (invisible decrease)
- mr
- magic ring
- BLO
- back loop only
- (…)
- total stitch count at end of round
Crochet a plush otter amigurumi with a safety-eye face
Upper Arms (Make 2)
- Round 16 sc in mr (6)
- Round 2(1 sc, inc) × 3 (9)
- Rounds 3–49 sc (9)
- Round 5(1 sc, dec) × 3 (6)
- Rounds 6–126 sc (6)Do not stuff the arm. Flatten the opening and join both sides together by working 3 sc through both layers. Fasten off and weave in ends.
Lower Legs (Make 2)
- Round 16 sc in mr (6)
- Round 2(2 sc, inc) × 2 (8)
- Round 3(3 sc, inc) × 2 (10)
- Round 4(4 sc, inc) × 2 (12)
- Round 512 sc (12)
- Round 612 sc (12)Stuff the leg firmly. Flatten the opening and join both sides by working (1 dc, 1 sl st) × 3 through both layers. Fasten off and weave in ends.
Ears (Make 2)
Chain 4. Beginning in the 2nd chain from hook:
- Row 11 sc, 1 hdc, 1 sc (3)Fasten off, leaving a long tail on each end. Tie the two tail ends together — these will be hidden inside the head when the ears are sewn on.
Head
Chain 8. Beginning in the 2nd chain from hook:
- Round 1inc, 5 sc, 3 sc in one stitch, 6 sc along opposite side of chain (16)
- Round 22 inc, 5 sc, 3 inc, 5 sc, 1 inc (22)
- Round 3(1 sc, inc) × 2, 5 sc, (1 sc, inc) × 3, 5 sc, (1 sc, inc) (28)
- Round 428 sc (28)
- Round 53 sc, 12 inc worked in BLO, 13 sc (40)
- Rounds 6–940 sc (40)Insert safety eyes between Rnds 5 and 6, placing them 14 stitches (7 increase pairs) apart.
- Round 10(6 sc, dec) × 5 (35)
- Round 11(5 sc, dec) × 5 (30)
- Round 1230 sc (30)Begin stuffing the head evenly, starting from the muzzle area.
- Round 13(4 sc, dec) × 5 (25)
- Round 14(3 sc, dec) × 5 (20)
- Round 15(2 sc, dec) × 5 (15)
- Round 16(1 sc, dec) × 5 (10)
- Round 175 dec (5)Finish stuffing fully. Pull the remaining stitches closed and fasten off securely.Face Shaping (Tacking — Repeat Twice):
Using a tapestry needle and matching thread, insert the needle from beneath at point 1 (the base center) and exit at point 2. Insert at point 3, keeping the thread beneath the eye, and exit at point 4. Pull both thread ends to create a gentle indent and tie 2 secure knots — do not cut the thread. Continue from point 4 to point 5, insert at point 6 (thread passes beneath the other eye), and exit at point 7 (same hole as point 1). Pull tight, tie 2 knots. Repeat the entire tacking process a second time for a more defined expression.
Face Embroidery
Using a double strand of black yarn (YarnArt Jeans, color 53): embroider the nose by stitching through designated points — the lower point sits between Rnds 1 and 2 of the muzzle, and the upper two points sit between Rnds 3 and 4.
Sew ears between Rnds 10 and 11 of the head.
Embroider eyebrows between Rnds 7 and 8.
Embroider eyelashes, a small mouth, and outline the safety eyes using white yarn (YarnArt Jeans, color 01).
Body
The body is worked from the tail end upward as a single piece.
- Round 16 hdc in mr (6)
- Round 26 hdc (6)
- Round 3(1 hdc, inc) × 3 (9)
- Round 4(2 hdc, inc) × 3 (12)
- Round 5(3 hdc, inc) × 3 (15)
- Round 6(4 hdc, inc) × 3 (18)
- Round 718 inc (36)
- Round 8(8 hdc, inc) × 4 (40)
- Round 940 hdc (40)
- Round 10(6 hdc, dec) × 5 (35)
- Round 1135 hdc (35)
- Round 12(5 hdc, dec) × 5 (30)
- Round 1330 hdc (30)
- Round 14(4 hdc, dec) × 5 (25)
- Round 1525 hdc (25)
- Round 16(3 hdc, dec) × 5 (20)
- Round 1720 hdc (20)
- Round 18(2 hdc, dec) × 5 (15)
- Round 19(1 hdc, dec) × 5 (10)Work 1–2 additional hdc to reach a clean stopping point, then work 1 sl st. Fasten off and weave the tail inside the body.
Belly Patch
Work loosely using Alize Softy yarn and a 5 mm hook. The piece will be slightly open in texture, which makes it easier to shape when sewing.
- Round 16 hdc in mr (6)
- Round 2(1 hdc, inc) × 3 (9)
- Round 3(2 hdc, inc) × 3 (12)Finish with 1 sl st. Fasten off, leaving a long tail for sewing.
More pictures
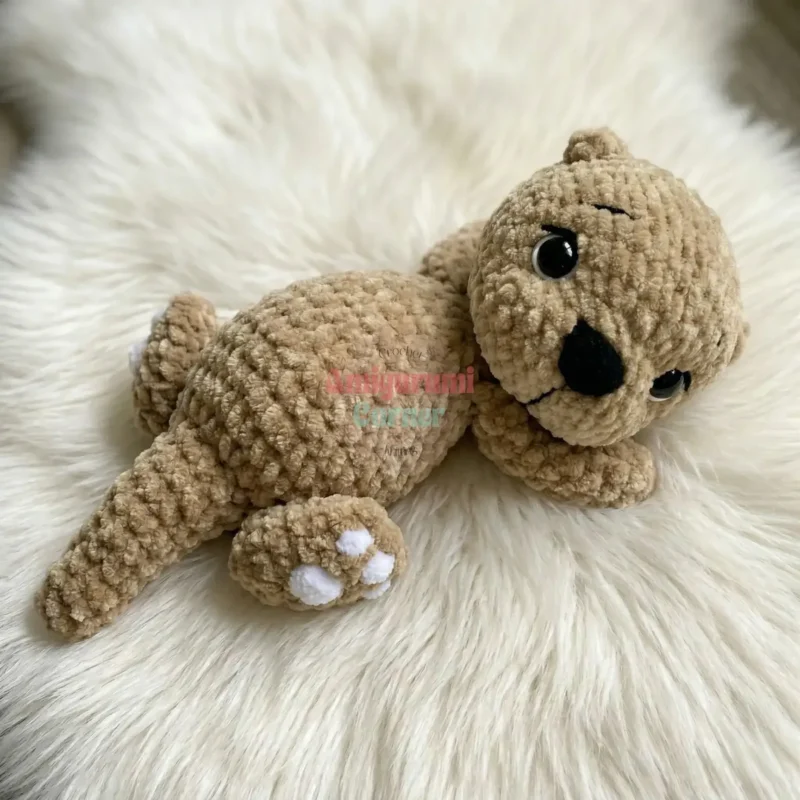
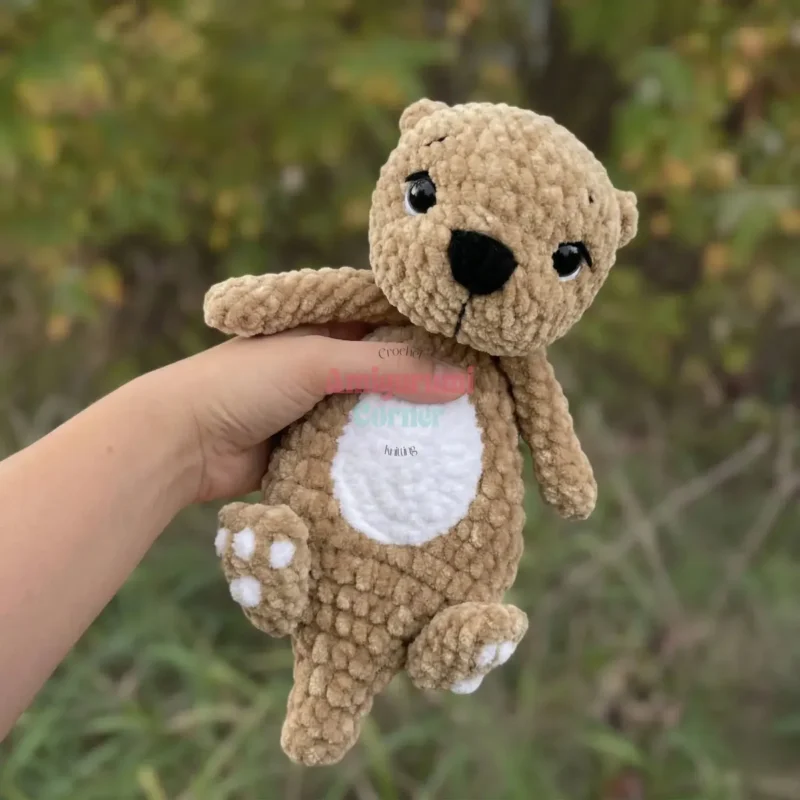
Before the first stitch
- Check you have enough main color yarn; one skein covers the whole body.
- Set a stitch marker before round one of the head. Plush yarn hides stitches easily.
- Read through the body's nineteen rounds once before starting. Know where the legs and arms will attach.
Minutes per piece
- Head and face details about 2 hours, because fourteen rounds and embroidery both take patience
- Body, limbs, ears, and assembly about 4-6 hours, because nineteen body rounds plus four small pieces add up
Other yarns that work
- Acrylic plush, bulky weight Gives a similar soft texture but may need a slightly larger hook for the same density.
- Cotton-acrylic blend, worsted weight Firmer drape, crisper stitch definition, and less bulk, so the finished otter sits smaller and stuffs more easily.
Where it ends up
- A shelf companion for a reading nook, paired with a small knitted blanket.
- A gift for a child's bedroom, sitting alongside other soft toys.
- A desk or windowsill piece, paired with a potted plant for scale.
Joining up
- Step 1 Attach the upper arms using sewing thread. Position them against the top edge of the body, spacing them 3 hdc apart from each other. Sew firmly through the topmost row of the body.
- Step 2 Attach the lower legs vertically using sewing thread, aligned with Rnds 6–8 of the body. The flat seam edge should face forward.
- Step 3 Sew the head to the body using sewing thread. Position it so that the tacking dimple sits inside the neck opening and is hidden within the body cavity.
- Step 4 Sew the belly patch onto the front of the body using the long yarn tail, stitching around the full perimeter. You may add a small pinch of stuffing behind it before closing, if desired.
- Step 5 Embroider paw pads on the lower legs using a double strand of Alize Softy yarn. Work 2 stitches per pad: toe pads are approximately 1 hdc in size, and the heel pad is approximately 2 sc in size.
Small notes
- Mark the start of every round, especially in the plush yarn. The texture blurs stitch definition fast.
- Stuff the head and body before sewing them together. Add fiberfill a little at a time to avoid lumps.
- This pattern uses US crochet terminology.
- All rounds are worked in a continuous spiral unless otherwise stated; do not join rounds unless instructed.
- Gauge is not critical for amigurumi, but aim for a firm, tight fabric so stuffing does not show through.
Little questions
Why does the head take fourteen rounds and the body nineteen?
The head needs more shaping for the muzzle and ear placement. The body carries both the torso and the base for limb attachment, so it runs longer.
Can I skip the belly patch in Alize Softy yarn?
You can, but the patch gives contrast and a slightly different texture against the main plush body. It is a small amount of yarn, so it is worth keeping.
Why use sewing thread instead of yarn to attach the limbs?
Sewing thread sits flatter and holds tighter under stress than the plush yarn would. It keeps the arms and legs secure without adding bulk at the seams.
How tight should the upper arms be worked?
The pattern calls for a looser gauge in the arms using Alize Softy yarn. This open texture makes the piece easier to shape when you sew it onto the body.
Original pattern: https://amigurumicorner.com/crochet-plush-otter-amigurumi-full-pattern-guide/

About the Author
Tamsin Okoro Who writes the patterns at Yarn Gallery, how a pattern gets from the hook to the page, and what this site will never do.


