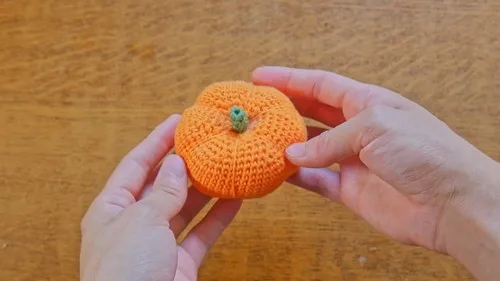
About This Pattern
This pumpkin works up in two small parts. A rounded body of eighteen rounds, and a short five-stitch stem (vine). It sits well in one evening, maybe two if I pause. I like making it after dinner, yarn in my lap, something quiet on. It needs steady hands for the shaping rounds, and a little stuffing patience. By the end I have one solid, satisfying shape on the table.
In the basket
Abbreviations
- sc
- single crochet
- inc
- increase
- dec
- decrease
Crochet a realistic pumpkin amigurumi for fall decor
Pumpkin Pattern
- Round 16 sc in a magic circle
- Round 22 sc in each stitch
- Round 3(1 sc, 1 inc) x6
- Round 4(2 sc, 1 inc) x6
- Round 5(3 sc, 1 inc) x6
- Round 6(4 sc, 1 inc) x6
- Round 7(5 sc, 1 inc) x6
- Round 8(6 sc, 1 inc) x6
- Round 9(7 sc, 1 dec) x6
- Rounds 10–1854 sc
- Round 19(7 sc, 1 dec) x6
- Round 20(6 sc, 1 dec) x6
- Round 21(5 sc, 1 dec) x6
- Round 22(4 sc, 1 dec) x6
- Round 23(3 sc, 1 dec) x6
- Round 24(2 sc, 1 dec) x6
- Round 25(1 sc, 1 dec) x6
- Round 266 dec
Vine Pattern
- Round 15 sc in a magic circle
- Rounds 2–45 sc
More pictures
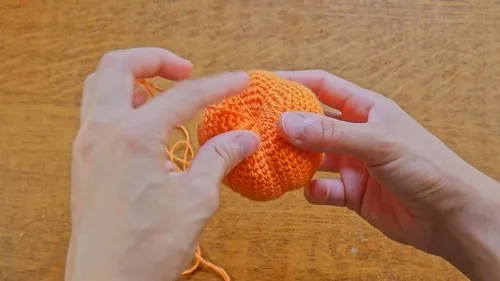
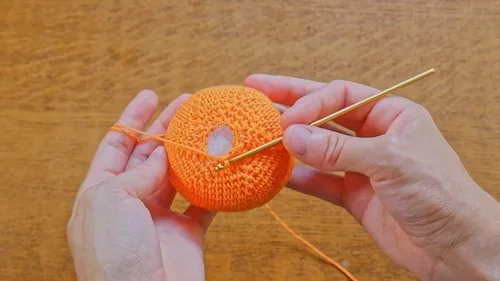
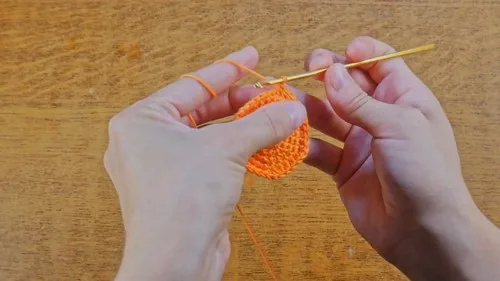
Before the first stitch
- Check I have enough main-color yarn for eighteen rounds plus stuffing bulk.
- Set a stitch marker at the start of round one, before the increases begin.
- Read through the increase pattern in rows three through five first, so the shaping makes sense before I stitch it.
Minutes per piece
- Main pumpkin body (18 rounds) about 3 to 4 hours, because the increase rounds need careful counting
- Stem piece (2 rounds) about 15 to 20 minutes, because it is small and worked plain
Other yarns that work
- Cotton, worsted weight gives a firmer, more structured pumpkin with less squish; may need a slightly smaller hook for tight stitches
- Acrylic-wool blend, worsted weight softer drape and easier stuffing give; holds shape well with the same hook size
Where it ends up
- A centerpiece for a table runner, paired with dried leaves or small gourds.
- A bowl filler for a entryway table, grouped with two or three other sizes.
- A desk accent for autumn months, sitting beside a small potted plant.
Small notes
- Keep my hook size consistent across both parts, so the stem fits the body snugly.
- Move my stitch marker up every round so I never lose track of where round one starts.
- Stuff the body firmly before closing, so the rounded shape holds once it rests on a table.
Little questions
How do I keep the increase rounds from drifting off count?
I count stitches after every repeat in rows three through five. A marker at round start helps me catch mistakes early. Slowing down there saves time later.
Can I make the pumpkin smaller or larger?
Yes, the pattern notes customizable size and shape. I adjust by stopping the body rounds earlier or adding extra plain rounds before the stem. The stem stays the same five-stitch start either way.
Does the stem need a different hook?
No, I use the same hook as the body for a snug join. A smaller hook here can make the stem too tight to attach cleanly.
How firm should the stuffing be?
Firm enough that the rounded shape holds under light pressure. I stuff gradually as I close the final rounds, checking the shape as I go.
Original pattern: https://crocheteverything.com/realistic-pumpkin-crochet-amigurumi-tutorial-for-autumn-decor/

About the Author
Tamsin Okoro Who writes the patterns at Yarn Gallery, how a pattern gets from the hook to the page, and what this site will never do.


