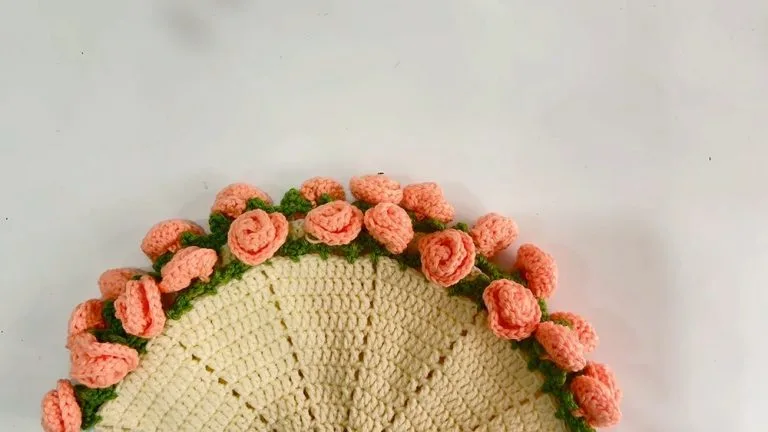
About This Pattern
This pattern teaches you the secret formula behind every perfectly flat crochet circle: how to increase evenly with double crochet stitch so your work grows outward instead of cupping or rippling. It's the exact skill hiding behind coasters, granny square centers, animal ears, and amigurumi bases, and once you understand it, a whole world of round projects opens up. It's perfect for beginners who've made a few chains and single crochet swatches but want their first real 'aha' moment with shaping.
Working up over 5 rounds starting from a ring, you'll practice building a foundation, then adding calculated increases in each successive round to keep the circle lying flat rather than curling into a cup or puckering into a cone. The double crochet stitch itself is beginner-friendly, and the real skill here is counting and placement — expect to spend most of your focus tracking stitch counts rather than wrestling with tricky stitches. Total time is roughly 30 to 45 minutes for a relaxed first attempt.
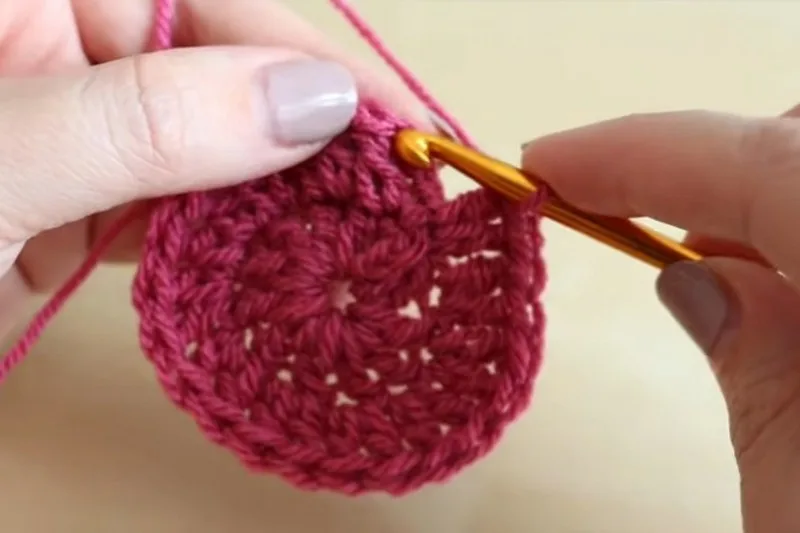
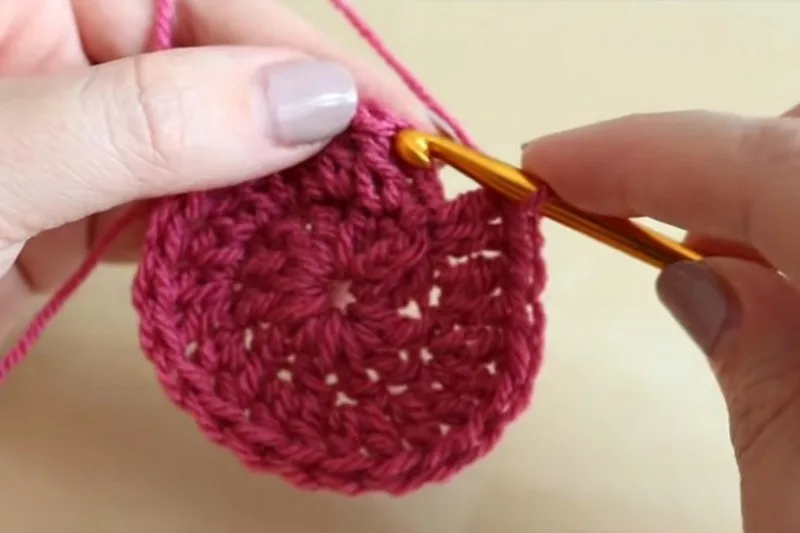
The finished result is a neat, flat, coin-shaped disc with distinct concentric rounds radiating from the center — a small but mighty swatch that proves you've cracked circle math. It's not a gift on its own, but it's the building block for dozens of future gifts: think stacked coasters, flower appliqués, or the very first round of a stuffed toy head. Keep your practice circle as a handy reference swatch for every round project you tackle from here on out.
- Start by forming a small ring to anchor your very first stitches into the center.
- Work your first round of double crochet stitches directly into that starting ring.
- Join the round and chain up, then work your second round with evenly spaced increases.
- Continue through the following rounds, adding calculated increases so the circle keeps growing outward.
- Space each round's increases evenly around the circle to prevent cupping or rippling.
- Join and check your stitch count carefully at the end of every single round.
- Finish after the fifth round, then weave in your ends to secure the flat circle.
- Lay the piece flat to confirm it sits neatly without curling at the edges.
Materials
Crochet Abbreviations
- ch
- chain stitch
- sl st
- slip stitch
- dc
- double crochet
- Skill Level
- Beginner
How to Crochet Flat Circles with Double Crochet Stitch
Making a Ring
In this tutorial, we shall use the chain ring method for beginners as described below: Make the slipknot and ch 4.
Join with a sl st in the first chain to form a ring.
- Round 1Ch 3 to start round 1 (counts as first dc), then work 11 dc into the center of the ring.Join with a sl st to the top of the beginning ch 3. (You should have 12 dc total, including the beginning ch 3)
- Round 2Ch 3 (counts as first dc or turning chains). Make 1 dc in the same stitch, then work 2 dc (dc inc) in each stitch around.Join with a sl st to the top of the beginning ch 3. (24 dc total).
- Round 3Ch 3 (counts as first dc). Make 1 dc in the same stitch and 1 dc in the next stitch, * then 2 dc in the next st, and 1 dc in the next st. Repeat from * to around.Join with a sl st to the top of the beginning ch 3. (36 dc total)
- Round 4Ch 3 (counts as first dc). Make 1 dc in the same stitch and 1 dc in each of the next 2 sts, then 2 dc in the next st, and 1 dc in each of the next 2 sts. Repeat from * to * around.Join with a sl st to the top of the beginning ch 3. (48 dc total)
- Round 5Ch 3 (counts as first dc). Make 1 dc in the same stitch and 1 dc in each of the next 3 sts, then 2 dc in the next st, and 1 dc in each of the next 3 sts. Repeat from * to * around.Join with a sl st to the top of the beginning ch 3. (60 dc total)Round one stitches for other stitches: The number of stitches you will make in the first round increases as the height of the stitch increases. For single crochet: 6-8 stitches. For half-double crochet: 8-10 stitches.
I hope you have learned to crochet a flat circle!
More photos
Important Notes
💡 Use a stitch marker on the first stitch of every round — with double crochet's height, it's easy to lose track of where a round starts once you're several rounds deep.
💡 Choose a hook size one step down from what's recommended for your yarn's weight if your first circle comes out slightly ruffled — a tighter tension helps flat circles lie truly flat.
💡 Count your stitches at the end of every single round before moving on — catching a miscount early saves you from ripping back multiple rounds later.
💡 Block your finished circle by lightly steaming or pinning it flat once complete, especially if it's curling slightly at the edges from being rolled in your project bag.
💡 Keep a small notebook or notes app tally of your stitch counts per round so you can reuse this exact formula later for amigurumi bases or coasters without recalculating.
💡 If you're using this circle as a base for a future project like an amigurumi head, leave a long tail when you finish so you have extra yarn ready for seaming or continuing to work in the round.
Common Mistakes and Fixes
Not starting with a secure ring
Whether you use a magic ring or chain-and-join method, pull the starting tail firmly and check that the ring holds its shape before working your first stitches into it.
Losing track of stitch count from round
Place a stitch marker in the first stitch of every round and count your stitches out loud (or on paper) before moving to the next round — the increase amount must match what the pattern calls for exactly.
Forgetting to join each round properly
Always slip stitch into the top of your beginning chain-3 (or first stitch) to close each round cleanly, then chain up again before starting the next round's stitches.
Working increases too tightly
Keep your tension even across all stitches in a round, including the increase stitches — squeeze two double crochets into the same stitch without cinching them smaller than your regular stitches.
Increasing in the wrong stitches, such
Follow the increase placement for each round carefully — evenly spaced increases are what keep the circle flat, so double-check the pattern's spacing before working each round.
Assuming double crochet rounds behave
Double crochet is taller than single crochet, so it needs a different increase ratio to stay flat — trust the round-by-round instructions rather than guessing based on other stitch patterns you've used.
What Makes It Good
- Once you've nailed the basic flat circle, there's so much room to play. Try working it in a bulky yarn like Wool-Ease Thick & Quick with a larger hook for an oversized coaster or trivet — the same 5-round increase pattern will just produce a bigger circle. Alternately, drop down to a fine cotton like Lily Sugar'n Cream for a dainty appliqué-sized circle perfect for embellishing headbands or bag flaps. For color lovers, try changing yarn color at the start of every round to create bold concentric stripes — just carry your working yarn up along the back or weave in ends as you go so the wrong side stays tidy. A variegated or self-striping yarn like Caron Cakes will also create gorgeous natural color shifts with zero extra effort. If you want more surface texture, swap every other double crochet in round 4 or 5 for a front post double crochet to create a subtle ribbed, sunburst-like effect radiating from the center. For a seasonal spin, work the circle in warm orange and brown tones for a mini pumpkin-inspired coaster, or in white and icy blue for a snowflake-adjacent winter motif. You can also stack two or three circles of different sizes and colors together with a simple whip stitch to build a layered flower shape — perfect for pinning onto hats or bags. And if you're practicing for amigurumi, try continuing past round 5 with your own increases to see how large you can make the circle before it starts to ruffle, which is a great way to internalize exactly how the math scales.
- I love this pattern because it demystifies something that trips up so many new crocheters — why circles turn into bowls or wavy ruffles instead of staying flat! Starting with a simple ring and working double crochet stitch outward, you actually get to see the increase math play out round by round, and by round 5 you'll have a genuine lightbulb moment about how shaping works. There's something so satisfying about laying your finished circle on the table and watching it sit perfectly flat with no curling edges. Double crochet works up fast too, so you're not stuck making tiny fiddly stitches forever — this comes together quickly, which makes it a great confidence-builder. Once you've got this technique in your hands, you'll recognize it everywhere: granny squares, amigurumi heads, flower motifs, coasters. I genuinely think this is one of those skills that quietly upgrades every future project you make, and I love handing beginners this exact shortcut.
Frequently Asked Questions
Why does my circle keep turning into a bowl shape instead of staying flat?
This usually means you're not increasing enough stitches per round for double crochet's height — double crochet needs more increases than single crochet to lie flat. Follow the round-by-round increase counts closely and count your stitches at the end of each round to catch the issue early.
Can I make this circle bigger than the 5 rounds shown?
Yes — once you understand the increase pattern established in rounds 1 through 5, you can continue adding rounds using the same logic of evenly spaced increases. Just keep tracking your stitch count carefully so the circle continues to lie flat as it grows.
Do I need to use a magic ring, or can I chain and join instead?
Either starting method works fine for this pattern — a magic ring gives you a tighter, more closed center hole, while a chain-and-join ring leaves a small hole you can close later. Use whichever method you're more comfortable with.
What yarn weight works best for practicing this technique?
A worsted weight yarn with a matching hook size is ideal for learning since the stitches are large enough to see your increases clearly. Once you're confident, you can size the technique up or down with any yarn weight.
How do I know if I'm placing my increases in the right spots each round?
Evenly spaced increases are key — check that your increase stitches are distributed around the round rather than clustered together, as clustering causes the circle to warp or ripple on one side. Using a stitch marker to divide the round into sections can help you space increases correctly.
Original pattern: https://redagapeblog.com/how-to-crochet-flat-circles-with-double-crochet-stitch/

About the Author
Tamsin Okoro Who writes the patterns at Yarn Gallery, how a pattern gets from the hook to the page, and what this site will never do.


