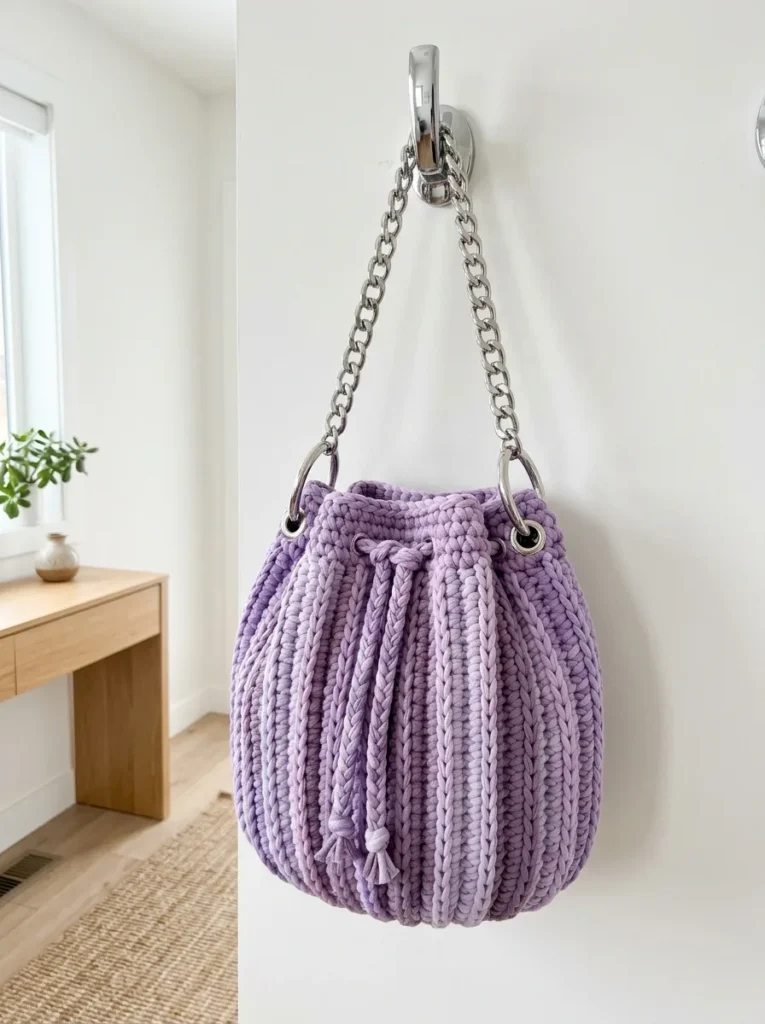
About This Pattern
This bag starts as a round base, then grows straight up into a bucket shape. The stripes come last, worked right on top of finished fabric. It needs a calm surface and good light, since you are tracking lines by eye. T-shirt yarn makes it forgiving. Mistakes show less than in thin yarn. Plan a few evenings, not one long sitting. The sides alone run twenty-one rounds before any stripe touches the hook.
In the basket
Yarn
Hook
Notions
Gauge
Abbreviations
- Chain (ch)
- Yarn over, pull through the loop on your hook. This creates a foundation or adds height to your work.
- Slip stitch (sl st)
- Insert hook, yarn over, pull through both the stitch and the loop on your hook in one motion. Used for joining and surface work.
- Single crochet (sc)
- Insert hook into stitch, yarn over and pull up a loop (2 loops on hook), yarn over and pull through both loops. This is your main stitch for the entire bag body.
- Increase (inc)
- Work 2 single crochet stitches into the same stitch. This makes your circle grow.
- Back loop only (BLO)
- Insert your hook under just the back loop of the stitch below, leaving the front loop untouched. Creates ribbed texture.
- Magic ring
- An adjustable starting loop that closes completely. If you prefer, you can chain 2 and work your first round into the second chain from the hook instead.
Two-tone lavender drawstring bucket bag with surface stripes
Base of the Bag
You will work the circular bottom first.
- Round 1Create a magic ring. Work 6 sc into the ring. Pull the tail to close. Place stitch marker. (6 sts)
- Round 2Inc in each st around. (12 sts)
- Round 3*Sc 1, inc* repeat around. (18 sts)
- Round 4*Sc 2, inc* repeat around. (24 sts)
- Round 5*Sc 3, inc* repeat around. (30 sts)
- Round 6*Sc 4, inc* repeat around. (36 sts)
- Round 7*Sc 5, inc* repeat around. (42 sts)
- Round 8*Sc 6, inc* repeat around. (48 sts) Your circle should measure approximately 6 inches (15cm) across. If it looks ruffled, your tension is too loose. If it cups upward, your tension is too tight. Adjust your hook size if needed.
Ring Tabs (Make 2)
You need two small tabs to attach the metal O-rings to your bag.
- Round 1Ch 8. Sc in second ch from hook and each ch across. (7 sts)
- Rounds 2–4Ch 1, turn. Sc in each st across. (7 sts) Fasten off, leaving a long tail for sewing.Fold the tab in half over the O-ring. Use the tail to whip stitch the short ends together, securing the ring inside the loop.Attach to bag: Position the tabs on opposite sides of your bag, at Round 33 (just above the drawstring channel). Use matching yarn to sew them firmly in place, stitching through multiple layers for strength.
Sides of the Bag
Now you will transition to working the sides. This is where the bag starts to take shape.
- Round 9Working in back loops only, sc in each st around. (48 sts) This single BLO round creates a sharp corner at the base of your bag. You will see it start to stand up.
- Rounds 10–30Sc in both loops of each st around. (48 sts per round) Continue for 21 rounds total on the sides. Your bag body should measure approximately 7 inches (18cm) tall from the base.
Quick tip: Count your stitches every few rounds. It is easy to accidentally skip or add a stitch when working in continuous spirals. If you end up with 47 or 49 stitches, add a sneaky increase or skip a stitch to get back to 48.
Drawstring Channel
The top of your bag needs an opening for the drawstring to weave through.
- Round 31*Sc 3, ch 2, skip 2 sts* repeat around. You should have 8 chain spaces evenly distributed. (48 sts including chains)
- Round 32*Sc 3, sc 2 into the ch-2 space* repeat around. (48 sts)
- Rounds 33–35Sc in each st around. (48 sts per round) Sl st to the next stitch. Fasten off and weave in your end.
You now have a complete bag body with those little eyelet holes for your drawstring. Nice work.
More pictures
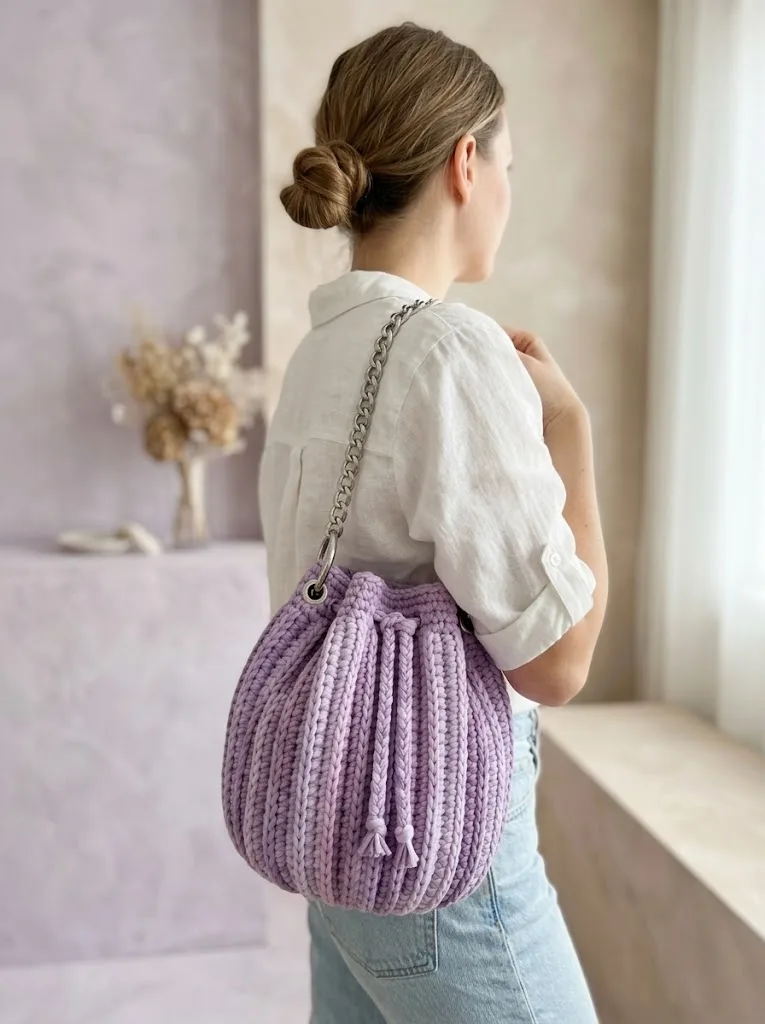
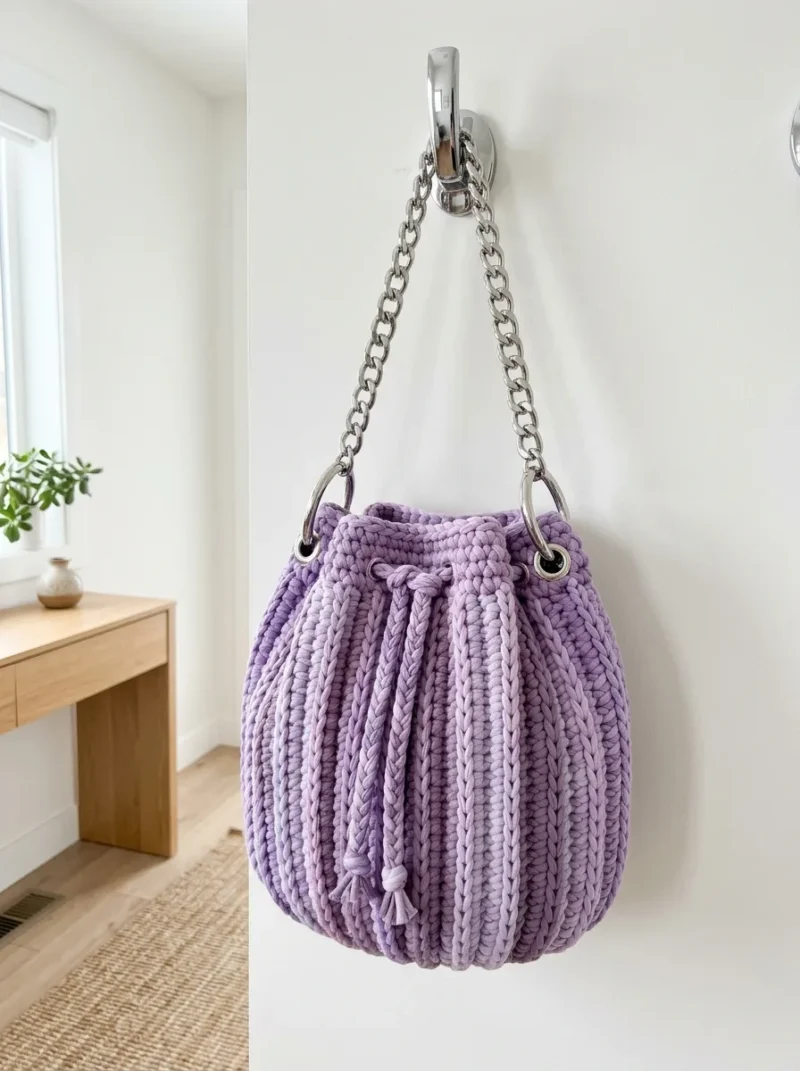
Before the first stitch
- Check your gauge swatch. T-shirt yarn brands vary, and 8 sc and 8 rounds should equal 4 inches.
- Count to 48 stitches before Round 9. That back-loop round sets the base corner, so an off count shows later.
- Set aside the light lavender yarn separately. You will want it untangled and ready at Round 9.
Minutes per piece
- Base and sides about 2-3 hours, because the sides alone run 21 rounds in continuous single crochet
- Stripes, tabs, and assembly about 1-2 hours, because eight surface slip stitch lines take a steady hand and even spacing
Other yarns that work
- Cotton, bulky weight Gives a crisper stitch definition and less squish. Use a smaller hook, around 7mm, and expect a firmer bag with less stretch.
- Acrylic, super bulky weight Lighter in hand and easier to source in color. Keep the 10mm hook, but check gauge, since loft varies more than t-shirt yarn.
Where it ends up
- A market tote for short errands. Pairs well with the chain strap worn cross-body.
- A project bag for a current crochet work in progress. The bucket shape holds a skein and hook upright.
- A catch-all by the door for keys and gloves. The drawstring keeps small things from spilling out.
Joining up
- Step 1 Almost done. Let us bring everything together.
- Step 2 1. Attach chain strap: Clip each end of your chain strap onto the O-rings. If your chain has lobster clasps, this is simple. If not, you may need small jump rings from a jewelry supply.
- Step 3 2. Block if needed: T-shirt yarn bags rarely need blocking, but if your bag looks uneven, stuff it with plastic bags or tissue paper and let it sit overnight to relax into shape.
- Step 4 3. Final weave-in: Check that all yarn tails are secure inside the bag. T-shirt yarn can be slippery, so I recommend knotting tails before weaving.
Small notes
- Use a stitch marker on every round. Continuous spirals hide skipped or added stitches fast.
- Keep tension loose on surface slip stitches. Pulled-tight stripes will cup the fabric and warp your sides.
- Leave real tails, not short ones. A four-inch tail at each stripe end gives you enough to weave in securely.
Little questions
Can I skip the surface stripes?
Yes, the bag stands fine without them. You will have a plain deep lavender bucket bag, sturdy on its own. Skip straight from the sides to the drawstring channel.
What if my stitch count drifts from 48?
Add a sneaky increase or skip one stitch to correct it. Do this quietly within a round, not at a visible seam. Check your count every few rounds to catch drift early.
Do I need O-rings exactly 25mm?
Close to that size works fine, since the tabs fold around them. Much larger rings may strain the tab seams. Much smaller ones may slip through the whip stitching.
Why does my stripe look wavy instead of straight?
Surface slip stitches pulled too tight will pucker the line. Loosen your tension and work one stitch per row evenly. Light lavender yarn shows tension mistakes more than the deeper purple.
Original pattern: https://bunnypatterns.com/lavender-purple-drawstring-bucket-bag-free-crochet-pattern/

About the Author
Tamsin Okoro Who writes the patterns at Yarn Gallery, how a pattern gets from the hook to the page, and what this site will never do.


