About This Pattern
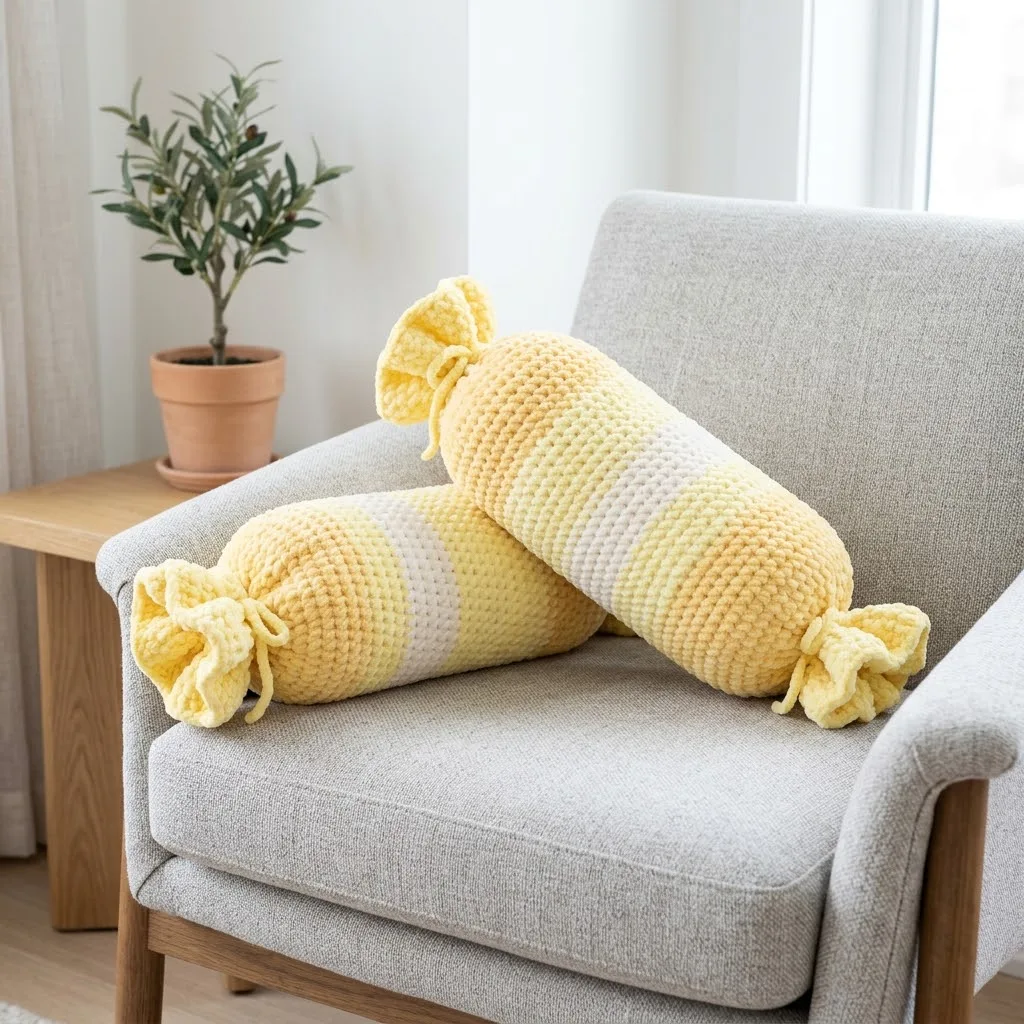
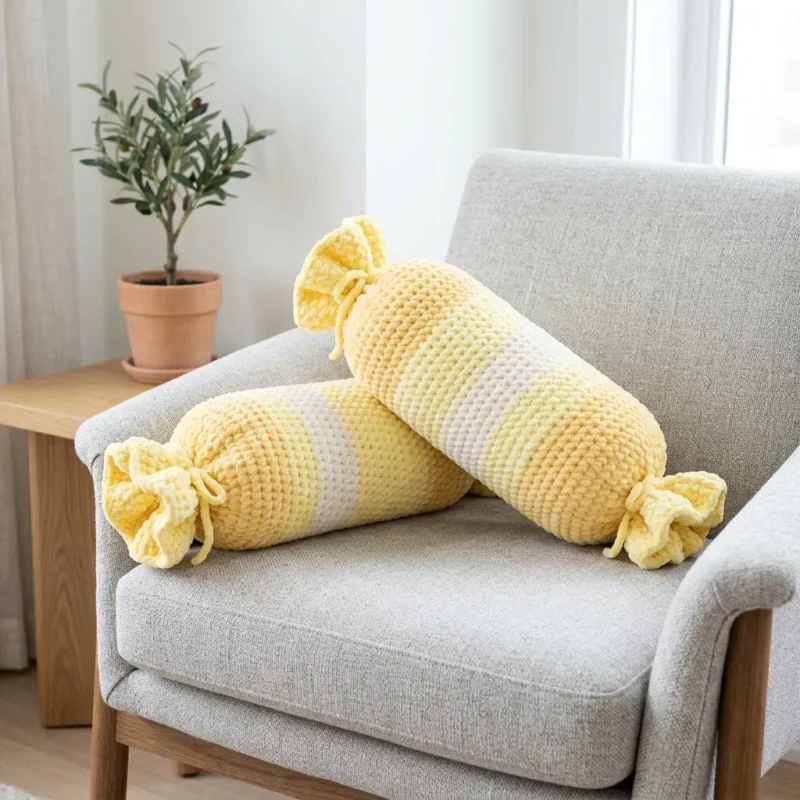
This bolster looks like a wrapped candy, twisted at both ends. It sits at the end of a sofa or on a window seat. The body works up in soft chenille, golden yellow against pale lemon and cream. It needs a steady hand with single crochet and a little patience for color changes. An evening with good light gets you through several rounds. The insert does the shaping once you stuff it.
In the basket
Yarn
Color A
Color B
Color C
Hook
Notions
Gauge
Abbreviations
- ch
- chain
- st
- stitch
- sts
- stitches
- sl st
- slip stitch
- sc
- single crochet
- inc
- increase
- dec
- decrease
- rnd
- round
Lemon sorbet candy bolster pillow crochet pattern
Gauge
12 stitches and 14 rounds = 4 inches in single crochet worked in the round
Gauge is not critical for this project since the fabric naturally stretches around the pillow insert. If your work looks too tight or too loose, adjust your hook size up or down.
Skill Level
Beginner friendly. You should be comfortable with chaining, single crochet, working in the round, and basic color changes. If you have made a simple hat or amigurumi ball before, you can absolutely make this pillow.
Finished Dimensions
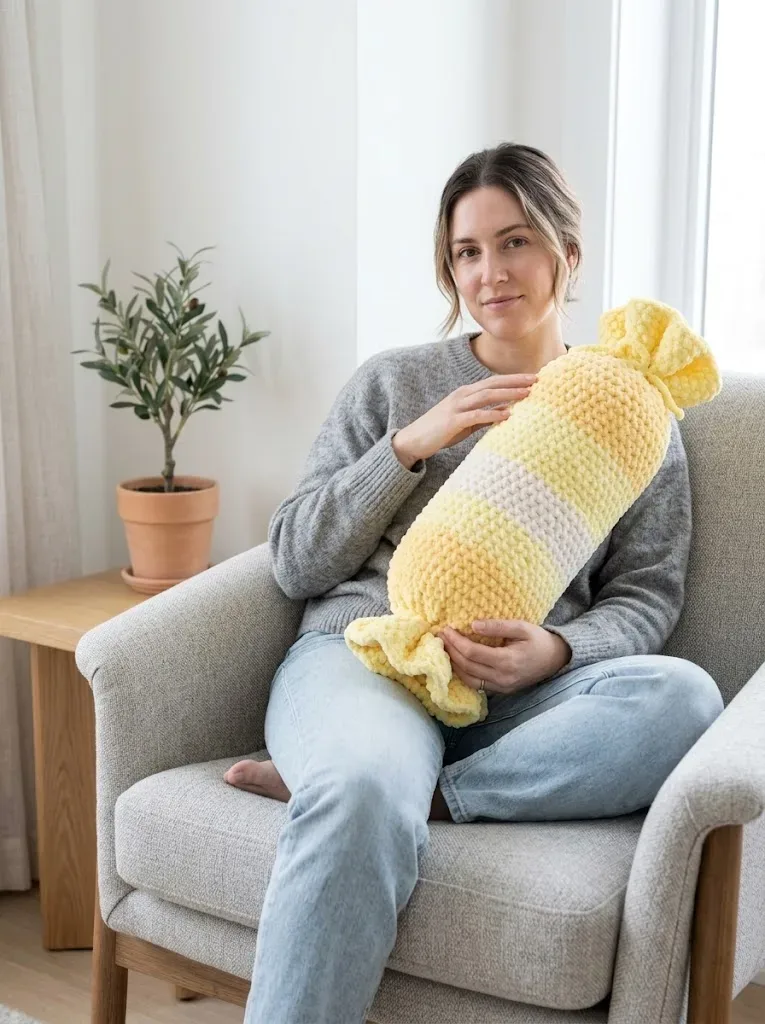
Approximately 18 inches long (including candy wrapper ends) by 7 inches in diameter when stuffed. The main body section measures about 12 inches, with 3 inch wrapper tails on each end.
Abbreviations and Stitch Definitions
Ch = Chain. Wrap yarn over hook, pull through loop on hook. This creates the foundation for your work.
Sc = Single crochet. Insert hook into stitch, yarn over, pull up a loop (2 loops on hook), yarn over, pull through both loops. This is the most basic crochet stitch and creates a tight, dense fabric.
Inc = Increase. Work 2 single crochet stitches into the same stitch. This adds one stitch to your count.
Dec = Decrease. Insert hook into first stitch, pull up a loop, insert hook into next stitch, pull up a loop (3 loops on hook), yarn over, pull through all 3 loops. This removes one stitch from your count.
Sl st = Slip stitch. Insert hook into stitch, yarn over, pull through both the stitch and the loop on your hook in one motion. Used for joining rounds.
St(s) = Stitch(es)
Rnd = Round Pattern Notes Before You Begin
This pillow is worked in continuous rounds without joining. This means you will spiral upward without slip stitching at the end of each round. Using a stitch marker to mark the first stitch of each round helps you keep track of where you are.
When changing colors, complete the last stitch of the old color until you have 2 loops on your hook, then yarn over with the new color to finish the stitch. This creates a cleaner color transition.
The striping pattern in the photos shows a gradient effect moving from golden yellow at the ends through pale yellow and into cream at the center. Feel free to customize your color placement however you like.
Chenille yarn can be a bit slippery and sometimes splits. Work slowly if this is your first time using it. The forgiving nature of the gathered wrapper ends means small imperfections will disappear completely.
Step by Step Crochet Pattern Instructions First Wrapper End (Color A)
- Round 1Using Color A, create a magic ring. Ch 1 (does not count as a stitch), work 6 sc into the ring, pull tight. (6 sts)
If magic rings intimidate you, here is an alternative: Ch 2, then work 6 sc into the second chain from the hook.
- Round 2Inc in each st around. (12 sts)
- Round 3*Sc 1, inc* repeat around. (18 sts)
- Round 4*Sc 2, inc* repeat around. (24 sts)
- Round 5*Sc 3, inc* repeat around. (30 sts)
- Round 6*Sc 4, inc* repeat around. (36 sts)
- Round 7*Sc 5, inc* repeat around. (42 sts)
- Round 8*Sc 6, inc* repeat around. (48 sts)
- Round 9through 16: Sc in each st around. (48 sts per round, 8 rounds total) This creates the gathered wrapper tail section. Do not fasten off. Continue to main body.
Main Body Section
You will now work the body of the pillow with color stripes. The stripe sequence creates that lovely gradient effect.
Color A Stripes (Golden Yellow):
- Round 17through 24: Continue with Color A. Sc in each st around. (48 sts per round, 8 rounds total)
Color B Stripes (Pale Lemon Yellow):
- Round 25Change to Color B on the last stitch of Rnd 24. Sc in each st around. (48 sts)
- Round 26through 32: Sc in each st around. (48 sts per round, 7 rounds total) Color C Stripes (Cream):
- Round 33Change to Color C. Sc in each st around. (48 sts)
- Round 34through 40: Sc in each st around. (48 sts per round, 7 rounds total) Color B Stripes (Pale Lemon Yellow):
- Round 41Change to Color B. Sc in each st around. (48 sts)
- Round 42through 48: Sc in each st around. (48 sts per round, 7 rounds total) Color A Stripes (Golden Yellow):
- Round 49Change to Color A. Sc in each st around. (48 sts)
- Round 50through 56: Sc in each st around. (48 sts per round, 7 rounds total) Second Wrapper End (Color A)Continue with Color A for the second wrapper tail.
- Round 57through 64: Sc in each st around. (48 sts per round, 8 rounds total) Now you will decrease to close the end.
- Round 65*Sc 6, dec* repeat around. (42 sts)
- Round 66*Sc 5, dec* repeat around. (36 sts)
- Round 67*Sc 4, dec* repeat around. (30 sts) Pause here to insert your pillow form. Gently push it into the tube, centering it so both wrapper ends have equal tail sections.
- Round 68*Sc 3, dec* repeat around. (24 sts)
- Round 69*Sc 2, dec* repeat around. (18 sts)
- Round 70*Sc 1, dec* repeat around. (12 sts)
- Round 71Dec around. (6 sts) Fasten off, leaving a 6 inch tail. Thread through remaining stitches and pull tight to close. Weave in end.
Creating the Candy Wrapper Gathers This is the fun part where your pillow transforms into an adorable candy shape.
Cut two lengths of Color A yarn, each approximately 24 inches long.
More pictures
Before the first stitch
- Check you have all three yarn amounts on hand before starting: 180 yards golden yellow, 120 yards pale lemon, 80 yards cream.
- Measure your bolster insert first. It should read close to 6 inches diameter by 16 inches long.
- Read through the gauge section once. Gauge is not critical here, but knowing that early saves second-guessing later.
Minutes per piece
- Main body rounds about 3-4 hours because the body section runs to roughly 12 inches of single crochet in the round
- Wrapper ends and color changes about 2-3 hours because the twisted tails need careful color changes and shaping
Other yarns that work
- Acrylic chenille, bulky weight Keeps the same drape and hook size, but gives a slightly less plush hand feel than a baby blanket style chenille.
- Cotton blend, worsted weight Drapes less softly and needs a smaller hook, closer to 5.0mm, with a firmer, less velvety finish.
Where it ends up
- A sofa bolster that pairs with plain throw pillows for contrast.
- A reading nook accent, resting against a window seat cushion.
- A bed bolster, layered in front of regular pillows for shape.
Small notes
- Use a 6.0mm hook and keep your single crochet tension even, since the chenille hides stitch definition but shows looseness as sagging.
- Mark the start of each round with a stitch marker, since chenille makes the first stitch hard to spot by eye.
- Choose a chenille with good squish, like a chunky chenille yarn, so the finished pillow holds its rounded shape once stuffed.
Little questions
Can I use a different size bolster insert?
Yes, but the pattern is written for an insert about 6 inches diameter by 16 inches long. A different size will change your round counts and final measurements.
Does gauge really not matter for this project?
Gauge is not critical since the chenille fabric stretches around the insert. If your fabric feels too tight or too loose, just size your hook up or down.
What if I cannot find chenille yarn?
A bulky acrylic chenille works well and keeps the same squish and hook size. A smoother worsted cotton blend will also work, though the texture will feel less velvety.
How twisted should the candy wrapper ends look?
The wrapper tails measure about 3 inches each beyond the main 12 inch body. Twist them gently by hand before securing, so they sit snug against the insert.
Original pattern: https://crochr.com/lemon-sorbet-candy-bolster-pillow-free-crochet-pattern/

About the Author
Tamsin Okoro Who writes the patterns at Yarn Gallery, how a pattern gets from the hook to the page, and what this site will never do.


