About This Pattern
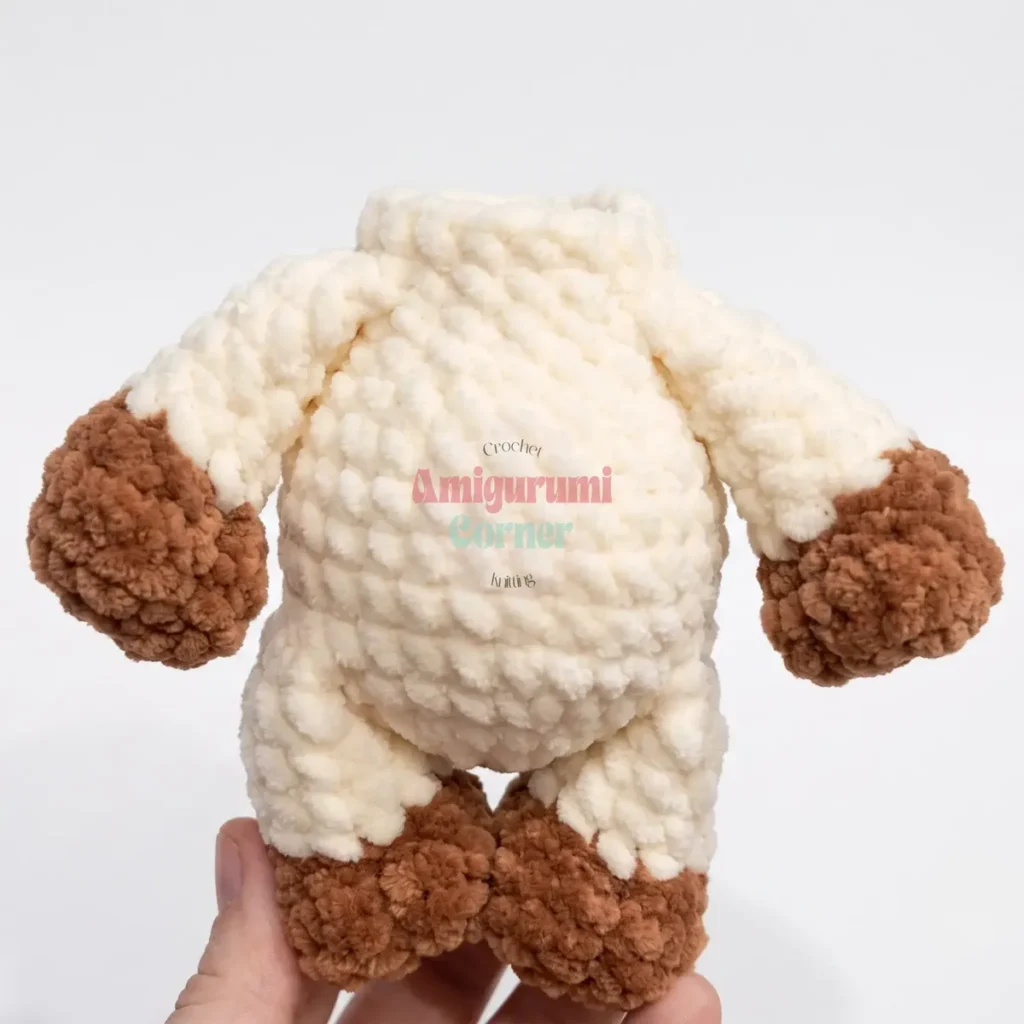
This little goat comes together from seven pieces: head, ears, horns, tail, legs, and arms, plus the body they all attach to. It has round cheeks, curved horns, and floppy ears, and is a beginner-to-intermediate project using magic rings, back loop only rounds, and simple increases and decreases. I like this project for an evening with velvet or chenille yarn in hand. It needs a G/6 hook, fiberfill, and a little patience for the eyes. A jute cord and charm turn it into a tiny companion you can carry.
In the basket
Yarn
Hook
Safety eyes
Stuffing
Stitch markers
Optional
Optional
Optional
Abbreviations
- BLO
- Back Loop Only
- ch
- Chain
- dec
- Decrease (invisible decrease)
- inc
- Increase (2 sc in same stitch)
- MR
- Magic Ring
- sc
- Single Crochet
- sl st
- Slip Stitch
- st(s)
- Stitch(es)
Crochet a soft little goat amigurumi
Head
- Round 16 sc in MR. (6)
- Round 2inc in each st around. (12)
- Round 3sc, inc repeat around. (18)
- Round 4sc, inc, 2 sc, inc repeat around 5 times, sc. (24)
- Round 53 sc, inc repeat around. (30)
- Rounds 6–9sc in each st around. (30)
- Round 107 sc, inc, sc repeat 3 times, inc 4 times, sc, inc repeat 3 times, 7 sc. (40)
- Round 1116 sc, inc, 6 sc, inc, 16 sc. (42)
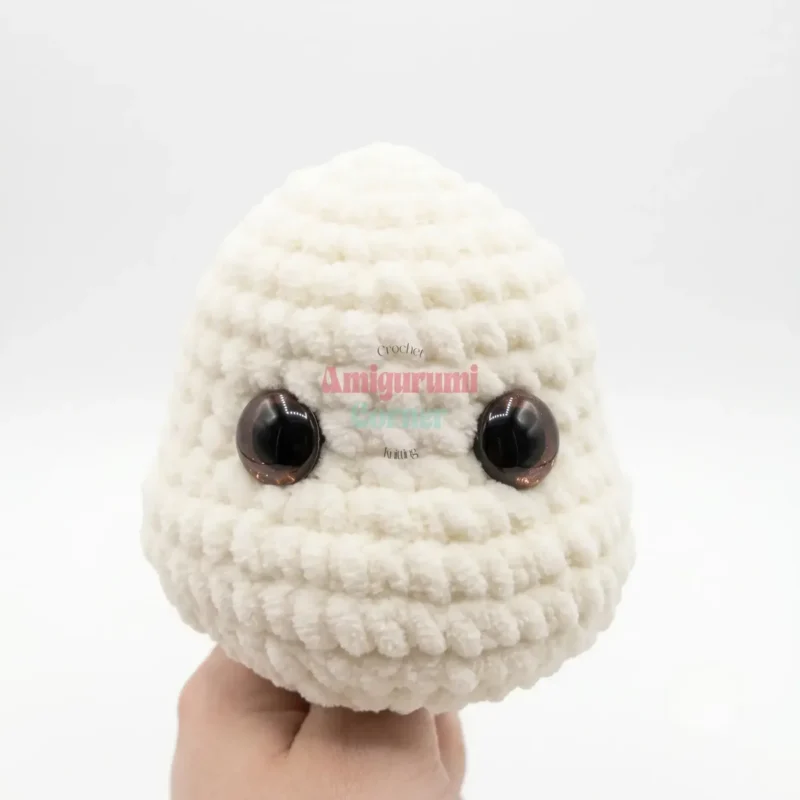
- Round 12sc in each st around. (42)Insert safety eyes between Rnds 8 and 9, spacing them 5 stitches apart along Rnd 9. Use the four consecutive increases in Rnd 10 as a guide for centering, then offset 3 stitches to the left and 2 stitches to the right from that center point.
- Round 135 sc, dec repeat around. (36)
- Round 142 sc, dec, 4 sc, dec repeat around 5 times, 2 sc. (30)
- Round 153 sc, dec repeat around. (24)
- Round 16sc, dec, 2 sc, dec repeat around 5 times, sc. (18)Fasten off, leaving a short tail. Stuff the head firmly, paying extra attention to the cheeks and muzzle area.
Ears (make 2)
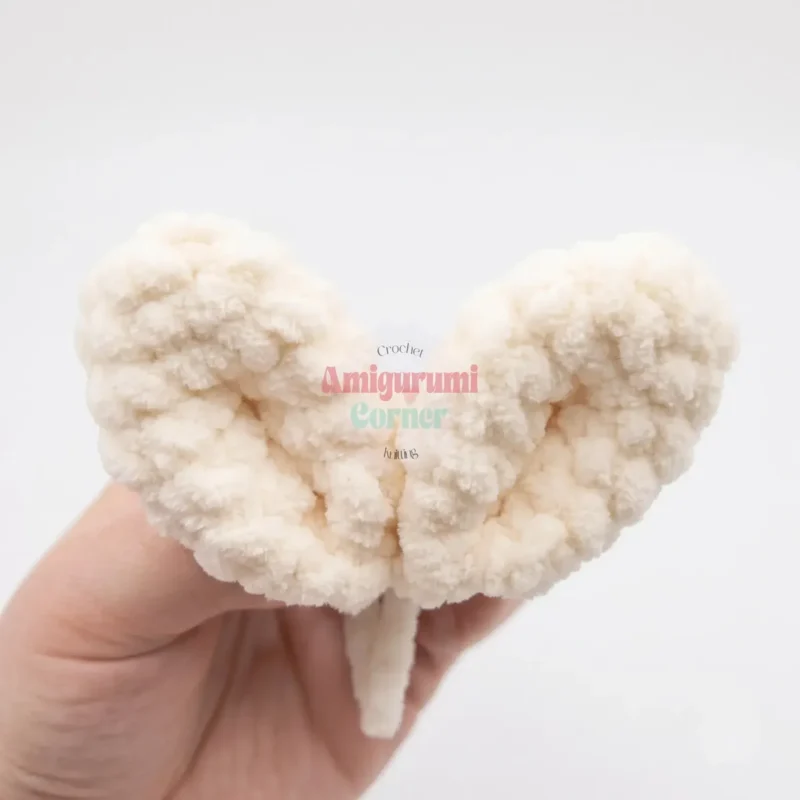
Do not stuff these pieces.
- Round 16 sc in MR. (6)
- Round 2sc, inc repeat around 3 times. (9)
- Round 32 sc, inc repeat around 3 times. (12)
- Round 43 sc, inc repeat around 3 times. (15)
- Round 54 sc, inc repeat around 3 times. (18)
- Round 65 sc, inc repeat around 3 times. (21)Fold the piece flat and single crochet through both layers across 10 stitches. Fold again and single crochet through both layers across 5 stitches. Fasten off.
Horns (make 2)
Do not stuff these pieces.
- Round 16 sc in MR. (6)
- Rounds 2–3sc in each st around. (6)Fasten off, leaving a tail for sewing.
Tail
Do not stuff this piece.
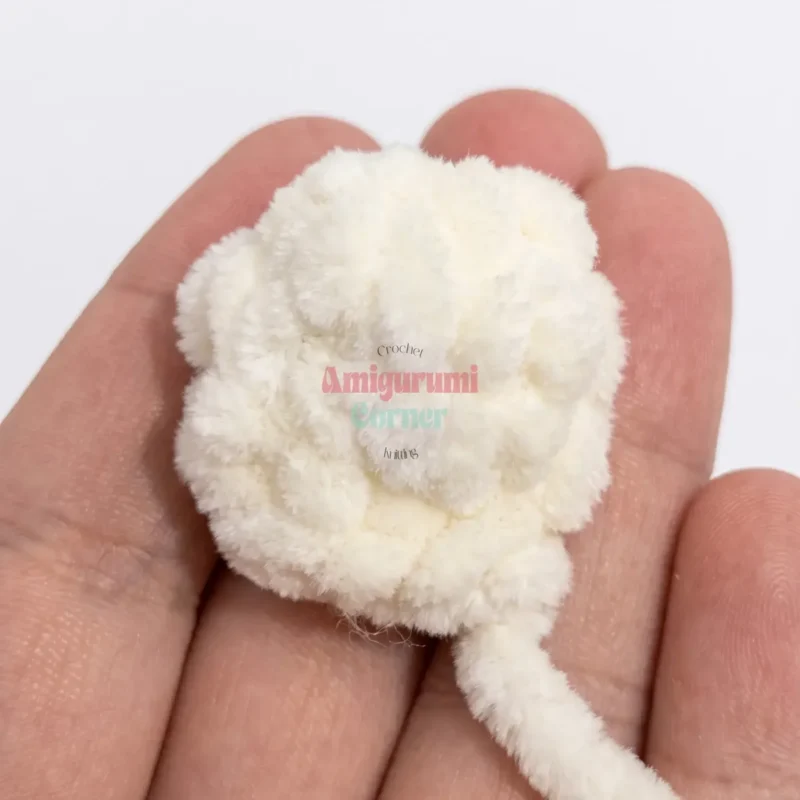
- Round 16 sc in MR. (6)
- Round 2inc in each st around. (12)
- Round 3dec in each st around. (6)Fold flat and single crochet through both layers across 3 stitches. Fasten off.
Legs (make 2)
Begin with brown yarn.
Foundation: Chain 4. Starting in the 2nd chain from the hook, work Rnd 1.
- Round 12 sc, 5 sc in next ch, sc, inc. (10)
- Round 2inc, sc, inc 5 times, 2 sc, inc. (17)
- Round 3Work this round in BLO. sc in each st around. (17)
- Round 43 sc, dec 5 times, 4 sc. (12)Change to main color yarn.
- Round 5Work this round in BLO. sc in each st around. (12)Stuff the hoof and cinch it closed, using the foundation chain as a reference point for a neat, rounded shape. To cinch, bring the needle out from inside the hoof, insert it into the center of the sole catching some stuffing, and bring it back out at the same starting point. Repeat once more, then pull tight and tie off securely inside the piece.
- Rounds 6–8sc in each st around. (12)Stuff loosely. Before closing, check that the leg is angled the way you want it, adjusting with a stitch or two of offset if needed. Fold flat and single crochet through both layers across 6 stitches. Fasten off.
Arms (make 2)
Begin with brown yarn.
Foundation: Chain 4. Starting in the 2nd chain from the hook, work Rnd 1.
- Round 12 sc, 5 sc in next ch, sc, inc. (10)
- Round 2inc, sc, inc 5 times, 2 sc, inc. (17)
- Round 3Work this round in BLO. sc in each st around. (17)
- Round 43 sc, dec 5 times, 4 sc. (12)Change to main color yarn.
- Round 5Work this round in BLO. 2 sc, dec repeat around 3 times. (9)Stuff and cinch the same way as the legs.
- Rounds 6–9sc in each st around. (9)Stuff loosely. Fold flat and single crochet through both layers across 4 stitches. Angle the arms slightly inward as you close by working a few offset stitches. Fasten off.
Body
- Round 16 sc in MR. (6)
- Round 2inc in each st around. (12)
- Round 3sc, inc repeat around. (18)
- Round 4sc, inc, 2 sc, inc repeat around 5 times, sc. (24)
- Round 53 sc, inc repeat around. (30)
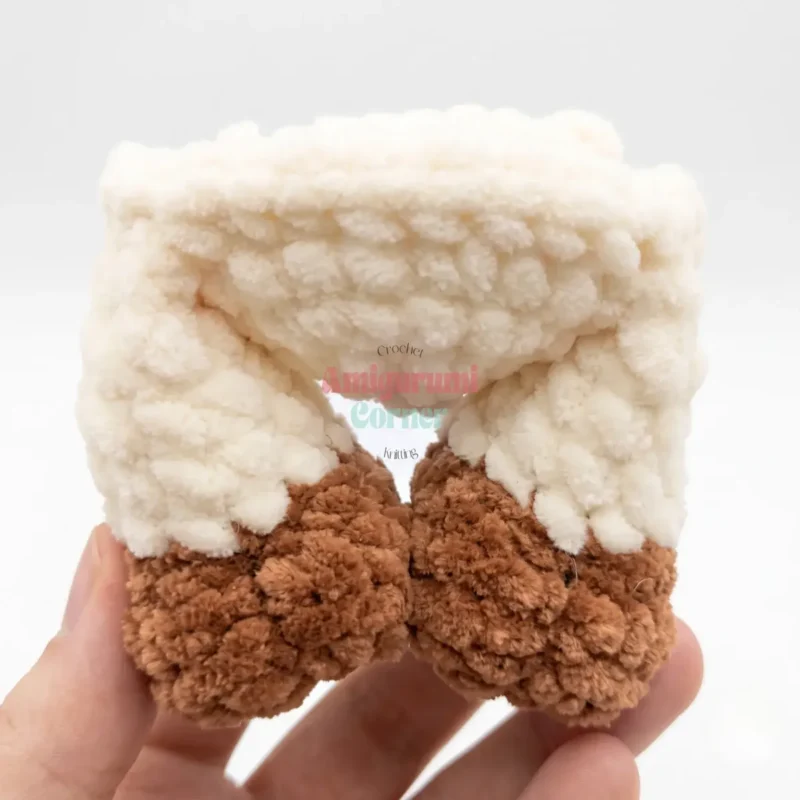
- Round 6Attach the legs in this round. 6 sc across the left leg, 8 sc, 6 sc across the right leg, 10 sc. (30)
- Round 7Attach the tail in this round. 23 sc, 3 sc joining the tail, 4 sc. (30)
- Rounds 8–9sc in each st around. (30)
- Round 103 sc, dec repeat around. (24)
- Round 11sc in each st around. (24)
- Round 12sc, dec, 2 sc, dec repeat around 5 times, sc. (18)
- Round 13sc in each st around. (18)
- Round 14Attach the arms in this round. Check that the arms line up symmetrically with the legs before securing them. sc, 4 sc across the left arm, 4 sc, 4 sc across the right arm, 5 sc. (18)
- Round 15sc in each st around. (18)Fasten off and stuff the body firmly.
More pictures
Before the first stitch
- Check you have enough main color yarn for sixteen head rounds, plus brown for hooves and horns.
- Place a stitch marker before round one, since every piece works in a continuous spiral.
- Read through the leg's and arm's chain-4 foundation first, so the early shaping makes sense.
Minutes per piece
- Head and Body about 2–3 hours because the head's sixteen rounds and the body's fifteen rounds need careful, steady shaping
- Ears, horns, tail, legs, and arms about 2–3 hours for the six smaller pieces, with color changes on the legs and arms
Other yarns that work
- Cotton, worsted weight Drape turns stiffer and stitches show more texture, so tighter tension matters to hide the fiberfill.
- Acrylic chenille, worsted weight Softness stays close to velvet chenille, but the lighter body may need firmer stuffing and the same G/6 hook.
Where it ends up
- A soft toy for a child's shelf, paired with other small amigurumi animals.
- A charm-strap keepsake to hang on a bag, paired with the jute cord detail.
- A quiet desk companion, paired with a mug of tea during a break.
Joining up
- Step 1 Because the Head is large, insert a wooden skewer, dowel, or wire support wrapped in tape into the neck opening of the Body before attaching the Head. This keeps the finished goat from tipping forward.
- Step 2 Sew the Head onto the Body using a whipstitch and matching yarn, working around the neck opening.
- Step 3 Cinch each safety eye individually to give the eyes a rounded, expressive shape: insert the needle at one point near the eye and bring it out at a second, then insert at a third point and bring it out at a fourth. Pull the thread taut and tie a secure knot. Repeat for the second eye, checking that both sides are symmetrical.
- Step 4 Pin the Ears in place between Rnds 5 and 6 from the magic ring center, testing a few placements before you commit. Sew them on with a whipstitch using the yarn tail.
- Step 5 Pin the Horns above the Ears and adjust until you like the angle, then sew them in place using the yarn tail.
- Step 6 Using a long strand of brown embroidery thread, embroider the nose by inserting the needle at the center back of the neck and bringing it out at the center bottom of the muzzle. Stitch a V-shape connecting to points just under each eye, then bring the thread out at the back and tie off. Without cutting the thread, embroider small eyebrow and eye-accent lines above and beside the eyes.
- Step 7 If desired, tint the muzzle lightly with blush or pastel chalk for a soft, rosy finish.
- Step 8 Add a jute cord neck strap with a small charm, if desired.
- Step 9 Weave in all remaining ends securely.
Small notes
- This pattern is written in US crochet terminology.
- All pieces are worked in continuous spiral rounds unless otherwise noted; do not join or chain up between rounds. Move a stitch marker up each round to keep track of where the round begins.
- Gauge is not critical for this project, but a tighter tension is recommended to keep stuffing from showing through the chenille stitches. Use a G/6 (4mm) hook.
- Stitch count is given at the end of each round in parentheses, like this: (12).
- Safety eyes are inserted before the head is fully closed; placement instructions are included at the correct round.
- Stuff the head and body firmly, but stuff the ears, horns, and tail lightly or not at all, as noted in each section. Stuff the legs firmly so the finished goat can stand on its own.
- Legs and arms begin with a small foundation chain rather than a magic ring, so read the first round of each carefully.
Little questions
Why insert a skewer before attaching the head?
The head is large next to the body. A skewer or dowel, wrapped in tape, keeps the goat from tipping forward once it's sewn on.
Do I need to stuff the ears?
No, the ears stay unstuffed, just like the horns and tail. This keeps them soft and the head light enough to sew easily.
What does the stitch marker actually track?
It marks where each spiral round starts, since the pieces are never joined or chained up. One marker, moved each round, is all you need.
Why work round three of the legs in the back loop only?
Working in the back loop only leaves a visible ridge on the leg. It helps mark the shift from the brown hoof color to the body color, which happens a couple of rounds later.
Original pattern: https://amigurumicorner.com/little-goat-amigurumi-pattern/

About the Author
Tamsin Okoro Who writes the patterns at Yarn Gallery, how a pattern gets from the hook to the page, and what this site will never do.


