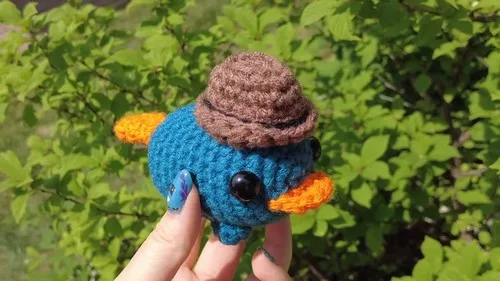
About This Pattern
This is a tiny fedora, built from a magic ring up. It sits well on a key chain or a small stuffed friend. Seven rounds take it from a flat circle to a shaped brim. It needs worsted yarn, a matching hook, and a little patience with back loops. There is no stuffing, no seams to fight. It wants a quiet table and good light, since the shaping at the end is by eye, not by rule.
In the basket
Abbreviations
- ch
- chain
- st
- stitch
- sl st
- slip stitch
- sc
- single crochet
- hdc
- half double crochet
- dc
- double crochet
- inc
- increase
- dec
- decrease
- mr
- magic ring
- fo
- finish off
Tiny crochet fedora hat for keys or small companions
Main Pattern
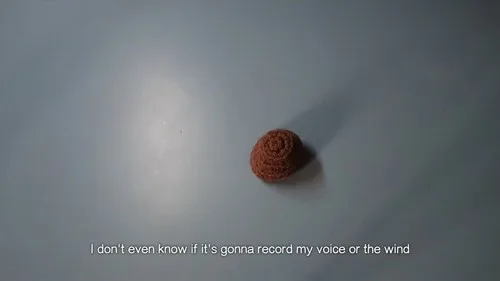
- Round 1Make a magic ring of six single crochets.
- Round 2Work six increases.
- Round 3Work back loops only for 12 single crochets.
- Round 4Repeat (single crochet, increase) six times.
- Round 5Work 18 single crochets.
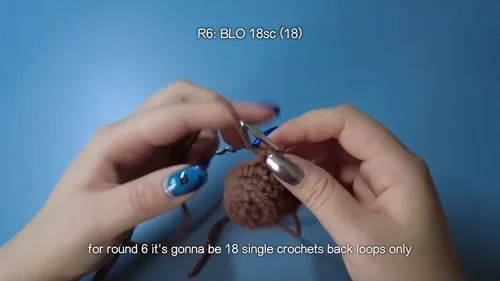
- Round 6Work 18 single crochets in back loops only.
- Round 7Work 2 single crochets, 1 half double crochet, 3 double crochets, 1 half double crochet, and 2 single crochets (repeat this pattern twice).
More pictures
Before the first stitch
- Read Round 7 first, so the brim shaping makes sense before you reach it.
- Check your magic ring closes snugly at six stitches before moving on.
- Keep a stitch marker handy for the back-loop-only rounds, so you do not lose your place.
Minutes per piece
- Rounds 1-4, crown shaping about 15 minutes, because the increases are quick but need counting
- Rounds 5-7, brim and surface slip stitches about 25 minutes, because the back loop work and shaping take care
Other yarns that work
- Cotton, worsted weight Gives a crisper, less drapey fedora. Good for a firmer brim, same hook size.
- Acrylic, DK weight Makes a smaller, lighter hat. Size down your hook so stitches stay dense.
Where it ends up
- Clip it to a key ring, so your keys are easy to spot in a bag.
- Perch it on a small amigurumi doll, paired with a tiny scarf.
- Use it as a desk trinket, resting beside a mug or a plant.
Joining up
- Step 1 Finish off with an invisible join.
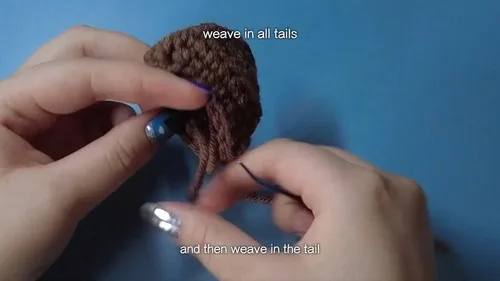
- Step 2 Weave in the tail from the magic ring.
- Step 3 Create surface slip stitches between rounds 5 and 6 to close gappy areas.
- Step 4 Shape your hat as desired to form the fedora style.
Small notes
- Work Rounds 3 and 6 in back loops only. This gives the brim its ridge, so do not skip it.
- Use a hook sized for your yarn, so the fabric stays firm enough to hold its shape.
- The surface slip stitches between Rounds 5 and 6 close gaps. Work them snug, not tight.
Little questions
Why are some rounds worked in back loops only?
Back loops create a ridge where the crown meets the brim. This is what gives the fedora its shape. Skipping it leaves the hat looking flat.
How small is the finished hat?
It grows from a six-stitch magic ring to eighteen stitches by Round 5. That keeps it truly mini, sized for keys or small toys.
What do the surface slip stitches do?
They close gappy spots between Rounds 5 and 6. Work them firmly, then weave in the tail.
Do I need to stuff this hat?
No stuffing is needed for this pattern. The shaping happens by hand, after the last round, to form the fedora curve.
Original pattern: https://crocheteverything.com/beautiful-loveable-crochet-mini-fedora-hat-tutorial-great-for-key-decor-or-your-mini-companion/

About the Author
Tamsin Okoro Who writes the patterns at Yarn Gallery, how a pattern gets from the hook to the page, and what this site will never do.


