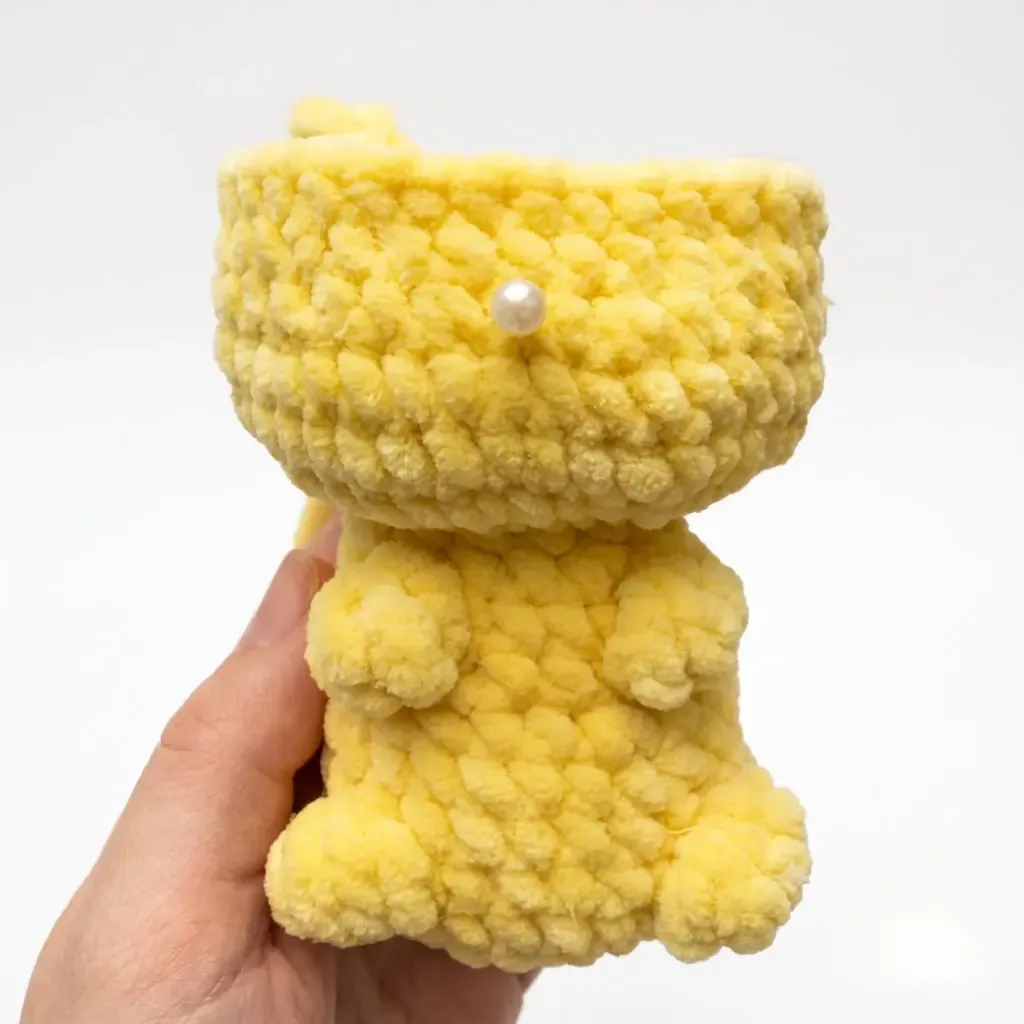
About This Pattern
This Mini Pikachu amigurumi turns a single skein of sunny yellow chenille into one of the most beloved characters in pop culture, worked entirely in one continuous head-body piece with just two tiny ears and a lightning-bolt tail added on. The plush, squishy texture of bulky chenille yarn gives this little electric mouse an irresistibly soft, huggable feel right off the hook. It's the perfect project for Pokémon fans, nursery decor lovers, or anyone who wants a quick, joyful make that doesn't require a mountain of yarn scraps.
You'll work the Head-Body in 24 continuous spiral rounds without joining or chaining up, practicing smooth increases and decreases to shape the rounded head and body in one seamless piece. The Ears come together fast in just 3 rounds each, while the two Tail pieces are worked flat in turned rows over 8 rounds before being seamed together into that signature jagged shape. With basic amigurumi experience under your belt, expect this project to take a relaxed weekend afternoon or two — closer to 4-6 hours including assembly and stuffing.
The finished Pikachu stands about 6 inches (15 cm) tall including the ears, with a firm, well-stuffed body that holds its shape beautifully thanks to the tighter gauge recommended for bulky yarn. The red cheek accents and hand-embroidered mouth give it real personality and charm, making it look like it walked straight off the screen. Whether it sits on a shelf, rides along in a backpack, or gets wrapped up as a handmade birthday gift, this little guy is guaranteed to spark a smile.
- Start the Head-Body with a magic ring and work continuous spiral rounds, increasing to shape the rounded head and body as one seamless piece.
- Use a stitch marker throughout all 24 rounds so you always know where each new round begins without joining or chaining up.
- Insert the 8-10mm safety eyes at the appropriate round and pause to stuff the body firmly with fiberfill as you go.
- Decrease through the final rounds to close the Head-Body, adding the last of the stuffing before sealing it shut.
- Crochet the two Ear pieces separately in just 3 quick spiral rounds each, using brown for the tips as directed.
- Work the two Tail pieces flat in turned rows across 8 rows each, then seam them together into the jagged tail shape.
- Pin the Ears and Tail onto the Head-Body to check placement and symmetry before stitching everything securely into place.
- Finish by embroidering the mouth with black thread and adding the red cheek accents for that unmistakable Pikachu expression.
Materials
Yarn
Hook
Notions & Other Supplies
Crochet Abbreviations
- ch
- Chain
- dec
- Decrease (invisible decrease)
- inc
- Increase (2 sc in same st)
- mr
- Magic Ring
- sc
- Single Crochet
- st(s)
- Stitch(es)
- tr
- Treble Crochet
Mini Pikachu Amigurumi Crochet Pattern (Free)
Head-Body (make 1)
- Round 16 sc in MR. (6)
- Round 2inc in each st around. (12)
- Round 3(1 sc, inc) repeat around. (18)
- Round 4(2 sc, inc) repeat around. (24)
- Round 5sc in each st around. (24)
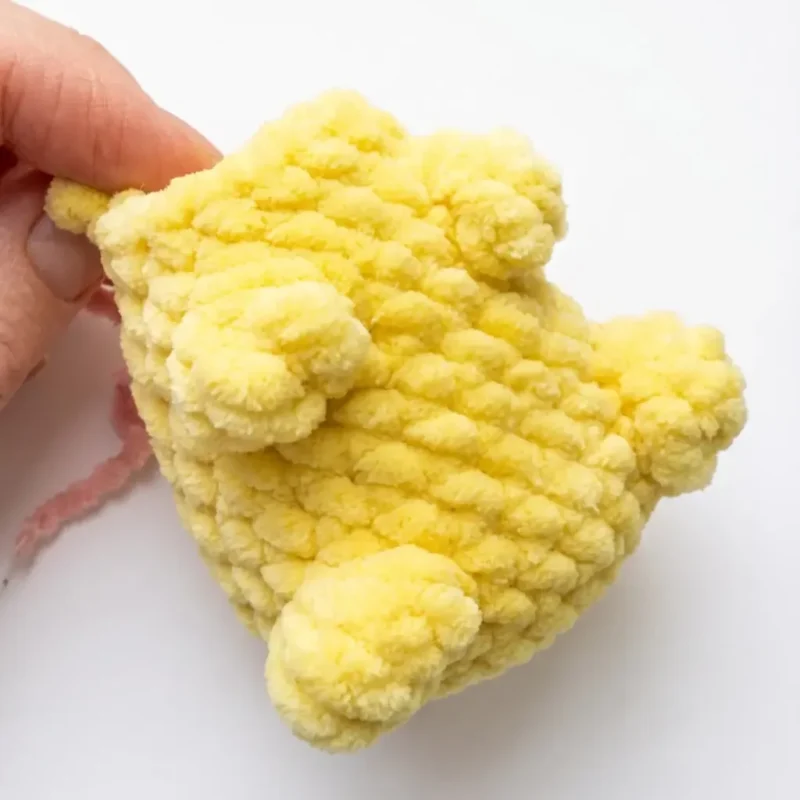
The "Bobble" stitch used for the arms and legs is a cluster of treble crochet stitches worked into one stitch and joined at a single top point.
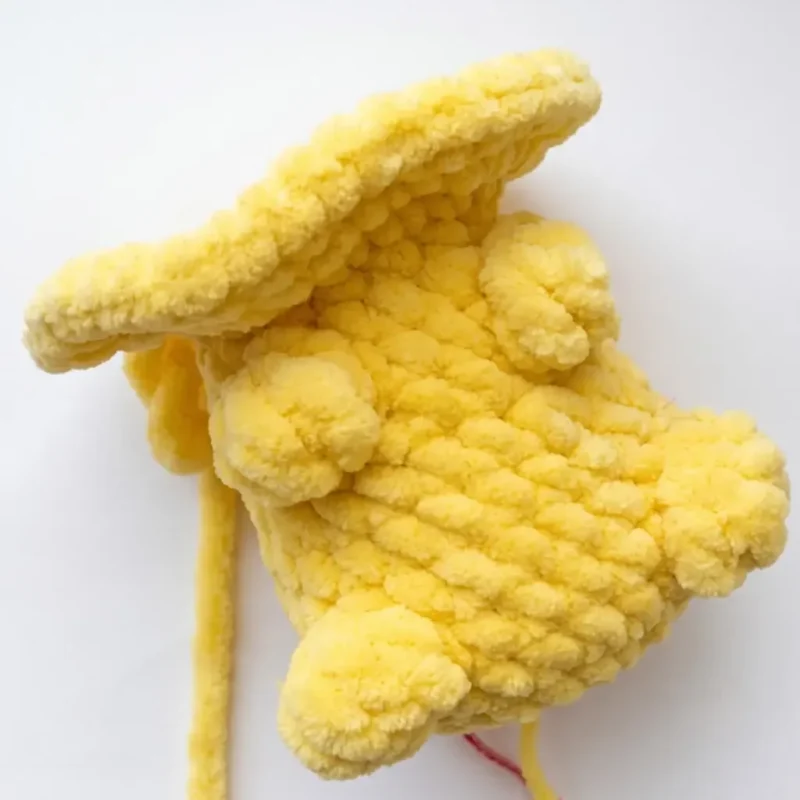
- Round 68 sc, Bobble (5 tr in next st, joined at top) – first leg , 6 sc, Bobble (5 tr in next st, joined at top) – second leg , 8 sc. (24)
- Round 7-8sc in each st around. (24)
- Round 9(4 sc, dec) repeat around. (20)
- Round 10sc in each st around. (20)
- Round 117 sc, Bobble (4 tr in next st, joined at top) – first arm , 4 sc, Bobble (4 tr in next st, joined at top) – second arm , 7 sc. (20)
- Round 12(3 sc, dec) repeat around. (16)
- Round 13sc in each st around. (16)Begin stuffing the body firmly now, and keep adding stuffing as you continue through the remaining rounds.
- Round 14inc in each st around. (32)
- Round 15(3 sc, inc) repeat around. (40)
- Round 16-17sc in each st around. (40)
- Round 1810 sc, (2 sc, dec) repeat 5 times, 10 sc. (35)
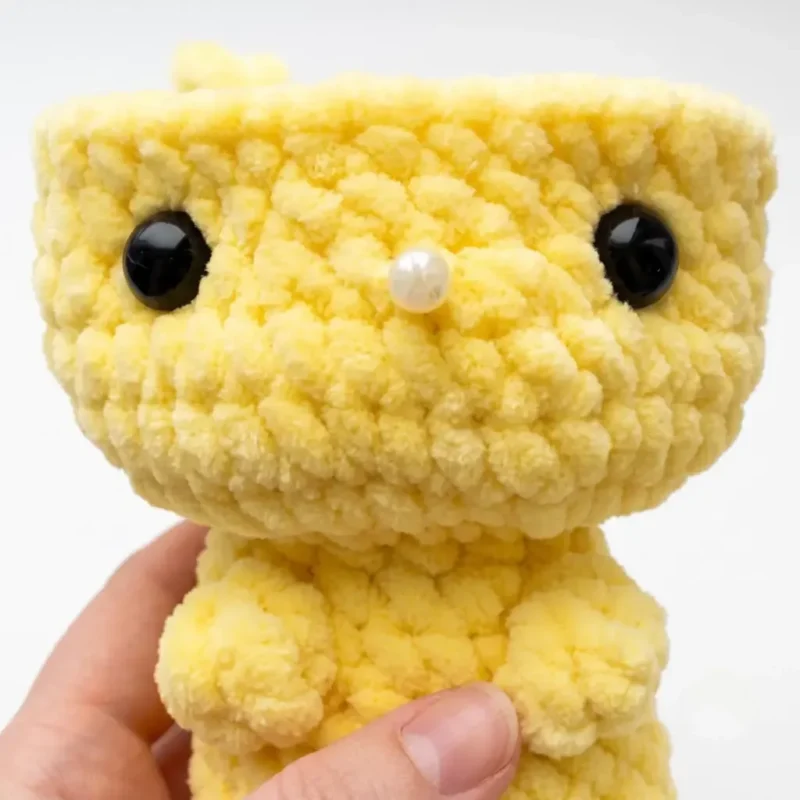
- Round 19-20sc in each st around. (35)Place a stitch marker centered between Rnds 18 and 19, at the front of the head. Count 3 sts to the right of the marker and 3 sts to the left, and insert one safety eye at each point.
- Round 21(5 sc, dec) repeat around. (30)
- Round 22sc in each st around. (30)
- Round 23(4 sc, dec) repeat around. (25)
- Round 24(3 sc, dec) repeat around. (20)
- Round 25(2 sc, dec) repeat around. (15)
- Round 26(1 sc, dec) repeat around. (10)
- Round 27dec around. (5)Top off the stuffing so the head feels firm to the touch, then close the opening. Fasten off and weave in the end.
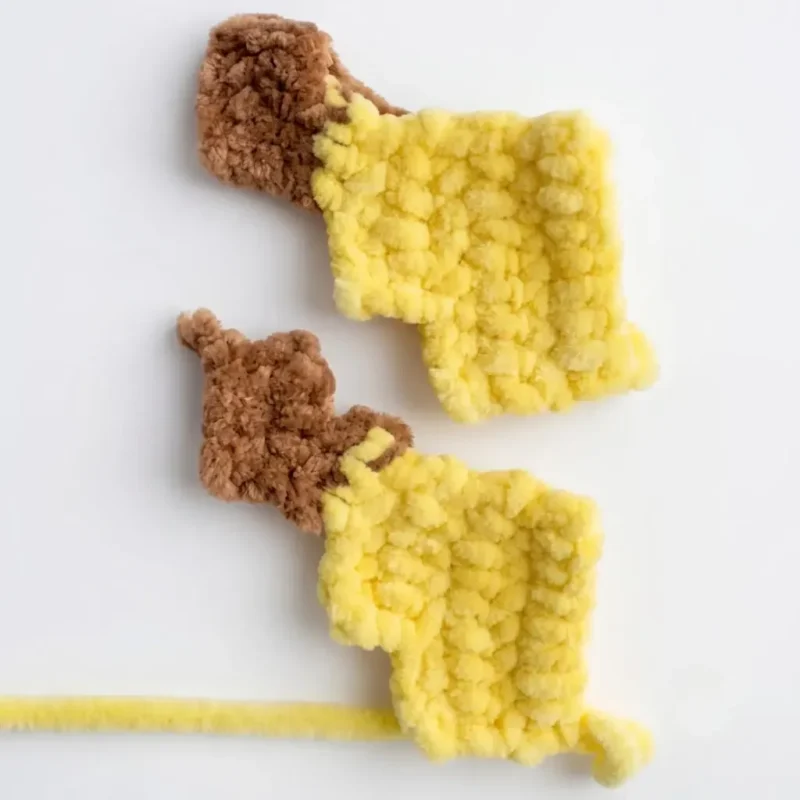
Tail (make 2 pieces)
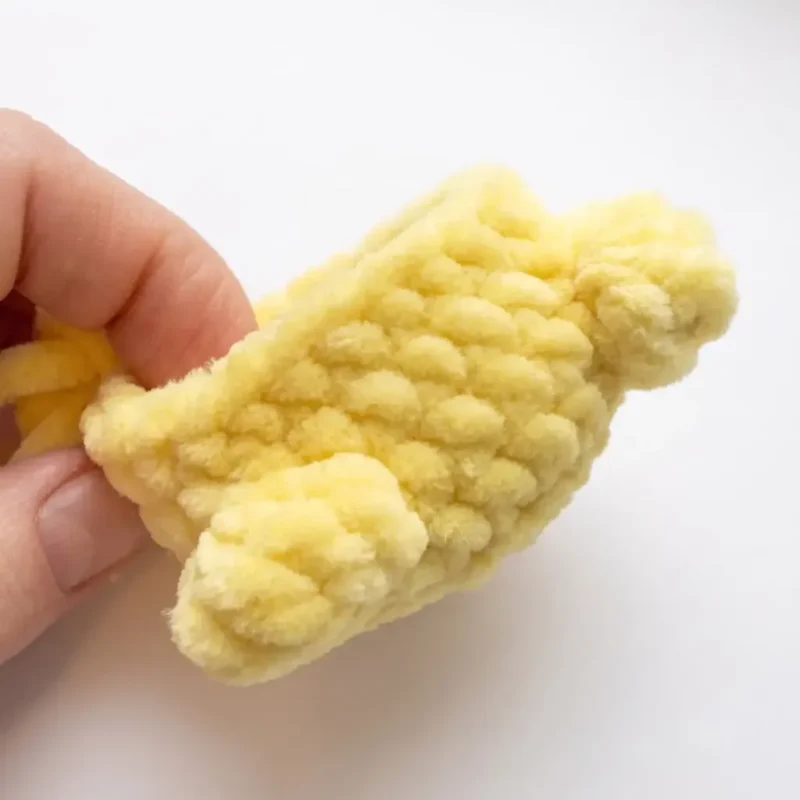
Make 2Work each piece in turned rows, beginning with brown yarn.
Foundation: ch 5.
- Row 1starting in 2nd ch from hook, 4 sc. (4) ch 1, turn.
- Row 24 sc. (4) ch 1, turn.
- Row 32 sc. (2) ch 1, turn. Change to yellow yarn.
- Row 42 sc, ch 3. (5) ch 1, turn.
- Row 55 sc. (5) ch 1, turn.
- Row 65 sc, ch 3. (8) ch 1, turn.
- Row 7-98 sc. (8) ch 1, turn.
- Row 108 sc. (8)Fasten off and weave in the end on the first tail piece. On the second piece, leave a long yarn tail — you’ll use it to join both pieces together in Assembly.
Ears (make 2)
Make 2- Round 15 sc in MR. (5) (brown yarn)
- Round 2-3sc in each st around. (5)Change to yellow yarn.
- Round 4-9sc in each st around. (5)Fasten off, leaving a yarn tail for sewing.
More photos
Putting It Together
- Step 1 Sew the two Ear pieces onto the head at Rnds 21–23, spacing them so they sit symmetrically on either side of the head.
- Step 2 Hold the two Tail pieces together, brown sections matching, and use the long tail left on the second piece to single crochet around the edge, joining both pieces into one flat tail.
- Step 3 Pin the tail to the back of the body with sewing pins, adjusting the angle until you’re happy with how it sits.
- Step 4 Whipstitch the tail to the body, sewing through every point where you placed a pin to secure it firmly.
- Step 5 Using red yarn, embroider a small rounded cheek mark on each side of the face, just below the eyes.
- Step 6 Using black embroidery thread, stitch a simple smiling mouth centered below the eyes.
- Step 7 Weave in any remaining yarn tails and trim them close to the fabric.
Important Notes
💡 Keep your stitch marker moving every single round on the Head-Body — with 24 rounds worked continuously, it's easy to lose your place without one, especially through the increase and decrease sections.
💡 Bulky chenille yarn splits easily, so work each stitch slowly and deliberately, especially during increases and decreases where the yarn is under more tension.
💡 Stuff the Head-Body in stages as you crochet rather than waiting until the very end — it's much easier to distribute fiberfill evenly through a partially-open piece than to stuff a nearly-closed one.
💡 Pin the Ears, Tail, and cheek accents in place with sewing pins before committing to any stitches, since chenille yarn can be tricky to unpick once sewn.
💡 Use black embroidery thread (not yarn) for the mouth to get a crisp, defined line — yarn tends to look too thick and fuzzy against the smooth chenille body.
💡 A tighter gauge with the 3.5mm hook isn't just about neatness — it directly affects the finished 6-inch size, so swatch a few stitches first if you're unsure of your tension.
💡 This pattern is written in US crochet terminology.
💡 For the decrease rounds near the top of the head (Rnds 21–27), use an invisible decrease rather than a standard one — it keeps the shaping smooth and avoids the small holes that regular decreases can leave in a rounded piece like this.
💡 When sewing the tail onto the body, use the same yarn color as the body for your sewing strand so the stitches blend in — check the tail's angle from a few different sides before you commit to the final position with pins.
Common Mistakes and Fixes
Losing track of where the round begins
Place a stitch marker in the first stitch of every round and move it up each time you complete a round — this is non-negotiable for keeping your 24-round Head-Body shaping accurate.
Using a loose gauge that lets fiberfill
Work with a tighter tension than feels natural, or size down your hook slightly (staying near 3.5mm) — a firmer fabric keeps the finished plush looking clean and prevents stuffing show-through.
Confusing the turned-row construction
Remember to actually turn your work at the end of each row on the Tail pieces (unlike the spiral sections), and chain up as needed per the pattern notes before starting the next row.
Overstuffing or understuffing
Stuff firmly but in small pinches as you go, especially before closing up rounds near the top and bottom — check the shape periodically by gently squeezing to ensure even firmness throughout.
Placing the 8-10mm safety eyes
Insert both eye posts loosely first, use a mirror or photo to check alignment and spacing against the Head-Body's rounds, and only secure the washers once you're happy with the placement.
Sewing the Ears and Tail pieces
Use sewing pins to temporarily position the Ears and Tail before stitching, stepping back to check the overall silhouette looks balanced and centered like Pikachu's signature pose.
What Makes It Good
- There's something so satisfying about working the Head-Body as one continuous spiral — no seaming the head to the body later, just smooth increases and decreases flowing right into the next round until this iconic shape appears in your hands. I love how the bulky chenille yarn does half the work for you, giving that plush, velvety finish with minimal effort on your part. The two-piece Tail worked in turned rows is a fun textural change of pace from the spiral rounds, and seaming it into that unmistakable jagged silhouette feels like a little victory every time. Adding the brown ear tips and tail base, then stitching on those rosy red cheeks, is where the personality really comes alive — that's the moment it stops looking like a yellow blob and starts looking like Pikachu. I also love that the whole project uses just three yarn colors and modest quantities, so it's a guilt-free stash-buster if you've got chenille leftovers. It's compact enough to finish without losing steam, but detailed enough (ears, tail, face embroidery) to feel like a genuinely complete, professional-looking amigurumi when you're done.
Frequently Asked Questions
What size will my finished Mini Pikachu amigurumi be?
Using bulky weight yarn and a US E-4 (3.5 mm) hook, your finished Mini Pikachu will be about 6 inches (15 cm) tall including the ears. A tighter gauge will produce a smaller, firmer doll, while a looser gauge will make it slightly larger and softer.
Can I use a different yarn weight for this pattern?
Yes, you can substitute a different yarn weight as long as you adjust your hook size to match. Keep in mind that a thinner yarn will produce a smaller finished piece, and you should choose a hook size that keeps the fabric dense enough to fully contain the stuffing.
What is the bobble stitch used for the arms and legs?
The bobble stitch is a cluster of treble crochet stitches worked into a single stitch and joined together at one top point. The legs use a 5-treble bobble and the arms use a 4-treble bobble, giving them a raised, three-dimensional shape.
Do I need to stuff the head and body separately?
No, the head and body are worked as one continuous piece, so there is no separate seam between them. Stuff firmly as you work through the rounds rather than waiting until the piece is finished, and add any final stuffing needed before closing the last opening.
Original pattern: https://amigurumicorner.com/mini-pikachu-amigurumi-pattern/

About the Author
Tamsin Okoro Who writes the patterns at Yarn Gallery, how a pattern gets from the hook to the page, and what this site will never do.


