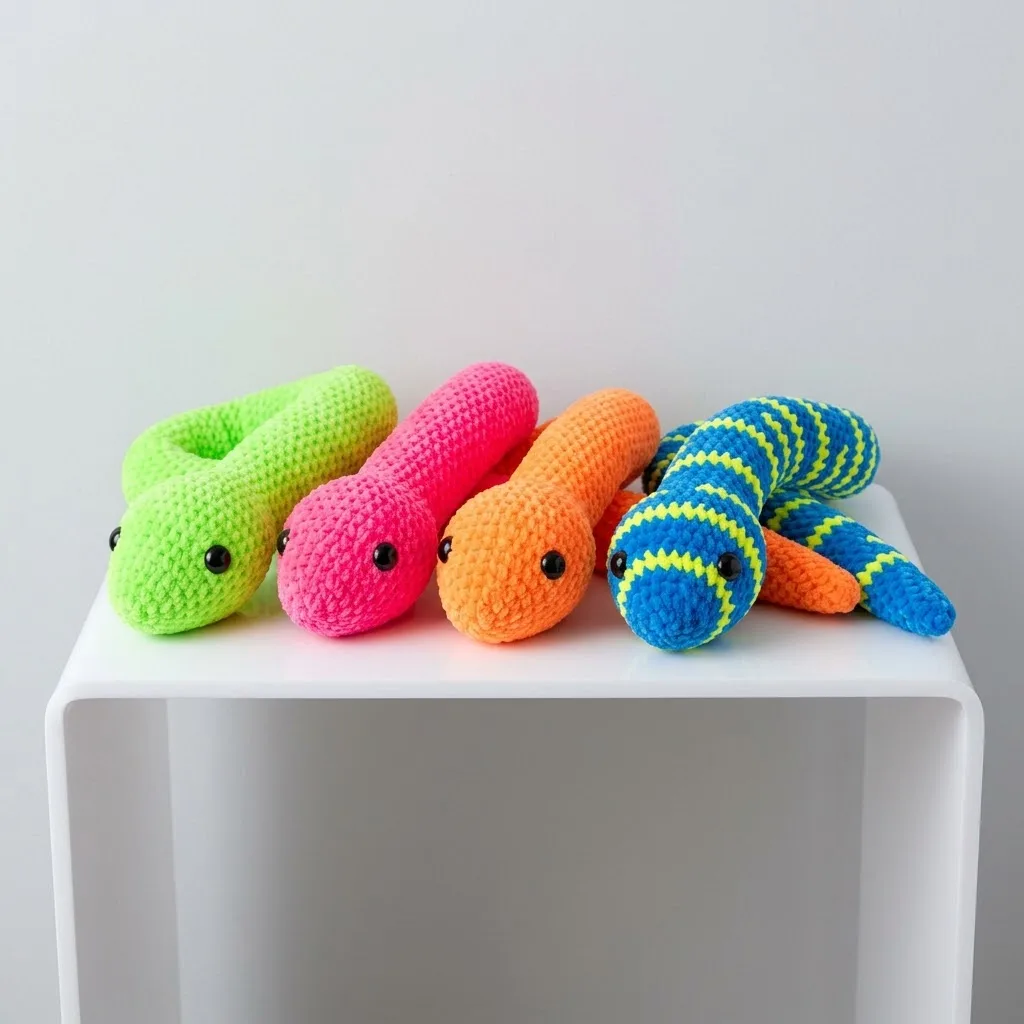
About This Pattern
This snake is a tube with ambition. It starts as a small head, grows into a long stuffed body, then tapers to a tail. There is no fussing with limbs or ears. It fits well into an evening with a show on in the background. It needs worsted yarn, a small hook, and some patience for the plain rounds in the middle.
In the basket
Yarn
Hook
Notions
Safety note
Abbreviations
- st
- stitch
- sts
- stitches
- sc
- single crochet
- inc
- increase
- mr
- magic ring
- fo
- finish off
Neon glow crochet snake plushie for beginners
Head
- Round 1MR, 6 sc into ring. Pull ring closed. (6 sts)
- Round 2Inc in each st around. (12 sts)
- Round 3*Sc 1, inc* repeat around. (18 sts)
- Round 4*Sc 2, inc* repeat around. (24 sts)
- Round 5*Sc 3, inc* repeat around. (30 sts)
- Round 6to 10: Sc in each st around. (30 sts) — 5 rounds total This creates a nice rounded head shape. Now is the time to attach your safety eyes. Place them between Rounds 7 and 8, approximately 6 stitches apart. Push the post through the fabric from outside, then secure the washer firmly on the inside.
Take a moment to check placement before clicking the washer on. Once it’s secured, you cannot remove it without cutting.
- Round 11*Sc 3, invdec* repeat around. (24 sts)
- Round 12*Sc 2, invdec* repeat around. (18 sts) Begin stuffing the head now. Pack it firmly but not so tight that it stretches the stitches.
Body
- Round 13to 45: Sc in each st around. (18 sts) — 33 rounds total Yes, this is a lot of rounds of plain single crochet. This is where podcasts, audiobooks, or your favorite show come in handy. The repetition is meditative once you find your rhythm.Continue stuffing as you work. Add small amounts every few rounds rather than trying to stuff everything at the end. This ensures even, squishy firmness throughout.
Tail
Now we taper toward the tail. The decreases happen gradually for a natural snake shape.
- Round 46*Sc 4, invdec* repeat around. (15 sts)
- Round 47to 50: Sc in each st around. (15 sts) — 4 rounds
- Round 51*Sc 3, invdec* repeat around. (12 sts)
- Round 52to 55: Sc in each st around. (12 sts) — 4 rounds
- Round 56*Sc 2, invdec* repeat around. (9 sts)
- Round 57to 60: Sc in each st around. (9 sts) — 4 rounds
- Round 61*Sc 1, invdec* repeat around. (6 sts)
- Round 62to 64: Sc in each st around. (6 sts) — 3 rounds Finish stuffing the tail. Use smaller pieces of fiberfill and a chopstick or pencil to push stuffing into the narrow tip.Round 65: Invdec around. (3 sts) FO, leaving a 6 inch tail. Thread yarn needle and weave through the front loops of the remaining 3 stitches. Pull tight to close. Weave in the end securely.
More pictures
Before the first stitch
- Check your yarn amount. Fifty to sixty yards covers one snake in a single color.
- Place a stitch marker at the start of round one. You will lose track otherwise.
- Read through the body section first. Thirty-three rounds of plain single crochet goes faster when you expect it.
Minutes per piece
- Head about 20 minutes, because eight rounds include steady increases
- Body and tail about 3 to 4 hours, because thirty-three plain rounds plus tapering decreases take the longest
Other yarns that work
- cotton, worsted weight Stitches hold their shape more firmly. Expect a stiffer fabric and slightly less give when stuffing.
- acrylic blend, DK weight The snake comes out smaller and lighter. Drop to a smaller hook to keep the fabric tight enough for stuffing.
Where it ends up
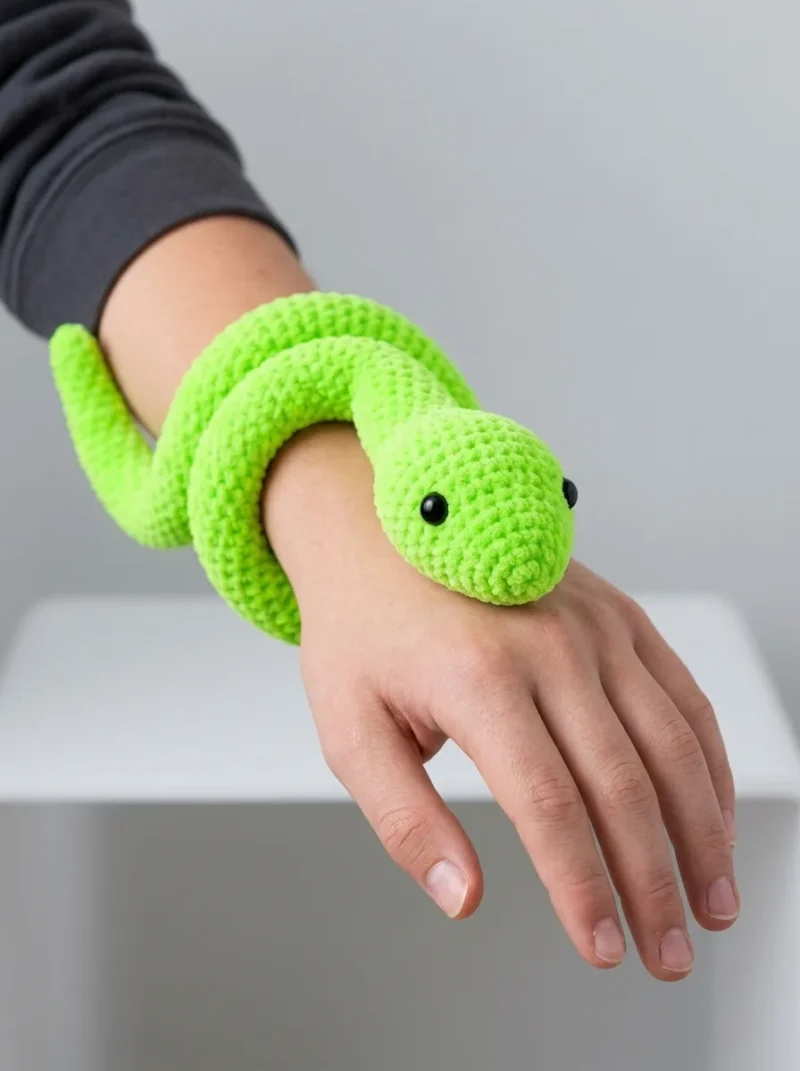
- A desk companion that curls around a monitor stand or lamp base.
- A soft toy for a child's room, paired with other small stuffed shapes on a shelf.
- A fidget piece for a reading nook, left coiled on a cushion.
Joining up
- Step 1 Weaving ends: Thread each yarn tail onto your needle and weave through the inside of several stitches. Go one direction, then back the other way. Trim close to the fabric.
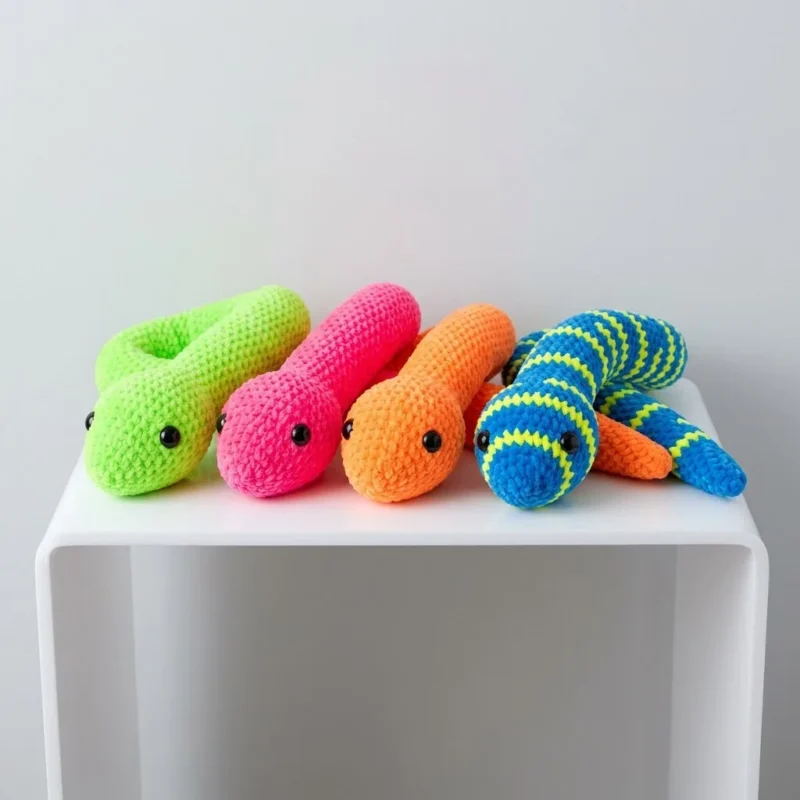
- Step 2 Shaping: Once finished, you can gently manipulate your snake into curves and coils. The stuffing will hold whatever position you create. This is how I arranged the snakes in the photo, each one curled in its own unique pose.
- Step 3 Optional embellishments: Feel free to embroider a little forked tongue using red or pink yarn. A simple straight stitch with a small V at the end does the trick. You could also add nostrils with tiny French knots.
Small notes
- I use a 3.5mm hook, smaller than usual for worsted yarn. This tightens the fabric so stuffing stays hidden.
- I stuff a little at a time, every few rounds. This keeps the shape even along the whole body.
- If this snake is for a child under three, I skip the safety eyes. Embroidered eyes in black yarn are safer and still look good.
Little questions
Can I skip the safety eyes?
Yes. Embroider the eyes with black yarn instead. This is the safer choice for very young children.
Why use a smaller hook than usual?
A 3.5mm hook tightens the stitches for worsted yarn. This keeps the stuffing from peeking through.
How much yarn do I need for stripes?
Plan for about 30 yards of each contrasting color. That covers one striped snake.
Why so many plain rounds in the body?
The body is thirty-three rounds of single crochet to build length. I find it meditative once a rhythm sets in.
Original pattern: https://crochr.com/neon-glow-snake-plushie-free-crochet-pattern/

About the Author
Tamsin Okoro Who writes the patterns at Yarn Gallery, how a pattern gets from the hook to the page, and what this site will never do.


