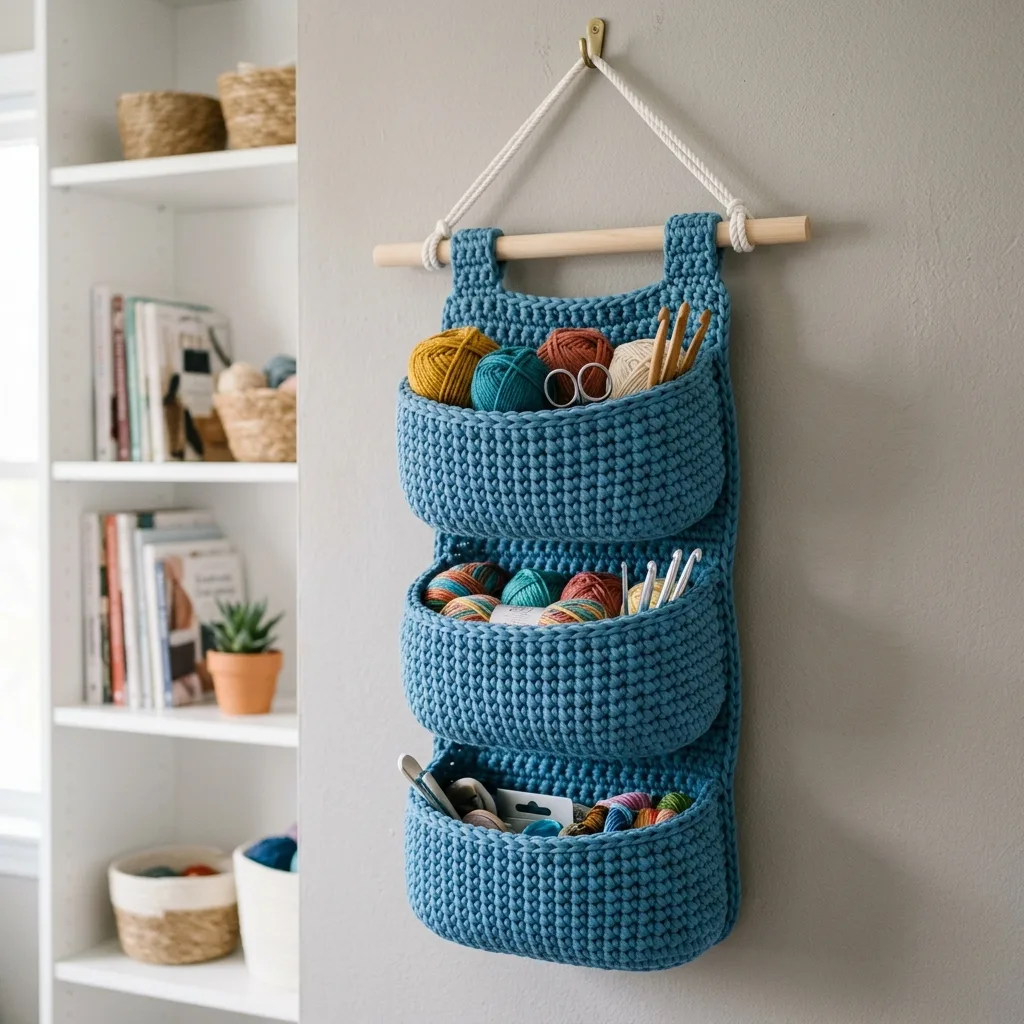
About This Pattern
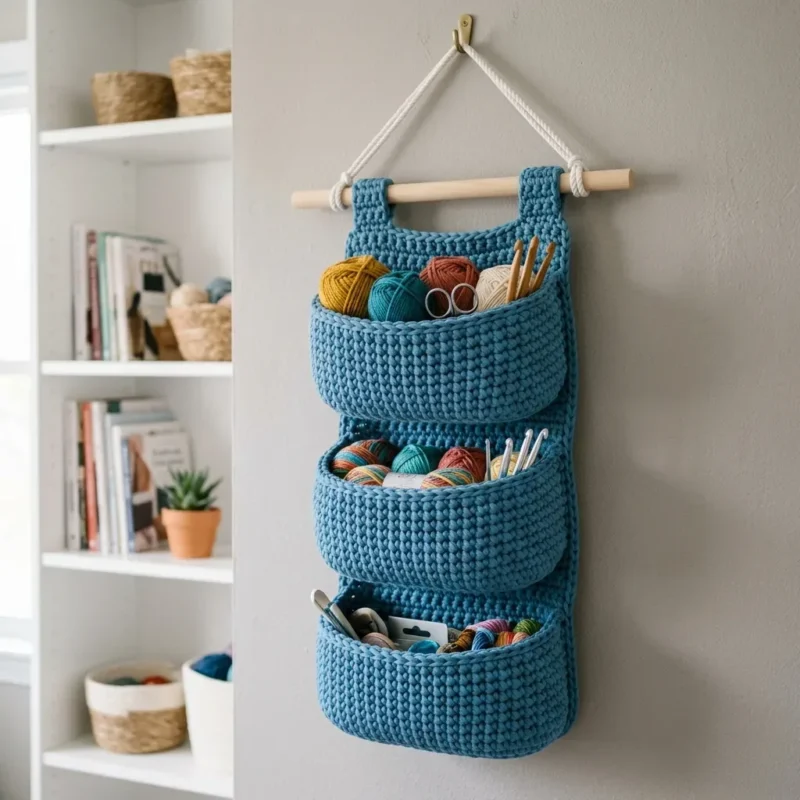
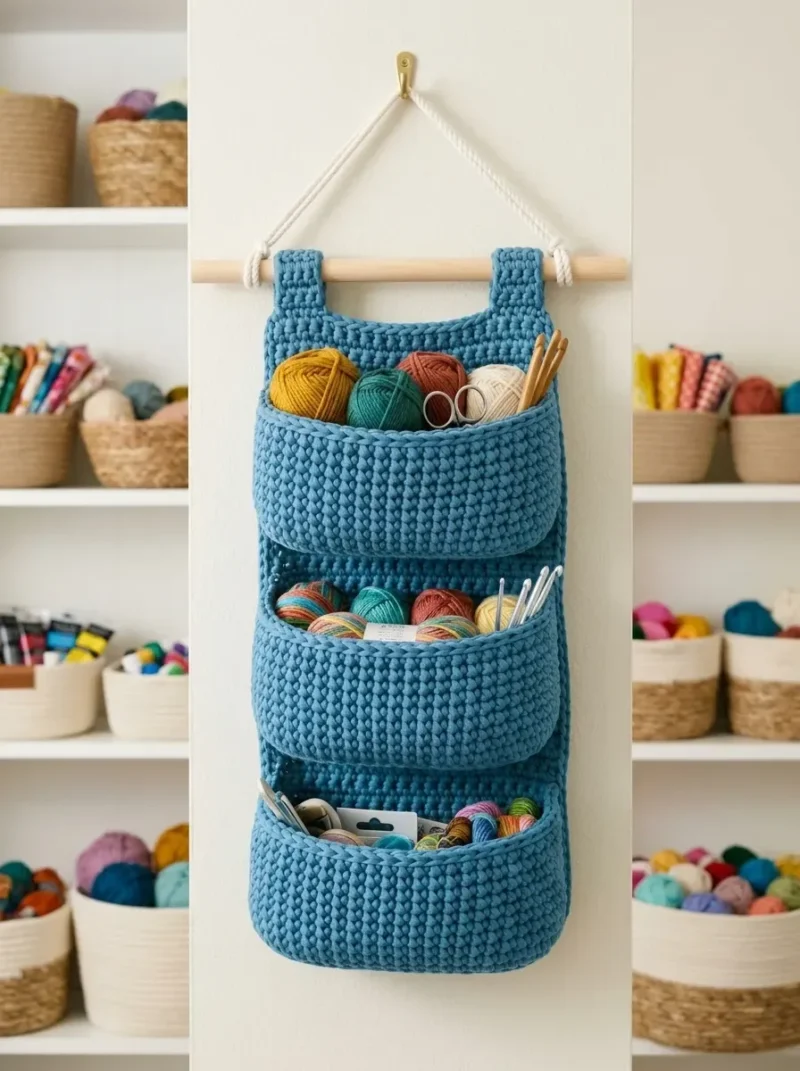
This is a hanging basket for small tools. It holds scissors, markers, a spare hook. The oval base starts it off, then a long back panel grows pockets and flaps. A wooden dowel keeps the top straight. It needs sturdy cotton, a steady hook, and patience through eighty rows. I like making it in ocean blue, but any cotton holds its shape well. It fits on a wall near a chair, right where I reach for it most.
In the basket
Yarn
Hook
Additional Supplies
Gauge
Abbreviations
- ch
- chain
- st
- stitch
- sts
- stitches
- sl st
- slip stitch
- sc
- single crochet
- inc
- increase
- sc2tog
- single crochet two together (decrease)
Ocean blue hanging wall basket crochet pattern
Base
Each pocket starts with an oval base, then you work up the sides in continuous rounds. The pockets are identical, so you will repeat this section three times.
- Round 1Ch 16. Sc in 2nd ch from hook and in next 13 ch. Work 3 sc in last ch (this creates the turn). Working along the opposite side of the foundation chain, sc in next 13 stitches. Work 2 sc in the last stitch where you started. Do not join. Place a stitch marker in the first stitch to track your rounds. (32 sts)
- Round 2Sc in next 14 sts, inc in next 3 sts, sc in next 14 sts, inc in next st. (36 sts)
- Round 3Sc in next 14 sts, (inc, sc) 3 times, sc in next 14 sts, (inc, sc) twice. (42 sts)
- Round 4Sc in each st around. (42 sts)
Building the Sides
- Round 5through 18: Continue working sc in each stitch around without increasing. Your pocket will naturally start curving upward. Keep your tension consistent for even sides. (42 sts each round)(42)
The pocket should measure approximately 6 inches wide, 3 inches deep, and 4 inches tall at this point.
Creating the Back Flap
Now you will work flat rows to create the portion that attaches to the back panel.
- Round 19Sc in next 21 sts. Ch 1, turn, leaving remaining stitches unworked. (21 sts)
- Round 20Sc in each st across. Ch 1, turn. (21 sts)Rows 21 through 24: Repeat Row 20. (21 sts) Fasten off and weave in ends. Set aside and make two more pockets.
Foundation
The back panel provides structure and connects all three pockets.
Ch 26.
- Round 1Sc in 2nd ch from hook and each ch across. Ch 1, turn. (25 sts)
- Round 2through 80: Sc in each st across. Ch 1, turn. (25 sts) Your back panel should measure approximately 7 inches wide and 20 inches long. If you want more space between pockets, add additional rows here.Do not fasten off. Continue to the border.
Border
- Round 1Work 1 sc in each stitch across the top. At the corner, work 3 sc. Continue down the side, working approximately 1 sc per row (about 80 sts down the side). Work 3 sc in the corner. Sc across the bottom (25 sts). Work 3 sc in the corner. Sc up the remaining side. Work 3 sc in the final corner. Sl st to first sc to join.
- Round 2Ch 1, sc in each st around, working 3 sc in each corner stitch. Sl st to join. Fasten off and weave in ends.
Hanging Tabs
These tabs loop over your wooden dowel.
Ch 8.
- Round 1Sc in 2nd ch from hook and each ch across. Ch 1, turn. (7 sts)
- Round 2through 20: Sc in each st across. Ch 1, turn. (7 sts)Fasten off, leaving a long tail for sewing.
Positioning the Pockets
This is where your wall basket really comes together. Take your time with this section.
Lay your back panel flat on a table. Position the first pocket near the top, leaving about 2 inches from the top edge. The back flap of the pocket should overlap the back panel by about 1.5 inches.
Using your tapestry needle and matching yarn, whip stitch the back flap to the back panel. I recommend using small, close stitches for durability.
Position the second pocket about 1.5 inches below the first pocket. Sew in place.
Position the third pocket about 1.5 inches below the second pocket. Sew in place.
Attaching the Tabs
Fold each hanging tab in half lengthwise. Position them at the top corners of the back panel, about 1 inch from each edge. The folded loop should extend above the top of the panel by about 2 inches.
Sew both ends of each tab securely to the back panel.
Adding the Dowel
Slide your wooden dowel through both hanging tabs. The tabs should fit snugly but allow the dowel to move freely.
Tie your rope or cord to each end of the dowel, creating a loop for hanging on your wall hook.
More pictures
Before the first stitch
- Check you have close to 400 yards of worsted cotton on hand.
- Swatch first. Fourteen stitches and sixteen rows should equal four inches.
- Set a stitch marker ready for Round 1 of the base, since there's no join.
Minutes per piece
- Base and Foundation about 1.5 hours, because the base shapes fast but eighty foundation rows take patience
- Border, sides, flap, and finishing about 2.5 hours, because corners need care and the dowel casing wants even tension
Other yarns that work
- Cotton-linen blend, worsted weight Gives a bit more drape, so pockets hang a touch looser. Keep the same 5.0mm hook.
- Acrylic, worsted weight Softer and lighter, but the basket may lose its crisp shape over time. Consider sizing down the hook slightly for firmer fabric.
Where it ends up
- Hang it by a sewing table for thread and small scissors.
- Use it near a desk for pens, tape, and sticky notes.
- Mount it by the door for keys, gloves, and a spare charger.
Small notes
- Use a 5.0mm hook, but size up or down if your swatch runs loose or stiff.
- Cotton holds shape better than acrylic here, so the sides won't sag over time.
- Keep that stitch marker on the first stitch in the base rounds, since you never join.
Little questions
Why does the base not join at the end of each round?
The base works in a continuous spiral, so joining would leave a visible seam. A stitch marker tracks where each round starts instead.
Can I make the back panel shorter than eighty rows?
Yes, fewer rows will shrink the overall basket height. Just keep the stitch count at twenty-five across so the border still fits evenly.
What if my gauge comes out different from fourteen stitches per four inches?
Go up a hook size if your fabric feels floppy. Go down a size if it feels stiff and tight.
Does the dowel need to be exactly 12 inches?
Close to that length works fine, since the back flap casing has some give. Just be sure it's at least as wide as your finished panel.
Original pattern: https://crochetwithmia.com/ocean-blue-craft-room-wall-basket-free-crochet-pattern/

About the Author
Tamsin Okoro Who writes the patterns at Yarn Gallery, how a pattern gets from the hook to the page, and what this site will never do.


