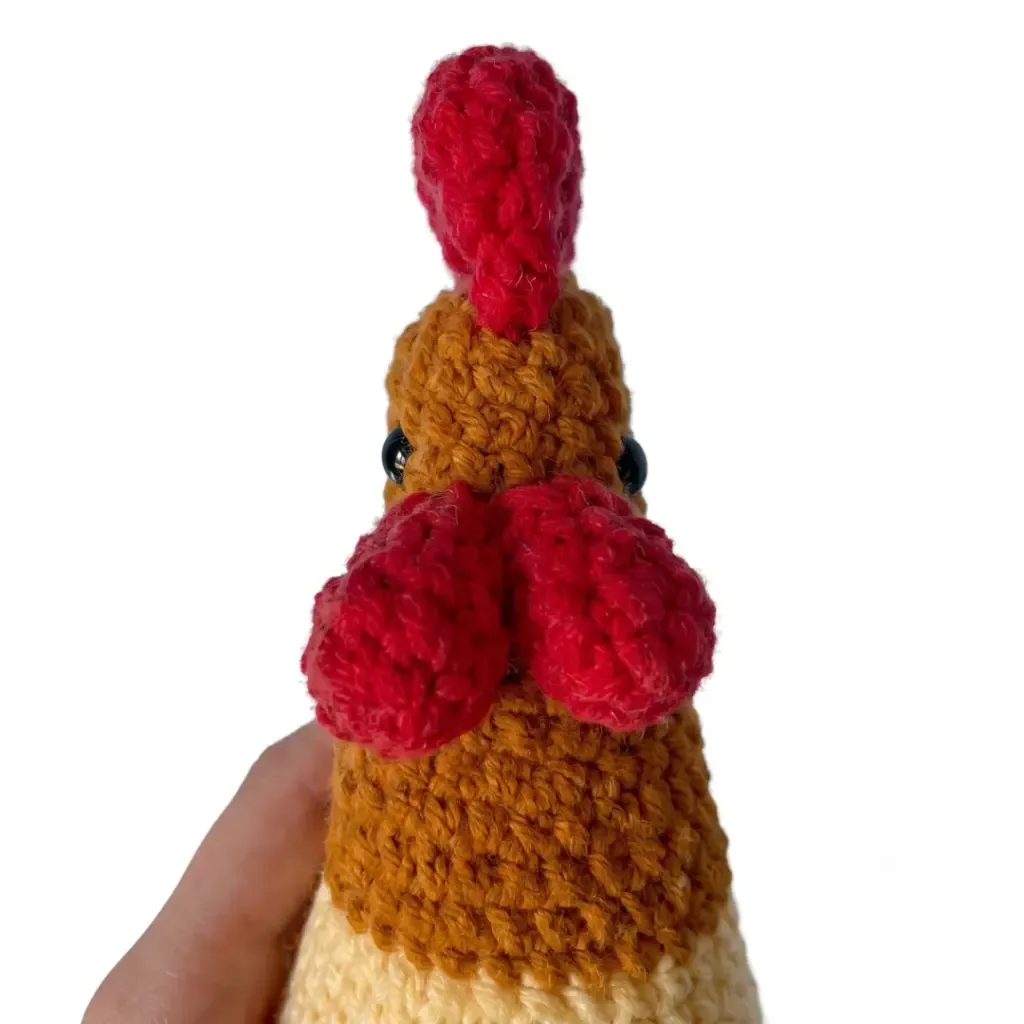
About This Pattern
Petya is a small rooster, built one round at a time. His body and head take thirty-nine rounds, worked in soft plush yarn. Comb, wattles, beak, wings, and tail come after, each piece small enough for one sitting. He fits into a quiet evening, one part per session. He needs firm stuffing, steady tension, and a stitch marker you trust.
In the basket
Hook size
Safety eyes
Fiberfill
Stitch markers
Abbreviations
- BLO
- Back Loop Only
- ch
- Chain
- dec
- Invisible Decrease (insert hook through front loops of next 2 sts, pull through, complete as sc)
- inc
- Increase (2 sc in same stitch)
- MR
- Magic Ring
- Rnd
- Round
- Row
- Row
- sc
- Single Crochet
- sk
- Skip
- sl st
- Slip Stitch
- SM
- Stitch Marker
- st / sts
- Stitch / Stitches
Petya the rooster amigurumi crochet pattern
Body & Head
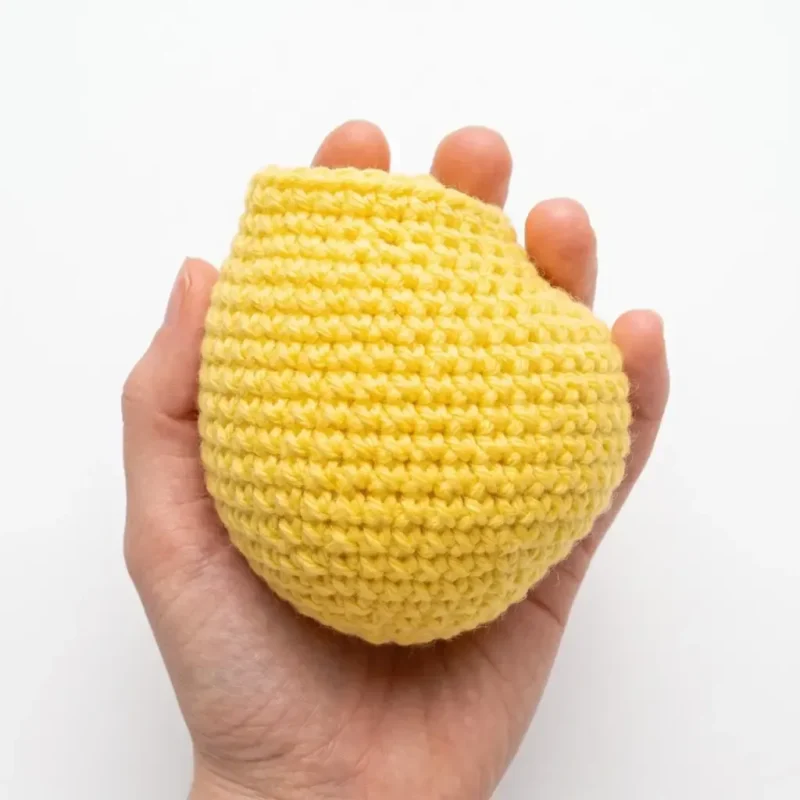
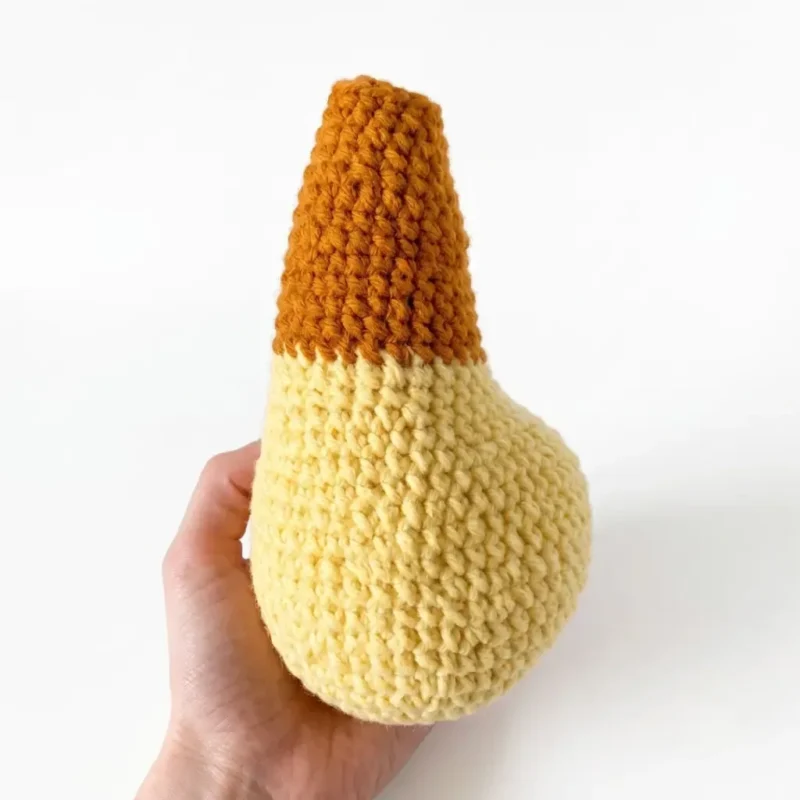
Begin with yellow yarn.
- Round 16 sc in MR. (6)
- Round 2inc in each st around. (12)
- Round 3sc, inc repeat 6 times around. (18)
- Round 42 sc, inc repeat 6 times around. (24)
- Round 53 sc, inc repeat 6 times around. (30)
- Round 64 sc, inc repeat 6 times around. (36)
- Round 75 sc, inc repeat 6 times around. (42)
- Round 86 sc, inc repeat 6 times around. (48)
- Round 96 inc, 42 sc. (54)
- Round 10sc in each st around. (54)
- Round 1112 sc, then 5 sc, dec repeat 6 times. (48)
- Rounds 12–16sc in each st around. (48) 5 rounds.
- Round 176 dec, 36 sc. (42)
- Round 183 dec, 36 sc. (39)
- Round 192 dec, 33 sc, 1 dec. (36)
- Round 204 sc, dec repeat 6 times around. (30)Stuff the body firmly at this point.Switch to orange yarn.
- Rounds 21–26sc in each st around. (30) 6 rounds.
- Round 273 sc, dec repeat 6 times around. (24)
- Rounds 28–30sc in each st around. (24) 3 rounds.
- Round 312 sc, dec repeat 6 times around. (18)
- Rounds 32–37sc in each st around. (18) 6 rounds. Stuff the head firmly. Insert safety eyes in Round 35 with 5 stitches between them.
- Round 38sc, dec repeat 6 times around. (12)
- Round 396 dec. Fasten off and pull yarn tight to close.
Comb & Wattles — Make 5 Total
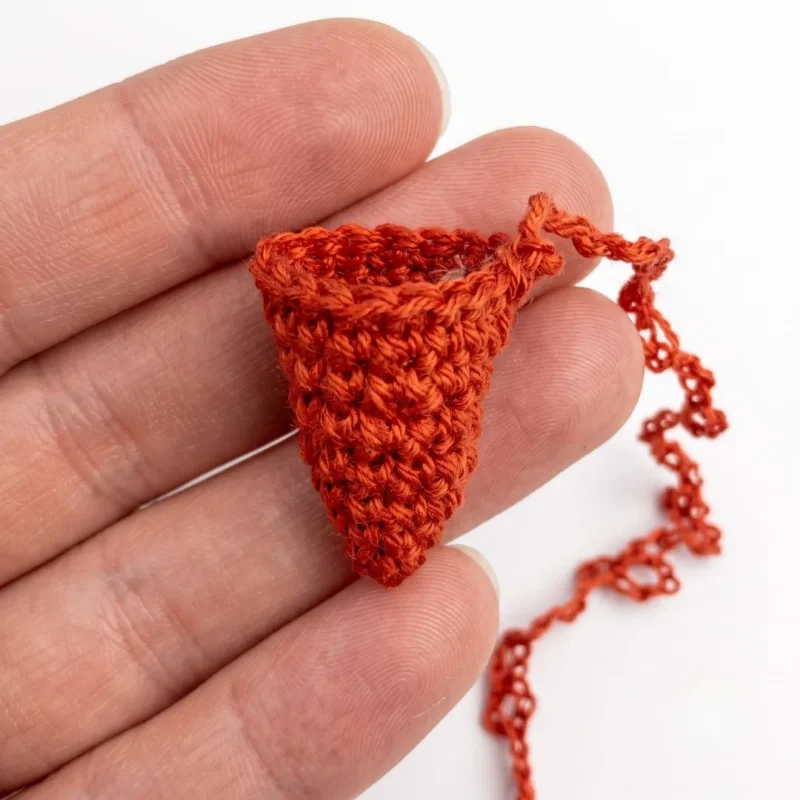
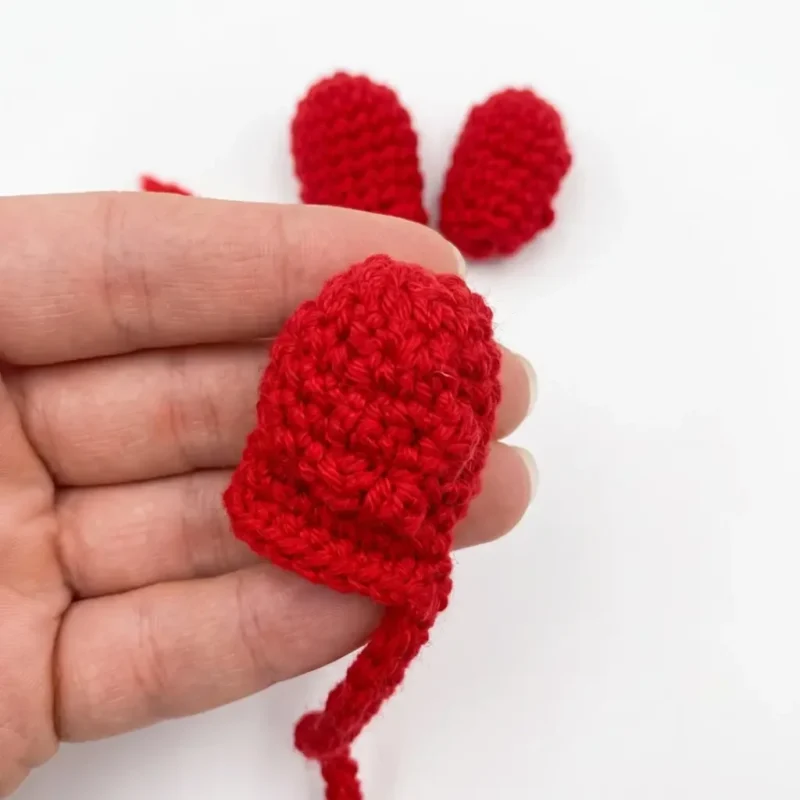
Work all 5 pieces in red yarn. These pieces serve as both the comb (attached to the top of the head) and the wattles (attached beneath the beak).
- Round 17 sc in MR. (7)
- Rounds 2–5sc in each st around. (7) 4 rounds. Work 3 sc through both loops to close the tip, then leave a long yarn tail for sewing.
Beak
Work in orange yarn (sport/DK weight).
- Round 14 sc in MR. (4)
- Round 2sc in each st around. (4)
- Round 3sc, inc repeat 2 times. (6)
- Round 4sc in each st around. (6)
- Round 52 sc, inc repeat 2 times. (8)
- Round 6sc in each st around. (8)
- Round 7sc, inc repeat 4 times. (12)
- Round 8sc, inc repeat 6 times. (18)
- Round 9sc in each st around. (18)Leave a long yarn tail. Sew the beak to the head, centered below the safety eyes.
Wing Feathers — Individual Pieces
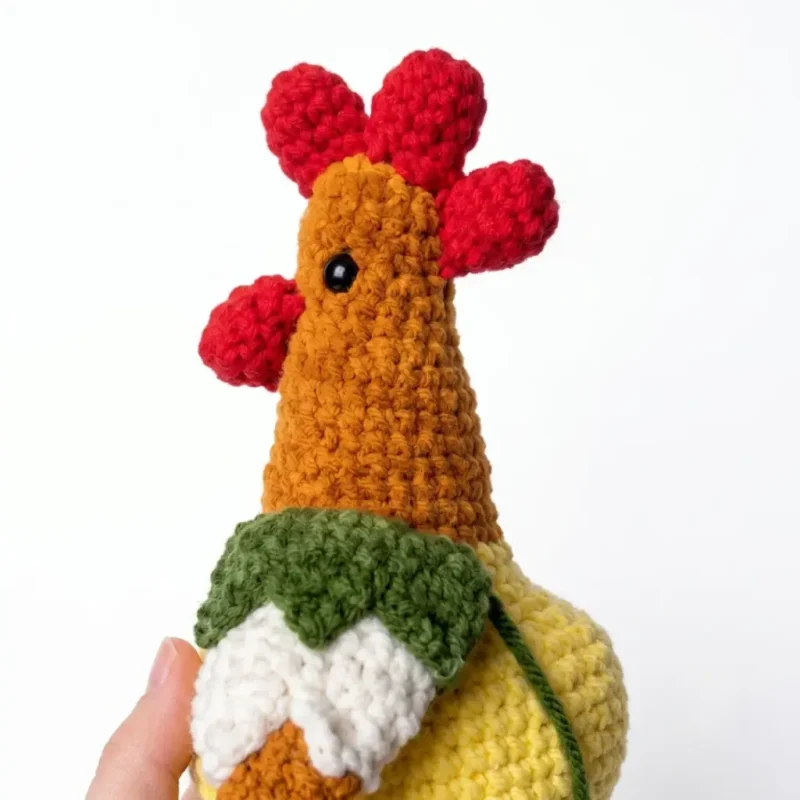
You will make 24 individual feather pieces total, then pair and sew them together to create 2 finished wings (12 feathers per wing, layered). Break down by color:
Green: 12 pieces White: 8 pieces Orange: 4 pieces Each feather is worked flat in rows.
Foundation: ch 5. (5)
- Round 1Starting in the 2nd ch from hook, sc across. (4)
- Rounds 2–3sc in each st across. (4)
- Round 4sc in each st across. (4)
- Round 52 dec. (2)
- Round 61 dec. Fasten off. Arrange feathers by color into groups and sew them together into two layered wings. Sew the completed wings to the sides of the body.
Tail Feathers — Make 12 Total
Green: 4 pieces Orange: 4 pieces White: 4 pieces Each tail feather is worked flat.
Foundation: ch 20. (20)
- Round 1Starting in the 2nd ch from hook, sc across to end. (19) Fasten off. Weave the yarn ends into the interior of the toy body as you attach each feather. Sew all 12 tail feathers to the back of the body, layering colors as desired.
Legs — Make 2
Begin with orange yarn (sport/DK weight).
- Round 16 sc in MR. (6)
- Round 2inc in each st around. (12)
- Rounds 3–12sc in each st around. (12) 10 rounds.Switch to yellow plush yarn.
- Round 13sc, inc repeat 6 times around. (18)
- Round 14sc in each st around. (18)Stuff firmly. Set aside — the toes will be attached before the leg is sewn onto the body.
Toes — Make 3 Per Foot (6 Total)
Work each toe in orange yarn (sport/DK weight).
- Round 16 sc in MR. (6)
- Round 2inc in each st around. (12)
- Rounds 3–10sc in each st around. (12) 8 rounds. Stuff each toe firmly.
- Round 116 dec. (6)Do not fasten off after the third toe. Instead, join all three toes of one foot together as follows:Joining Round: 3 sc across the first toe, 3 sc across the second toe, 6 sc across the third toe, 3 sc back across the second toe, 3 sc back across the first toe. Place SM. (18)
- Round 13sc, dec repeat 6 times around. (12)
- Rounds 14–20sc in each st around. (12) 7 rounds. Stuff the foot section firmly.
- Round 216 dec. Fasten off and pull yarn tight to close. Sew the completed toe-foot unit to the bottom of each leg.
More pictures
Before the first stitch
- Check you have enough plush yellow yarn for thirty-nine rounds of body and head.
- Place a stitch marker before round one; this pattern spirals with no joins.
- Read through the Comb & Wattles section first, since one shape becomes two body parts.
Minutes per piece
- Body & Head about 2 hours because it runs thirty-nine rounds in a continuous spiral
- Comb, wattles, beak, wings, tail, and toes about 2-3 hours because six small parts each need careful shaping and sewing
Other yarns that work
- Cotton, DK weight Gives crisper stitch definition but less plush softness; use a smaller hook for the same firm fabric.
- Acrylic, worsted weight Makes the body slightly larger overall; go up a hook size and add a touch more stuffing to keep it firm.
Where it ends up
- A shelf companion for a farmhouse-style kitchen, next to other small plush animals.
- A soft toy for a toddler's basket, paired with other amigurumi in the same color family.
- A gift for a beginner crocheter, alongside a spare hook and stitch markers.
Joining up
- Step 1 Attach the beak: Center the beak on the front of the head, just below the safety eyes. Sew in place using the long yarn tail and a whipstitch. Weave in the end.
- Step 2 Attach the comb: Arrange 3 of the red pieces along the top of the head in a fan shape. Sew each one firmly in place. Weave in ends.
- Step 3 Attach the wattles: Sew the remaining 2 red pieces beneath the beak, one on each side. Weave in ends.
- Step 4 Attach the wings: Position one assembled wing on each side of the body at approximately Rounds 12–18. Sew securely using a whipstitch along the base of each wing. Weave in ends.
- Step 5 Attach the tail feathers: Fan out the 12 tail feathers at the back base of the body. Layer green, orange, and white pieces for a full, colorful tail. Sew in place, pushing yarn tails to the inside of the body as you go.
- Step 6 Attach the legs: Position the legs at the bottom of the body, evenly spaced. Sew each leg firmly using a whipstitch and the yarn tail from the leg top. Weave in all ends.
- Step 7 Final check: Weave in any remaining yarn ends throughout the project.
Small notes
- Work every round in a continuous spiral. Do not join or chain up, or the head will twist.
- Stuff the body, legs, and toes firmly. Loose stuffing shows through plush yarn quickly.
- This pattern is written in US crochet terminology.
- Gauge is not critical for this project, but your fabric must be tight enough that fiberfill does not show through. If you can see stuffing between stitches, go down a hook size.
Little questions
Can I skip the plush yarn for the body?
You can use a smoother worsted yarn instead. The stitches will show more, so keep your tension tight throughout.
Why does the pattern say make five comb and wattle pieces?
Three become the comb on top of the head. The other two become the wattles beneath the beak.
Do I need to join at the end of each round?
No, this pattern works in a continuous spiral. Use a stitch marker to track where each round begins.
How much orange yarn do I need for the beak and legs?
The beak alone runs nine rounds, and legs and toes add more. Keep at least one full skein of sport or DK weight orange on hand.
Original pattern: https://amigurumiarts.com/petya-the-rooster-amigurumi-crochet-pattern/

About the Author
Tamsin Okoro Who writes the patterns at Yarn Gallery, how a pattern gets from the hook to the page, and what this site will never do.


