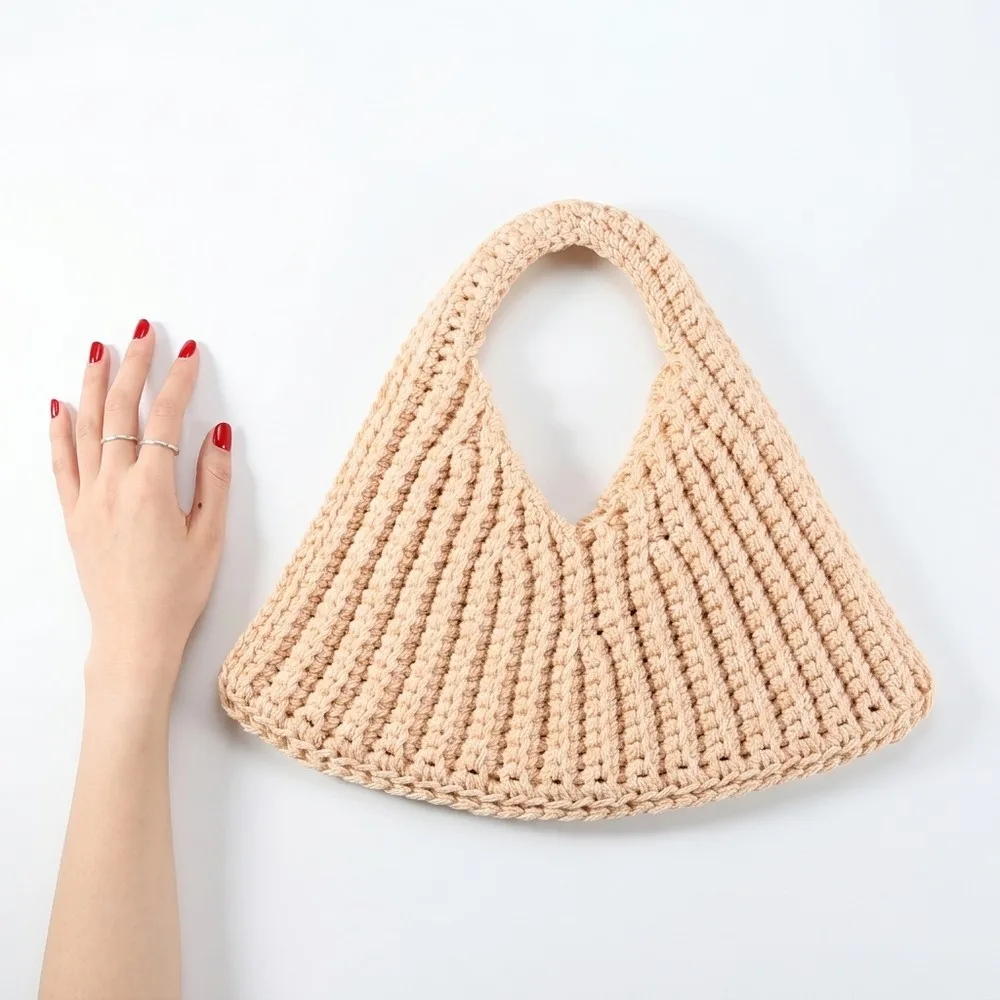
About This Pattern
This tote starts as a plain chain and grows into a fan of pleats. The shaping comes from rows that shrink, then rows that grow again. It sits well in a evening of steady stitching, not rushed. You need a 6mm hook, cotton yarn, and patience for the back-loop rows. The result is a structured bag with real dimension, not a flat rectangle.
Skill Level: Intermediate to Advanced.
In the basket
Yarn
Recommended color
Crochet Hook
Tools
Abbreviations
- ch
- Chain
- sl st
- Slip Stitch
- sc
- Single Crochet
- blo
- Back Loop Only
- st(s)
- Stitch(es)
- yo
- Yarn Over
Pleated tote bag crochet pattern with backstitch shaping
Foundation & Row 1
Create a foundation chain to start the first panel, using the 6mm crochet hook.
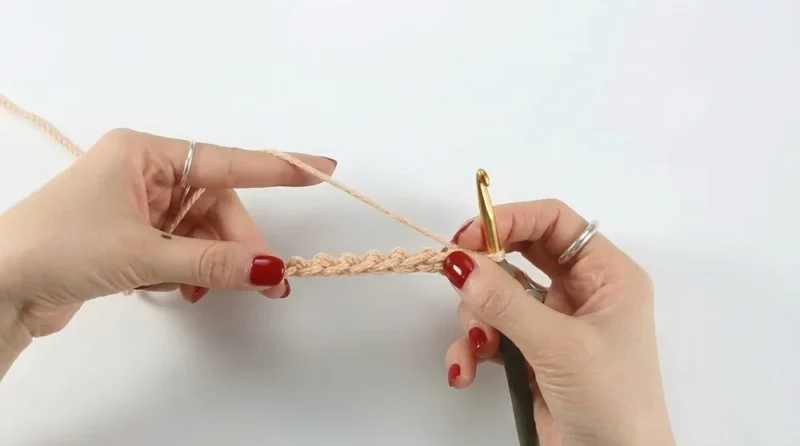
- Foundation ChainChain 35 ch, ensuring chains are loose for easy first-row stitching.Row 1: Single Crochet in Back Bumps — this row establishes the base for the panel by working into the back bumps of the foundation chain for a neat, defined edge.
- Row 1Sc into each back bump of the foundation chain until you have worked into all 35 chain stitches. You should have 35 sc in total.Step by step Step by step: Turn the chain slightly so the back bumps of the chain stitches (also called "humps") are visible. Skip the very first chain next to your hook, then starting in the 2nd chain, sc into each back bump of the foundation chain.
Rows 2–11
Rows 2–11: Back Loop Only (BLO) Single Crochet — this section builds the plain body of the panel before the pleat shaping begins.
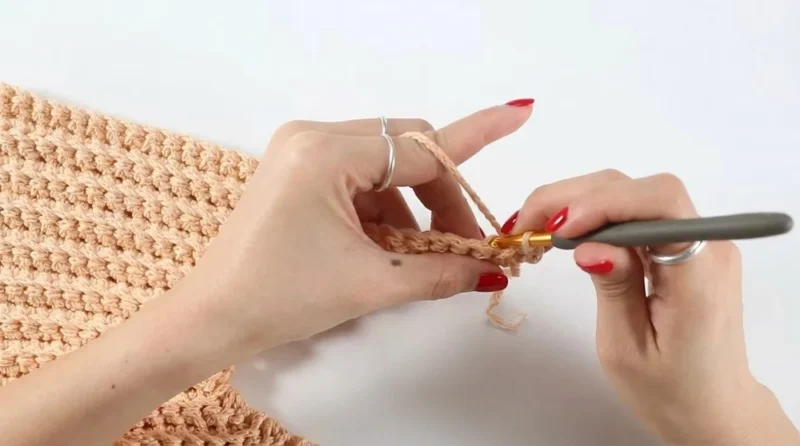
- Rows 2-11At the start of Row 2, chain 1 (this does not count as a stitch). Work 1 sc into the blo of each stitch across. You should always have 35 sts per row. Repeat this process for a total of 11 rows.
Row 12
Row 12: Shaping with Decreases (Back Stitching for Pleats) — this row begins shaping the fan structure with decreases.
- Row 12Ch 1, turn, then: Sc in blo for the first 24 stitches. Leave the remaining 11 stitches unworked.
Rows 13–25
Decrease 1 stitch per row following these steps: Odd rows (left side): Work sc in blo across, skipping the first stitch.
Even rows (right side): Work sc in blo , stopping one stitch before the last unworked stitch from the previous row.
Example:
- Row 13Work 23 sc in blo, leaving 12 stitches unworked.
- Row 14Work 22 sc in blo. Continue this pattern until Row 25 , where you will work 2 sc in blo .
Row 26
Rows 26–31: Shaping with Increases (Back Stitching for Pleats) — switch from decreasing to gradually increasing stitches per row.
- Row 26Ch 1, turn. Work 2 sc into the first stitch , then sc in blo across for the remaining stitches. You should have 3 sts in this row.
Rows 27–31
Add one stitch per row by working 2 sc in the first stitch of each row, then sc in blo for the remainder of the row. Example:
- Row 27Work 4 sc .
- Row 28Work 5 sc . Continue increasing until Row 31 , where you will have 35 sc again.
More pictures
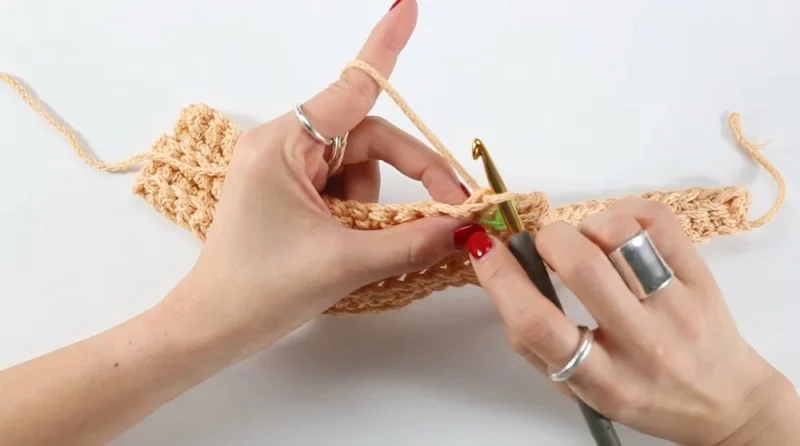
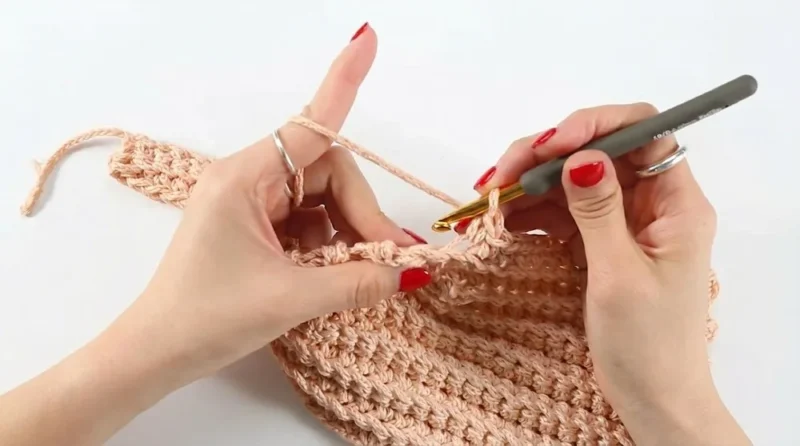
Before the first stitch
- Check you have close to 300g of medium-weight cotton before starting.
- Make sure your starting chain of 35 stays loose and even.
- Read through Rows 13 to 25 once, so the decrease pattern makes sense before you begin.
Minutes per piece
- Rows 13-25 (decrease section) about 1.5 hours because each row shifts by one stitch and needs close counting
- Rows 27-31 (increase section) about 40 minutes because the stitch count climbs quickly back to 35
Other yarns that work
- Cotton blend, worsted weight Similar drape and structure, though a blend may feel slightly softer and less crisp than pure cotton.
- Acrylic, worsted weight Lighter bag overall, with less natural stiffness, so blocking or a fabric stiffener matters more.
Where it ends up
- Carry it as a market bag, paired with a canvas jacket.
- Use it as a beach tote, alongside a simple straw hat.
- Take it as a everyday carryall, paired with denim and flats.
Joining up
- Step 1 Repeat all instructions for Step 1 to make a second identical panel. Do not cut the yarn after completing the second panel, as the panels will now be joined.
- Step 2 Place the panels wrong sides together, ensuring that the top and bottom edges match perfectly.
- Step 3 Begin at the bottom left corner of the panels. Work sl st through the blo of both panels, joining them stitch by stitch. Continue along one side, across the bottom, and up the other side.
- Step 4 Secure the last stitch with a knot and weave in all ends with a tapestry needle.
- Step 5 Attach yarn to the top edge of the bag at one corner. Chain 40 (or desired strap length). Slip stitch the other end of the chain to the opposite corner on the same side. Repeat for the second strap.
- Step 6 Reinforce the handles by working another row of sc along the chains.
- Step 7 Weave in all loose ends using a tapestry needle.
- Step 8 Block the bag lightly to shape the fan-like pleats. Optional: Apply a fabric stiffener for more structure.
- Step 9 Congratulations! You’ve finished your fluted tote bag, complete with a pleated design that adds dimension to its silhouette. The repetitive back-loop stitching and precise shaping contribute to its structured and elegant design.
Small notes
- Work every row into the back loop only, or the pleats will not form correctly.
- Keep your 6mm hook consistent throughout, since tension shifts change the fan shape.
- Count stitches at the end of each row in the decrease section, since one stitch off will throw the pattern.
- Ensure your chain stitches are loose to avoid the first row curling or shrinking.
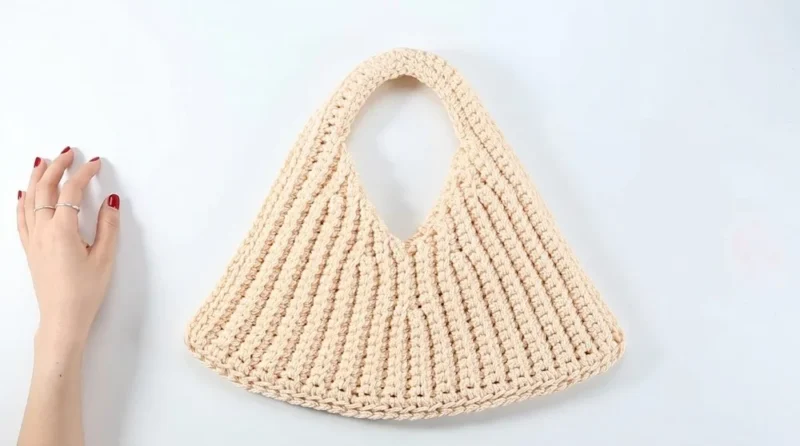
- The finished tote bag measures approximately: Width (bottom) 38 cm (15 inches), Height 32 cm (12.5 inches), Center length 15 cm (6 inches). Dimensions may vary slightly based on your crocheting tension.
- The unique back loop only (blo) technique creates the pleats and three-dimensional volume.
- The bag is worked in panels, and the body section will be assembled after creating two identical fan-like pieces.
- Adjust the height, width, or strap length to meet your preferences. Consider using two-tone yarn for a unique look.
- Hand wash or machine wash on a gentle cycle. Lay flat to dry for longevity.
- Ensure the stitch count aligns to maintain balance when seaming the sides and bottom of the panels. Always match the panels precisely before starting assembly.
Little questions
Why does the bag decrease then increase in the middle rows?
The decrease rows from 13 to 25 create the fan shape. The increase rows from 27 to 31 bring the stitch count back to 35, finishing the pleat.
What happens if I lose count during the decrease rows?
Stop and recount from Row 13, since each row depends on the row before. A single missed stitch will shift the whole pleat pattern.
Do I need to block this bag?
Yes, light blocking shapes the fan-like pleats properly. A fabric stiffener is optional, for more structure.
Can I use a different hook size?
The pattern calls for a 6mm hook throughout. A different size will change your gauge and the final bag dimensions.
Original pattern: https://redagapeblog.com/crochet-pleated-tote-bag-free-pattern/

About the Author
Tamsin Okoro Who writes the patterns at Yarn Gallery, how a pattern gets from the hook to the page, and what this site will never do.


