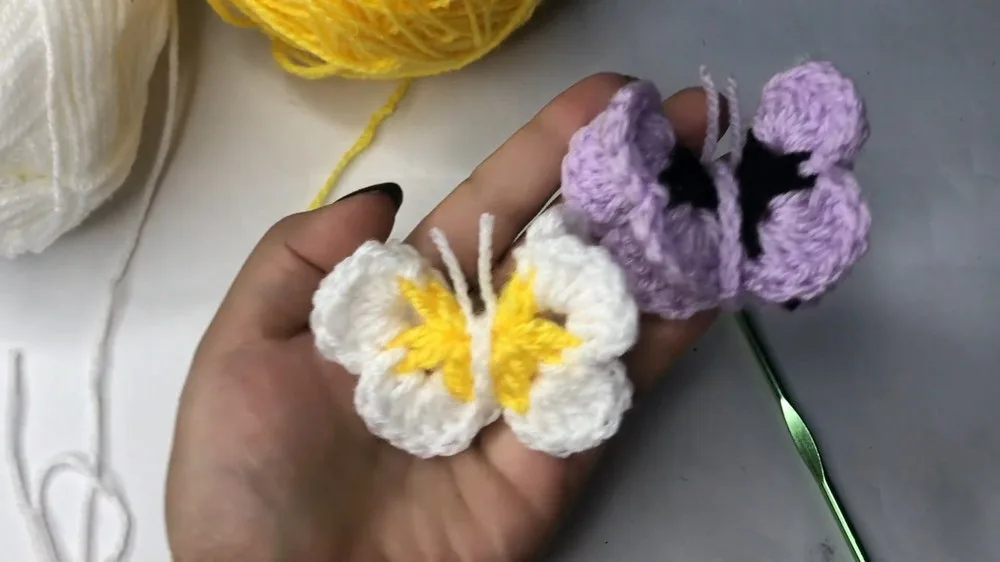
About This Pattern
This little crochet butterfly amigurumi is a delightful quick-make that captures all the charm of these garden favorites in a huggable, palm-sized form. With a plump rounded body and two sets of layered wings—large and small—it has that instantly recognizable butterfly silhouette while staying simple enough to finish in one sitting. It's perfect for crafters who want a satisfying, fast finish, or anyone looking to make a sweet little gift, ornament, or nursery accent without committing to a big project.
The techniques here are refreshingly approachable: you'll work the body in the round over four rounds, shaping it with basic increases and decreases, then whip up the large and small wings as flat, two-round pieces before stitching everything together. It's an ideal project for confident beginners who've worked a magic ring and basic amigurumi shaping before, and a fun palate-cleanser for more experienced crocheters. Expect to spend somewhere between one and two hours total, including assembly and stuffing.
The finished butterfly is soft, squeezable, and small enough to perch on a shelf, dangle from a mobile, or clip onto a bag. Its rounded body and two-tiered wings give it a surprisingly dimensional, lifelike look for such a quick project. Because it works up fast and uses minimal yarn, it's a wonderful last-minute gift, a sweet addition to a baby's nursery, or a fun stash-buster for leftover lightweight yarn in cheerful colors.
- Start the body with a magic ring and work it up over four rounds, shaping it into a rounded, huggable form.
- Stuff the body firmly in small increments as you go so the shape stays even and doesn't collapse later.
- Set the body aside and crochet the large wings flat over two rounds to create the bigger outer wing shape.
- Crochet the small wings the same way, working two rounds to form a smaller matching pair for layering.
- Weave in all loose ends on the body and both wing pieces before you begin assembling the butterfly.
- Optionally attach safety eyes to the body before closing it up completely, since it's easiest while still open.
- Layer each small wing on top of its matching large wing and stitch them together along the base.
- Sew the finished wing pairs onto opposite sides of the body, checking for even placement and symmetry as you go.
Materials
Crochet Abbreviations
- ch
- chain
- sc
- single crochet
- hdc
- half double crochet
- dc
- double crochet
- tr
- treble crochet
- sl st
- slip stitch
- st(s)
- stitch(es)
- inc
- increase (2 sc in the same st)
- dec
- decrease (sc 2 sts together)
Quick & Easy Crochet Butterfly Amigurumi Pattern
Body (Make 1)
- Round 1Start with a magic circle, 6 sc into circle. (6 sts)
- Round 2Inc in each st around. (12 sts) After Round 3-5: Sc in each st around. (12 sts) Fill with stuffing material as you go.
- Round 6[Sc in the next st, dec] repeat around. (8 sts)
- Round 7Dec around. (4 sts) Fasten off, leaving a long tail for sewing. Thread tail through remaining sts, pull to close, weave in end.
Large Wings
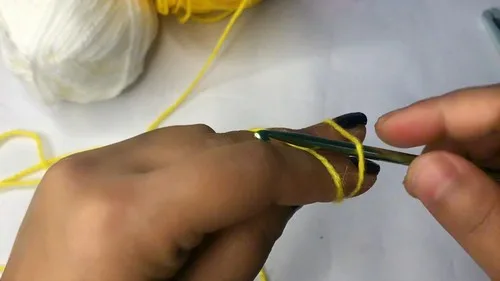
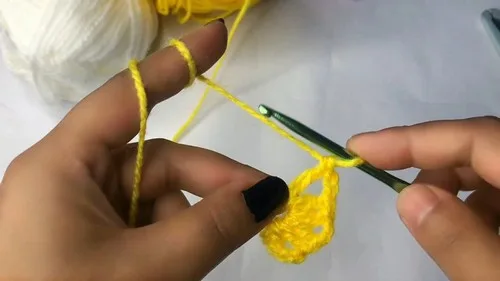
In Row 1: Ch 12, join with a sl st to first ch to form a ring.
- Round 1Ch 3 (counts as first dc), dc in same space, 2 dc in each ch around, join with sl st to top of beginning ch-3. (24 dc)
- Round 2Ch 3, in next st make (dc, tr, dc), ch 3, sl st in next st; repeat from around. Fasten off.
Small Wings
- Round 1Ch 8, join with a sl st to first ch to form a ring. In Round 1: Ch 2 (counts as hdc), 2 hdc in each ch around, join with a sl st to top of beginning ch-2. (16 hdc)
- Round 2Ch 2, in next st make (hdc, dc, hdc), ch 2, sl st in next st; repeat from around. Fasten off.
More photos
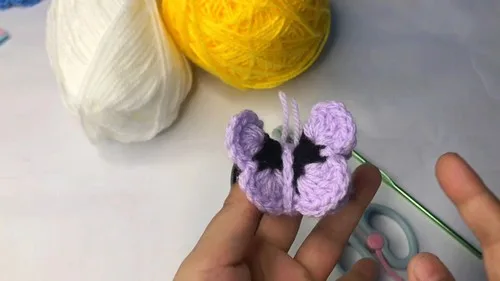
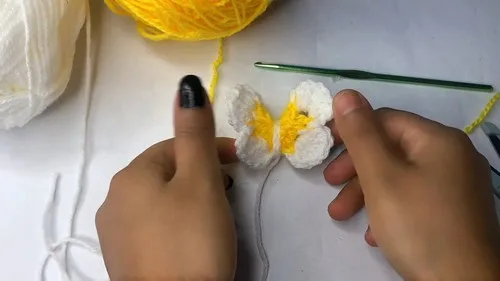
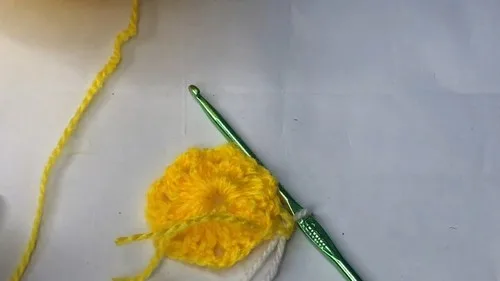
Putting It Together
- Step 1 Sew the large wings to the sides of the body, placing them on either side.
- Step 2 Place the smaller wings below the large ones and sew them to the body.
- Step 3 If using safety eyes, insert them between Rounds 3-4 of the body, or embroider the eyes with black yarn.
- Step 4 Use the remaining yarn to embroider details such as a mouth or patterns on the wings.
- Step 5 Optionally, add antennas by chaining a small length and attaching them to the top of the head.
Important Notes
💡 Use a hook one size smaller than the yarn label recommends—tighter stitches mean your stuffing won't peek through the fabric on this small-scale project.
💡 Keep a stitch marker handy for the body's four rounds; amigurumi shaping is easy to lose track of without one, even on short patterns.
💡 If adding safety eyes, decide on placement and attach them during the early body rounds while you can still easily reach inside to fasten the backing washer.
💡 Stuff the body in small increments as you close the final round, rather than trying to stuff a fully closed shape—it's much easier to distribute evenly this way.
💡 When sewing the small wings onto the large wings, use a whip stitch along just the bottom edge so the tips of the small wings can flutter slightly free for a more dynamic, 3D look.
💡 Weave in all yarn tails securely before final assembly, since a quick project like this one has several separate pieces (body, large wings, small wings) whose ends need tidy finishing.
Common Mistakes and Fixes
Starting the body with a loose magic ring that leaves a visible hole at the center.
Pull the tail yarn firmly after your first round of single crochets to cinch the ring closed completely, and weave in the tail through a few stitches for extra security.
Losing track of round counts across the body's four rounds, especially where increases or decreases happen.
Place a stitch marker in the first stitch of every round and move it up as you go—this makes it easy to confirm you're shaping correctly before moving to the next round.
Making the large and small wings the same size or forgetting which pair goes on top.
Since both wing pieces are only two rounds, double-check your stitch counts match the pattern for each size, and always stitch the small wings on top of the large wings for that classic layered butterfly look.
Under-stuffing the body, resulting in a floppy, misshapen butterfly instead of a firm, huggable one.
Stuff firmly in small pinches as you go rather than adding one big clump at the end, pressing stuffing evenly toward the edges so the rounded shape holds its form.
Attaching the wings off-center or at an uneven angle relative to the body.
Before sewing, pin or lay the wings flat against the body and check symmetry from above; a slight upward tilt on both sides gives the most lifelike, fluttering appearance.
Sewing safety eyes on after the body is already stuffed and closed.
Insert and secure safety eyes before you stuff and close up the body—it's much easier to access the backside of the fabric for attaching the washers while the piece is still open.
What Makes It Good
- I adore this pattern because it proves that a project doesn't need to be complicated to be adorable. The body works up in just four rounds, so you get that satisfying plump amigurumi shape almost before you know it, and stuffing it firmly gives the whole butterfly a lovely huggable weight. What really makes this one special is the two-tiered wing construction—stitching the small wings onto the large wings creates gorgeous dimension and movement that makes the butterfly look like it could flutter right off your shelf. I love how forgiving the pattern is with color choice too; every combination you try, from soft pastels to bold jewel tones, ends up looking gorgeous against the rounded body. The assembly is where the magic really happens, and watching those flat wing pieces transform into a three-dimensional creature during the five assembly steps is deeply satisfying. Add safety eyes (or don't—it's just as cute without them) and suddenly you have a personality-packed little friend. It's the kind of make you can start after dinner and have finished before bed, which honestly makes it one of my favorite quick-gift patterns in my whole collection.
Frequently Asked Questions
What yarn weight works best for this butterfly pattern?
A lightweight yarn like DK or sport weight is recommended for a smaller, more delicate butterfly with nice stitch definition. Worsted weight will work too if you want a slightly larger, chunkier finished piece.
Do I need to use safety eyes, or can I skip them?
Safety eyes are entirely optional in this pattern, and the butterfly looks just as charming without them. If you're making this for a baby or young child, consider embroidering simple eyes with yarn or thread instead for a safer alternative.
How much yarn do I actually need to complete one butterfly?
Because the body and both wing pieces are so small—just a handful of rounds each—you'll only need small amounts of yarn, making this an excellent stash-buster project. One partial skein is typically more than enough for a single butterfly.
Can I make the large and small wings in different colors than the body?
Absolutely, and it's one of the most fun parts of this pattern. Mixing colors between the body, large wings, and small wings creates a beautifully layered, dimensional look that really makes the design pop.
How do I attach the large wings and small wings to the body securely?
During assembly, position the large wings against the body first, then layer the small wings on top before stitching through all layers with a yarn needle. A whip stitch or mattress stitch along the base of the wings keeps everything secure while still allowing a bit of natural movement.
Original pattern: https://crocheteverything.com/quick-easy-crochet-butterfly-amigurumi-pattern/

About the Author
Tamsin Okoro Who writes the patterns at Yarn Gallery, how a pattern gets from the hook to the page, and what this site will never do.


