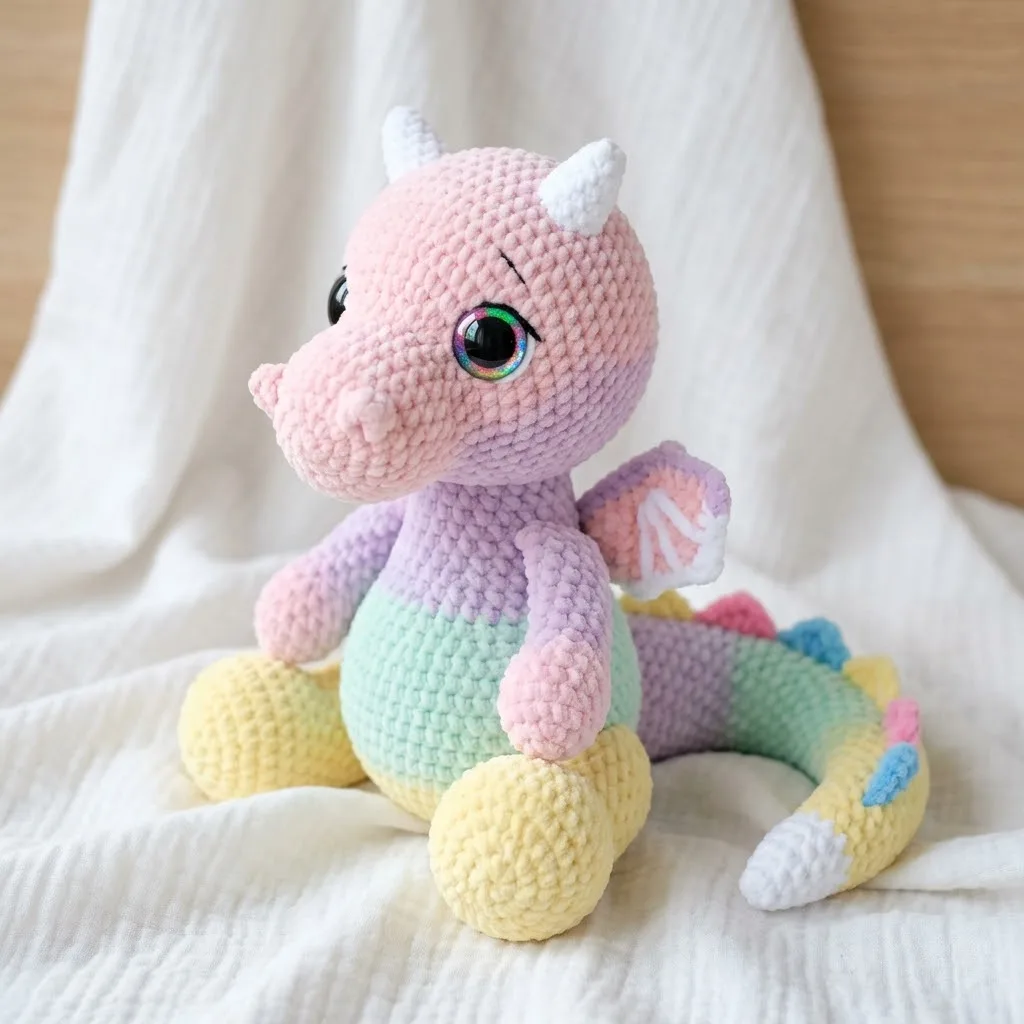
About This Pattern
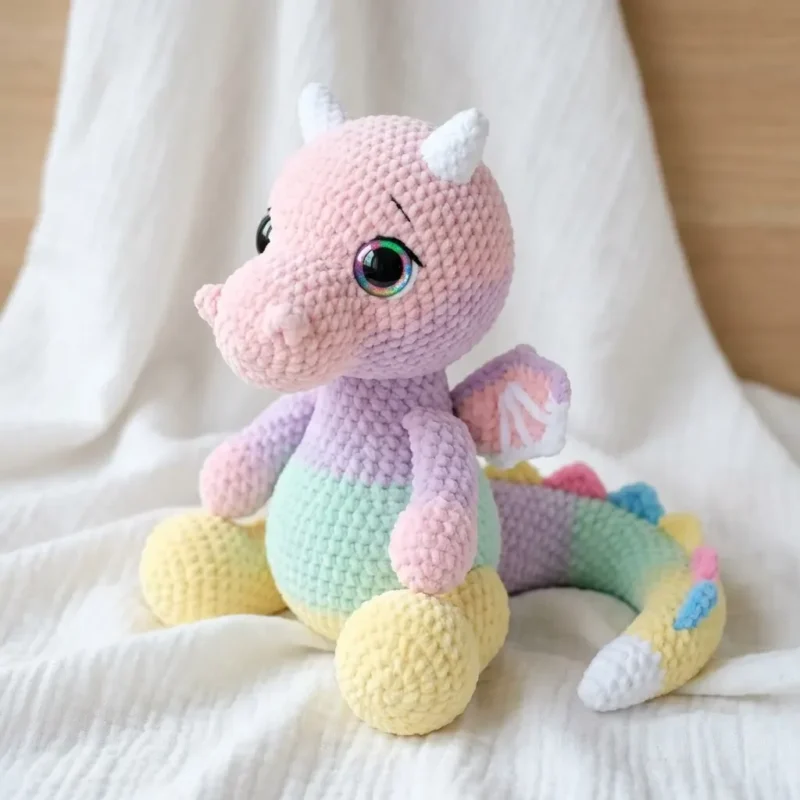
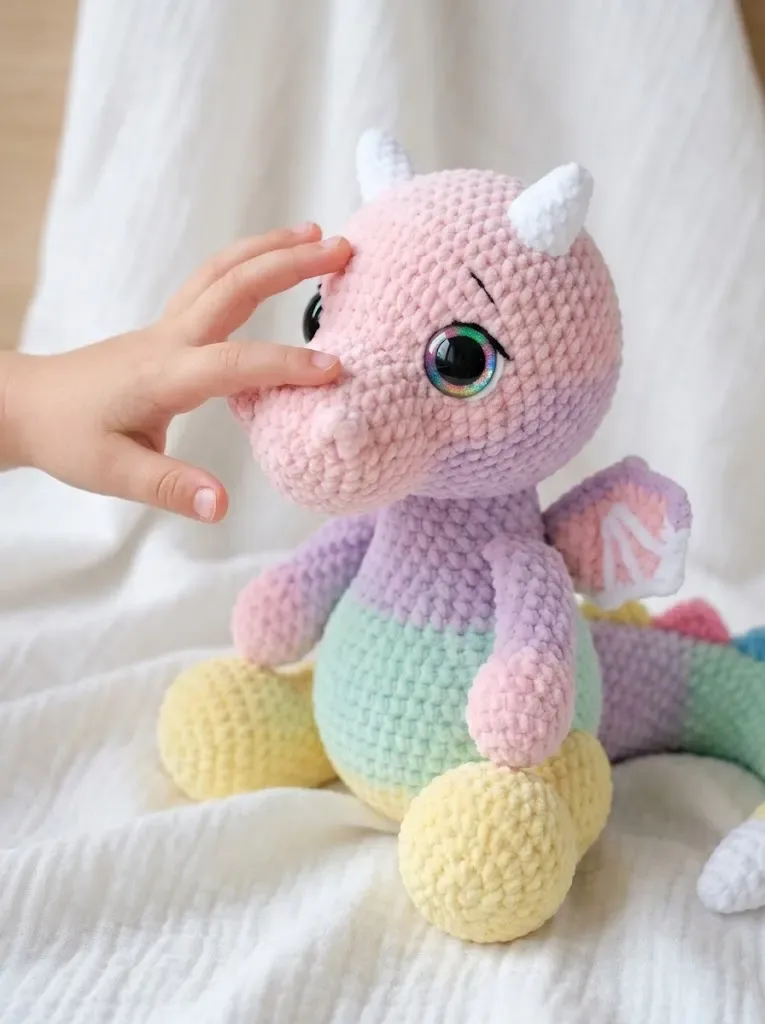
This dragon is a soft, pastel creature made in sections. She needs lavender, pale yellow, mint green, light pink, and white chenille. She fits into a few evenings, not one sitting. Each color change marks a new stage: body, wings, tail. She needs a 4.0mm hook, safety eyes, and patient stuffing. By the end, she sits sturdy and round, ready for a shelf or a small pair of arms.
In the basket
Yarn
Hook
Notions
Optional
Gauge Note
Abbreviations
- ch
- chain
- st
- stitch
- sts
- stitches
- sl st
- slip stitch
- sc
- single crochet
- inc
- increase
- dec
- decrease
- mr
- magic ring
- fo
- finish off
Rainbow pastel dragon amigurumi plush pattern
In Lavender
- Round 1MR, 6 sc into ring (6 sts)
- Round 2Inc in each st around (12 sts)
- Round 3[Sc 1, inc] repeat around (18 sts)
- Round 4[Sc 2, inc] repeat around (24 sts)
- Rounds 5–8Sc in each st around (24 sts) for 4 rounds
In Lavender
- Round 1Ch 8, sc in 2nd ch from hook, sc across (7 sts)
- Round 2Ch 1, turn, sc 7 (7 sts)
- Round 3Ch 1, turn, dec, sc 3, dec (5 sts)
- Round 4Ch 1, turn, dec, sc 1, dec (3 sts) In White (for wing tips):Row 5: Ch 1, turn, sc3tog (1 st) FO. Make a second wing. These flat wing shapes attach to the upper back and give your dragon her whimsical appearance.
Change to Pale Yellow
- Rounds 4–6Sc in each st around (6 sts)
- Round 7[Sc 2, inc] repeat around (8 sts)
Change to Mint Green
- Rounds 8–11Sc in each st around (8 sts)
- Round 12[Sc 3, inc] repeat around (10 sts)
Change to Pale Yellow
- Round 13[Sc 2, dec] repeat around (18 sts)
- Rounds 14–16Sc in each st around (18 sts) for 3 rounds FO, leaving a long tail. Stuff firmly. The color blocking should create distinct sections when viewed from the front.
Change to Lavender
- Rounds 13–16Sc in each st around (10 sts) FO, leaving a long tail. Stuff lightly so the tail remains flexible and can curve naturally.
Hook
4.0mm crochet hook (or size needed to achieve a tight gauge)
Notions
One pair of 18mm safety eyes with rainbow/holographic irises Polyester fiberfill stuffing Stitch markers Yarn needle Scissors
Optional: pink embroidery floss for nostrils Gauge Note:
Gauge isn’t critical for amigurumi, but your stitches should be tight enough that stuffing doesn’t show through. If you see gaps, go down a hook size.
Chain (ch)
Single Crochet (sc):
Insert hook into stitch, yarn over and pull up a loop (two loops on hook), yarn over and pull through both loops. This is your main stitch for the entire project.
Increase (inc): Work two single crochet stitches into the same stitch. This adds one stitch to your count.
Invisible Decrease (dec):
Insert hook through the front loops only of the next two stitches, yarn over and pull through both front loops, yarn over and pull through both loops on hook. This creates a neater decrease than the standard method.
Slip Stitch (sl st):
Insert hook, yarn over, pull through stitch and loop on hook in one motion. Used for joining and finishing.
Fasten Off (FO): Cut yarn, pull tail through final loop, and secure.
More pictures
Before the first stitch
- Weigh out your chenille colors first. You need about 100g light pink and 80g pale yellow.
- Check your eye placement plan before stuffing. 18mm safety eyes need firm fabric to click into.
Minutes per piece
- Body and head, lavender through pale yellow rounds about 2-3 hours because the color changes stack through many short rounds
- Wings, tail spikes, and assembly about 2-3 hours because the flat wing rows need careful decreasing and a tight sc3tog finish
Other yarns that work
- Acrylic worsted weight The plush turns out slightly smaller and firmer. Go up to a 4.5mm hook for the same tight gauge.
- Cotton-blend bulky weight Stitches show more texture and less fuzz. Stuffing needs denser packing since cotton has less give.
Where it ends up
- A shelf companion for a kid's bedroom, next to other amigurumi animals.
- A quiet gift for someone who collects small stuffed creatures.
- A photo prop for pastel-themed craft displays or market tables.
Small notes
- Chenille yarn hides small stitches, so keep your hook at 4.0mm or smaller for stuffing control.
- Mark your round starts with a stitch marker. The color changes happen fast between short round counts.
- Stuff as you close each section. Chenille amigurumi is hard to restuff once a seam is sewn shut.
Little questions
Can I use a smaller hook for a firmer plush?
Yes, going down from 4.0mm tightens your stitches. Just check that stuffing still fits without straining the chenille.
Do I need all five colors listed?
The main shape needs light pink, lavender, pale yellow, and mint green for the belly. White is only needed for horns, wing tips, and the tail tip.
Why do the tail spikes need three separate colors?
Small amounts of pink, blue, and coral give the tail its rainbow accent. You only need scraps, not full skeins.
How do I keep stuffing from showing through chenille?
Keep your gauge tight and your hook sized down if gaps appear. Chenille is forgiving, but loose stitches still let fiberfill peek through.
Original pattern: https://crochetwithmia.com/rainbow-pastel-dragon-amigurumi-plush-free-crochet-pattern/

About the Author
Tamsin Okoro Who writes the patterns at Yarn Gallery, how a pattern gets from the hook to the page, and what this site will never do.


