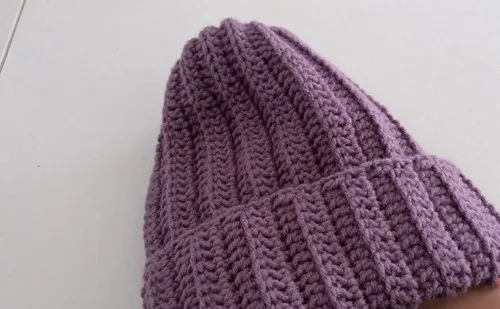
About This Pattern
This beanie is a small, steady project. It fits into one evening, maybe two, by the lamp. The ribbing comes from working in the back loop only, row after row, so it needs patience more than skill. Keep your yarn close and your hook steady. It is the kind of thing you pick up after dinner and set down warm.
In the basket
Yarn
Hook
Notions
Abbreviations
- HDC
- half double crochet
- DC
- double crochet
- BLO
- back loop only
- sl st
- slip stitch
- ch
- chain
A ribbed beanie to crochet in quiet evenings
Main Pattern
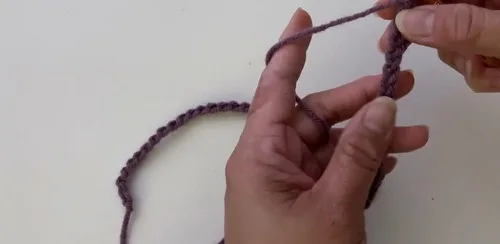
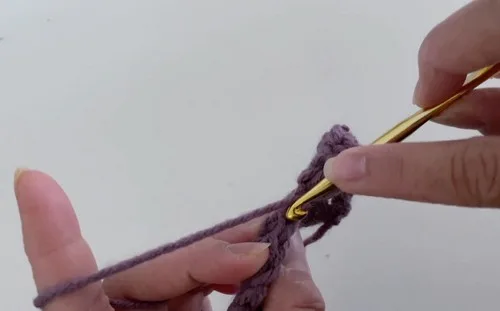
- Row 1Foundation Row Make a slip knot; Chain 51; Work first stitch in second chain from hook; Make 10 Half Double Crochet (HDC); Make 40 Double Crochet (DC) to end of row. (50 stitches total)Total stitches after Row 1: 50.(50)
- Row 2Ribbing Setup Chain 1 and turn; Work 1 DC through both loops (first stitch); Work 39 DC in Back Loop Only (BLO); Work 10 HDC in BLO; Work last HDC through both loops.
- Rows 3–31Repeat Row 2 for each row; Continue until the beanie wraps comfortably around your head; Ensure final row ends on the DC side of fabric.
More pictures
Before the first stitch
- Check you have enough medium weight yarn for 51 chains and about 31 rows.
- Read Row 2 twice before starting; the BLO ribbing repeats for most of the hat.
- Test your gauge on a short swatch so the 50-stitch foundation row sits right.
Minutes per piece
- Foundation Row and early ribbing rows about 45 minutes because the stitch pattern is new and counts matter
- Remaining ribbing rows through seaming and closing about 4-5 hours because 31 rows and finishing take steady repetition
Other yarns that work
- Acrylic, medium weight (size 4) Close to the original; same hook, similar drape, easy stitch definition.
- Wool blend, medium weight (size 4) Warmer and slightly denser; may need a touch more yarn for the same size.
Where it ends up
- A daily beanie for cold walks, paired with a wool scarf.
- A simple gift for someone who feels the cold easily.
- A tidy hat for errands, worn with a plain coat.
Joining up
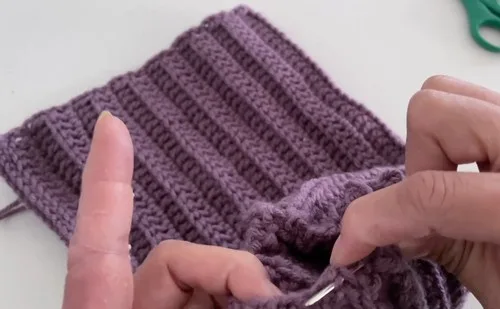
- Step 1 Seaming the Ends: Chain 1 to start seam; Hold both ends together, last row facing you; Insert hook through both loops of last row's first stitch and first row's corresponding stitch, slip stitch to join; For remaining stitches, insert hook through back loop of last row and corresponding stitch of first row, slip stitch to join; Continue until top of the work; Chain 1, cut yarn, and leave a long tail.
- Step 2 Closing the Top: Thread long tail on needle; Weave in and out of every row around the top edge; Pull tight to close the top; Stitch across the hole a few times to secure and weave in tail.
- Step 3 Final Step: Turn beanie right side out; Fold the brim as desired.
Small notes
- The pattern calls for a 5 mm (US H) crochet hook throughout.
- Count your 50 stitches after Row 1 before moving on.
- Repeat Row 2 through Rows 3-31 until the beanie wraps comfortably around your head, and make sure the final row ends on the DC side of the fabric.
Little questions
Why does the ribbing use back loop only?
BLO creates the stretchy, ribbed texture on this hat. It leaves the front loop free for the next row to catch. This is what gives the fabric its give around the head.
How many rows will I actually crochet?
The pattern lists rows 3 through 31 as repeats of Row 2. The exact number depends on your head size. Stop once the beanie wraps comfortably and ends on the DC side.
Can I use a different hook size?
The pattern calls for a 5 mm hook to match the size 4 yarn. A different size will change your stitch count and fit. Swatch first if you want to adjust.
What if my stitch count drifts from 50?
Recount after Row 1 before starting the ribbing. A drifted count will throw off the DC and HDC split in Row 2. It is easier to fix early than after several rows.
Original pattern: https://crocheteverything.com/cozy-crochet-ribbed-beanie-pattern-for-adults/

About the Author
Tamsin Okoro Who writes the patterns at Yarn Gallery, how a pattern gets from the hook to the page, and what this site will never do.


