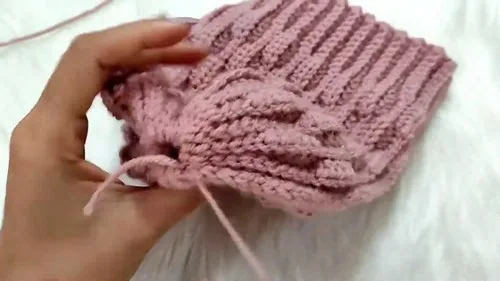
About This Pattern
This hat is a quiet evening project. It works up as a flat panel, then seams into shape. The textured rounds keep my hands busy without demanding much thought. I like making it while half-watching something on television. It needs worsted yarn, a 5.5mm hook, and a little patience for the back-loop rhythm. By the end of one sitting, I usually have a finished brim and crown ready to seam.
In the basket
Abbreviations
- SC
- single crochet
- SS
- slip stitch
- HDC
- half double crochet
- BLO
- back loop only
Simple everyday crochet hat with textured stitch rounds
Main Pattern
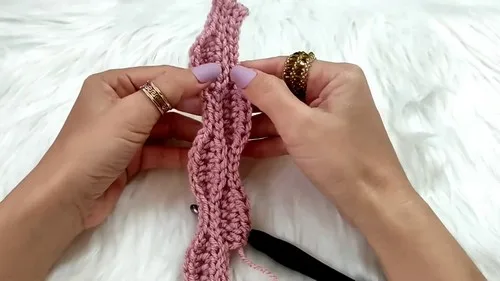
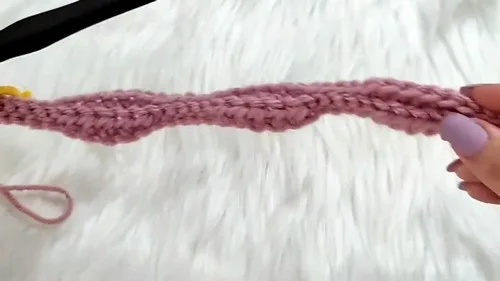
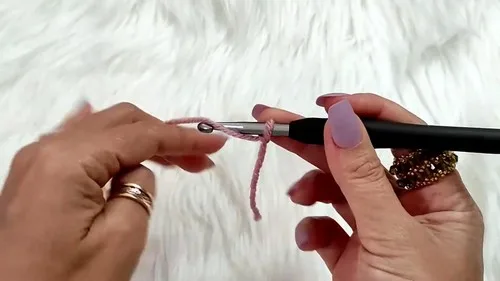
- Row 1Make a slip knot and chain 46; work into the back bump of the foundation chain, skip the first chain and begin in the second chain's back bump; work 10 SC for the brim; work 5 SS; work 5 HDC; repeat the sequence of 5 SS and 5 HDC to the end; end with 5 SS; chain 1 and turn.
All stitches in the Textured Body Pattern are worked in BLO (back loop only).
Follow a two row repeat alternating stitch placement.
- Row 2Row Set A 5 SS, then repeat 5 HDC and 5 SS across, ending with 10 SC.
- Row 3Row Set A 10 SC, then repeat 5 SS and 5 HDC, ending with 5 SS.
- Row 4Row Set B 5 SS, then repeat 5 HDC and 5 SS across, ending with 10 SC.
- Row 5Row Set B 10 SC, then repeat 5 SS and 5 HDC, ending with 5 HDC.Repeat: Repeat Row Sets A and B (Rows 2-5) until the hat wraps around your head without stretching; end on a row with HDC next to the SC brim (same format as Row 5).
More pictures
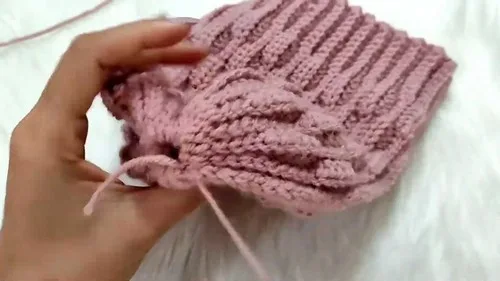
Before the first stitch
- Check your yarn yardage covers a 46-chain foundation plus six rounds.
- Read Round 1 twice before starting the back-bump foundation chain.
- Place a stitch marker at the start of each round to track the stitch sequence.
Minutes per piece
- Main panel, six rounds about 2-3 hours, because the back-loop stitch pattern needs careful placement
Other yarns that work
- Acrylic, worsted weight Keeps the same hook size and stitch count, with a slightly stiffer drape.
- Wool-blend, worsted weight Softer drape and more stretch; may need a half-size smaller hook for the same gauge.
Where it ends up
- A grab-and-go hat for dog walks, paired with a plain scarf.
- A desk-drawer spare for cold commutes, paired with gloves.
- A gift for a sibling or friend, paired with a simple cowl.
Joining up
- Step 1 Fold the panel with short edges together, wrong side facing.
- Step 2 Slip stitch seam through both loops of one edge and BLO of the other edge.
- Step 3 Chain 1 to secure and cut a long tail.
- Step 4 Weave the tail around the top opening and pull tight to cinch closed.
- Step 5 Sew closed fully, weave in ends, and turn the hat right-side out.
Small notes
- Working every stitch in BLO (back loop only) creates the ribbed texture; skipping it changes the look completely.
- Keep your stitch markers in place each round, since the stitch pattern alternates and is easy to lose.
- Check tension before Round 1, since a loose hook will loosen the chain-46 foundation and distort the brim.
- You can easily customize the length of the panel or use different yarn colors for a unique look.
Little questions
Can I make this hat without stitch markers?
I would not recommend it. The stitch pattern alternates every two rounds, and markers keep the sequence honest. Without them, it is easy to drift off pattern.
Why does the stitch pattern stay in back loop only?
BLO creates the ridged texture that defines this hat. If you crochet through both loops, the fabric turns flat and the texture disappears.
What if my foundation chain curls?
Check your tension before Round 1. A tight chain-46 foundation keeps the brim lying flat once you seam it.
How do I know the seam is in the right place?
Fold the panel with short edges together, wrong side out, before seaming. The seam uses both loops on one edge and back loop only on the other, which keeps the texture lined up.
Original pattern: https://crocheteverything.com/simple-unisex-crochet-hat-pattern-for-everyday-wear/

About the Author
Tamsin Okoro Who writes the patterns at Yarn Gallery, how a pattern gets from the hook to the page, and what this site will never do.


