About This Pattern
This is a small, round butterfly, made to sit in your palm. The body and head take the longest; the wings and antennas are quick extras once those are done. It fits into one quiet evening, or two shorter sittings. It needs a steady hook, small eyes, and a little patience with the increases. Nothing about it is large. It just asks you to go slow through the shaping rounds, and stuff firmly at the end.
In the basket
Abbreviations
- MR
- magic ring
- Sc
- single crochet
- Inc
- increase (work two sc in one stitch)
- Dec
- decrease (work two sc together)
Small crochet butterfly amigurumi with wings and antennas
Body
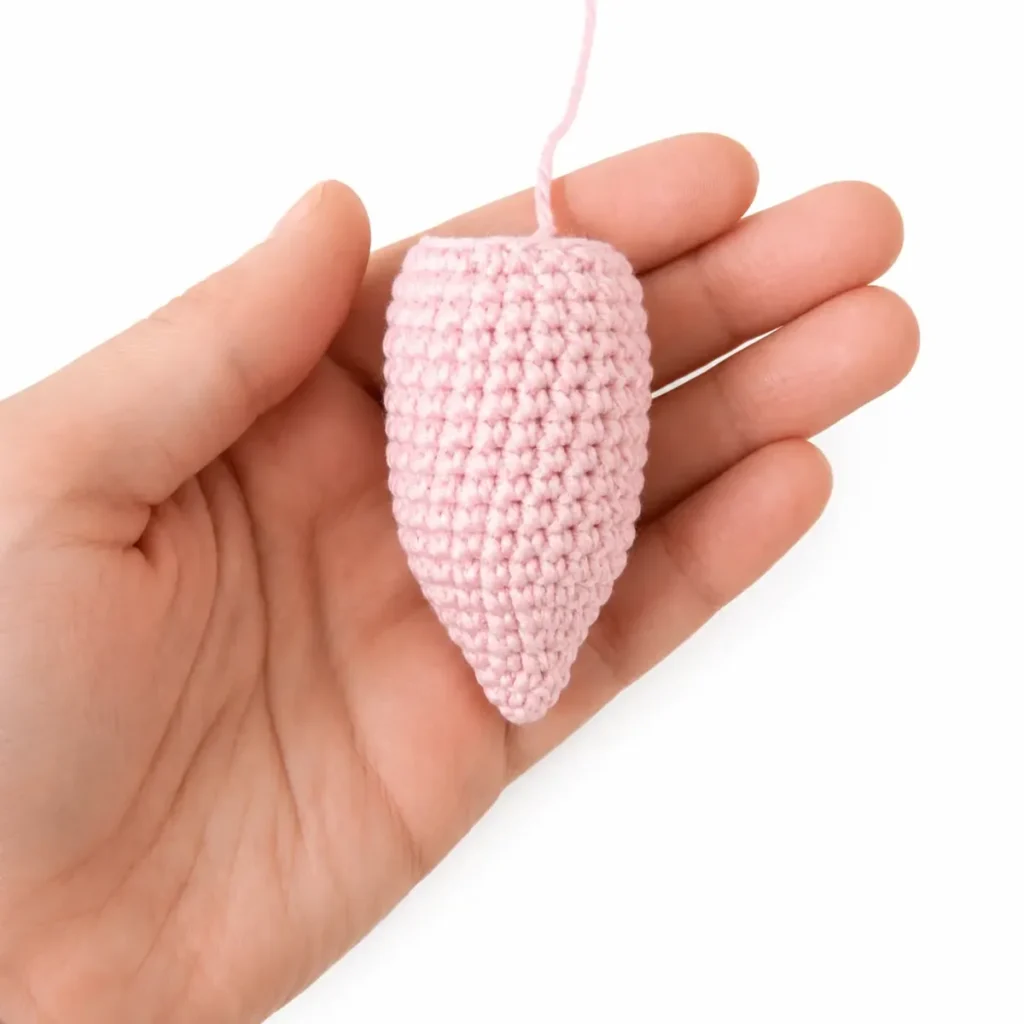
Use pink color yarn.
- Round 16 sc into MR. (6)
- Round 2(2 sc, inc) x 2. (8)
- Round 3(3 sc, inc) x 2. (10)
- Round 4(4 sc, inc) x 2. (12)
- Round 5(3 sc, inc) x 3. (15)
- Round 6(4 sc, inc) x 3. (18)
- Round 7(2 sc, inc) x 6. (24)
- Rounds 8–18(11 rows): 24 sc. (24)
- Round 19(2 sc, dec) x 6. (18)Stuff the detail. Cut yarn leaving a long tail for sewing.
Head
Use pink color yarn.
- Round 16 sc into MR. (6)
- Round 26 inc. (12)
- Round 3(1 sc, inc) x 6. (18)
- Round 4(2 sc, inc) x 6. (24)
- Round 5(3 sc, inc) x 6. (30)
- Round 6(4 sc, inc) x 6. (36)
- Round 7(5 sc, inc) x 6. (42)
- Rounds 8–13(6 rows): 42 sc. (42)
- Round 14(5 sc, dec) x 6. (36)
- Round 15(4 sc, dec) x 6. (30)
Attach the eyes between the 10th and 11th rows with 6 sc between them (if you use safety eyes).
- Round 16(3 sc, dec) x 6. (24)
- Round 17(2 sc, dec) x 6. (18)Stuff the detail. Cut yarn and hide a tail.
Antennas
Make 2Rounds 1-5 use purple color yarn.
- Round 16 sc into MR. (6)
- Round 26 inc. (12)
- Rounds 3–412 sc. (12)
- Round 5(2 sc, dec) x 3. (9)Rounds 6-9 use pink color yarn.
- Rounds 6–99 sc. (9)Stuff the detail. Cut yarn leaving a long tail for sewing.
Wings - 2 piece
Make 2Piece 1 Use purple color yarn.
- Round 16 sc into MR. (6)
- Round 26 inc. (12)
- Round 3(1 sc, inc) x 6. (18)
- Rounds 4–618 sc. (18)
- Round 7(4 sc, dec) x 3. (15)Cut the yarn and hide the tail.
Piece 2 Use purple color yarn.
- Round 16 sc into MR. (6)
- Round 26 inc. (12)
- Round 3(3 sc, inc) x 3. (15)
- Rounds 4–515 sc. (15)
- Round 6(3 sc, dec) x 3. (12)
Do not cut off the yarn of the second piece and continue working the wing.
- Round 76 sc along the second piece, 15 sc along the first piece, 6 sc along the second piece. (27)
- Round 8(7 sc, dec) x 3. (24)
- Round 9(2 sc, dec) x 6. (18)
- Round 10(1 sc, dec) x 6. (12)Cut yarn leaving a long tail for sewing.
Before the first stitch
- Check you have both pink and purple yarn; the antennas need both colors.
- Place a stitch marker before round one; continuous rounds drift fast.
- Read the head's round ten and eleven first, for the eye spacing.
Minutes per piece
- Body and head about 2 to 3 hours, because together they total 36 rounds of careful shaping
- Antennas and wings about 2 hours, because there are six small pieces, plus the color change on the antennas
Other yarns that work
- Cotton-acrylic blend, light worsted weight Closest match to the original; keeps the same finished size and a similar firm drape, with the same 2.2 mm hook.
- 100% acrylic, worsted weight Slightly softer and fluffier stitches; may need a 2.0 mm hook to keep the fabric tight enough for stuffing.
Where it ends up
- A soft toy for a small child, paired with other tiny amigurumi animals.
- A shelf piece, sitting next to other small crochet creatures.
- A gift tucked into a card or small box, no wrapping needed.
Joining up
- Step 1 Sew the antennas between 2-5 rows.
- Step 2 Sew the body and wings to the head.
Small notes
- Using a 2.2 mm hook keeps your stitches tight so that the fiberfill stuffing does not show through the small single crochet stitches.
- Working in continuous rounds can make it easy to lose your spot, so place a marker in the first stitch of every row to stay on track.
- Fill the head and body firmly with fiberfill before closing up the final decreases so your butterfly holds its round shape nicely.
- Use sewing pins to secure the antennas to the top of the head and the wings to the back before stitching them down to make sure everything stays straight.
- Pay close attention when joining the two wing pieces in row 7 to make sure you have the exact stitch count needed for the shape.
- Whenever you finish a piece that needs to be attached, leave a generous tail of yarn to make your tapestry needle work much easier.
- Finished size: the toy measures approximately 13 cm / 5.1 inches when made with the materials listed in this pattern.
Little questions
What type of yarn works best for this project?
A semi-cotton yarn like Etrofil Jeans works wonderfully because it gives great stitch definition and creates a soft, smooth plush finish.
Can I use safety eyes if I am making this for a small child?
If you plan to give this toy to an infant or toddler, it is always safest to embroider the eyes with black yarn instead of using plastic safety eyes.
How do I join the two wing pieces together?
You will crochet across stitches from the second piece, move directly onto the stitches of the first piece, and finish back on the second piece without cutting the working yarn.
How do I keep the antennas upright?
Stuffing the antennas firmly with a bit of fiberfill helps them stay perky and upright on top of the butterfly's head.
Can I change the colors of the butterfly?
Yes, this project is wonderful for color variations, and you can pick any combination of pink, purple, yellow, or blue from your yarn stash.
Original pattern: https://craftwithnina.com/free-amigurumi-pattern-sweet-butterfly-plush/

About the Author
Tamsin Okoro Who writes the patterns at Yarn Gallery, how a pattern gets from the hook to the page, and what this site will never do.


