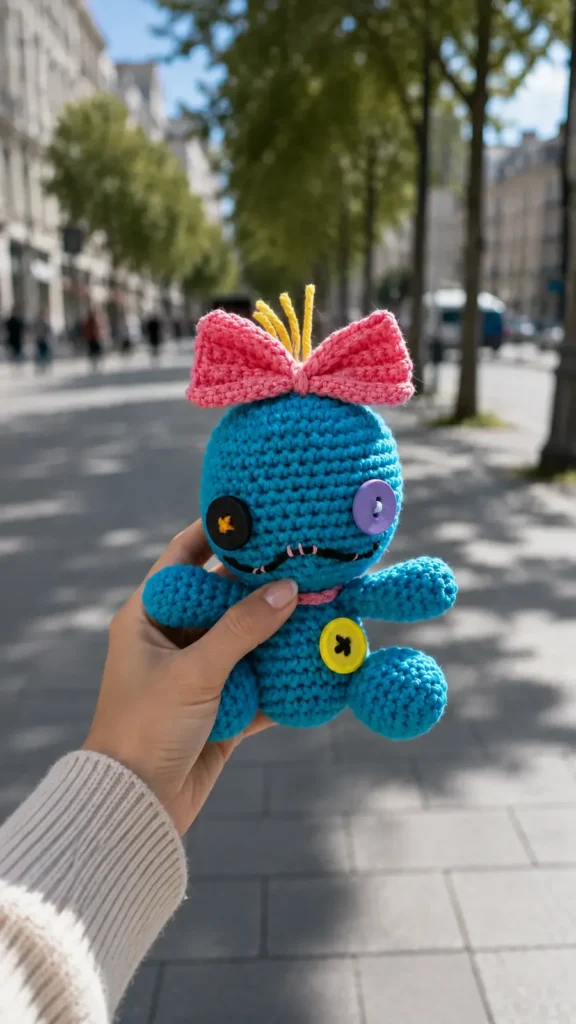
About This Pattern
This doll stands ten centimeters tall. It fits in one evening, maybe two. The head takes the longest, fourteen rounds of careful shaping. Arms and a small bow come together fast after that. It needs firm tension and a steady stuffing hand. Button eyes and a few hair strands finish the personality. Small enough for a shelf. Sturdy enough for a child's hands.
In the basket
Abbreviations
- ch
- chain
- inc
- increase
- dec
- decrease
- sc
- single crochet
- mr
- magic ring
Small ragdoll amigurumi with button eyes and bow
Head
- Round 16 sc in mr
- Round 26 inc (12)
- Round 3(1 sc, inc)*6 (18)Step by step: 18 sc (4 rounds).Step by step: 18 sc.
- Round 4(2 sc, inc)*6 (24)Step by step: (5 sc, inc)*4 (28); 28 sc (2 rounds); (5 sc, dec)*4 (24); 24 sc.
- Round 5(3 sc, inc)*6 (30)
- Round 6(4 sc, inc)*6 (36)
- Round 7(5 sc, inc)*6 (42)Step by step: Finish crochet, leave a tail for sewing.
- Rounds 8–1642 sc (9 rounds)
- Round 17(5 sc, dec)*6 (36)
- Round 18(4 sc, dec)*6 (30)
- Round 19(3 sc, dec)*6 (24)
- Round 20(2 sc, dec)*6 (18)
- Round 21(1 sc, dec)*6 (12)Step by step: 12 sc.
- Round 226 dec (6)Step by step: Finish crochet, leave a tail for sewing.Finish crochet, fasten off and hide yarn end.
Arms (make 2)
- Round 16 sc in mr
- Round 26 inc (12)
- Rounds 3–612 sc (4 rounds)
- Round 7(1 sc, dec)*4 (8)
- Rounds 8–98 sc (2 rounds) Finish crochet, leave a tail for sewing.
Bow
Chain 19
- Round 1in second chain from hook work sc, 18 sc (19)
- Rounds 2–819 sc in front loops only Fasten off and hide yarn end.
More pictures
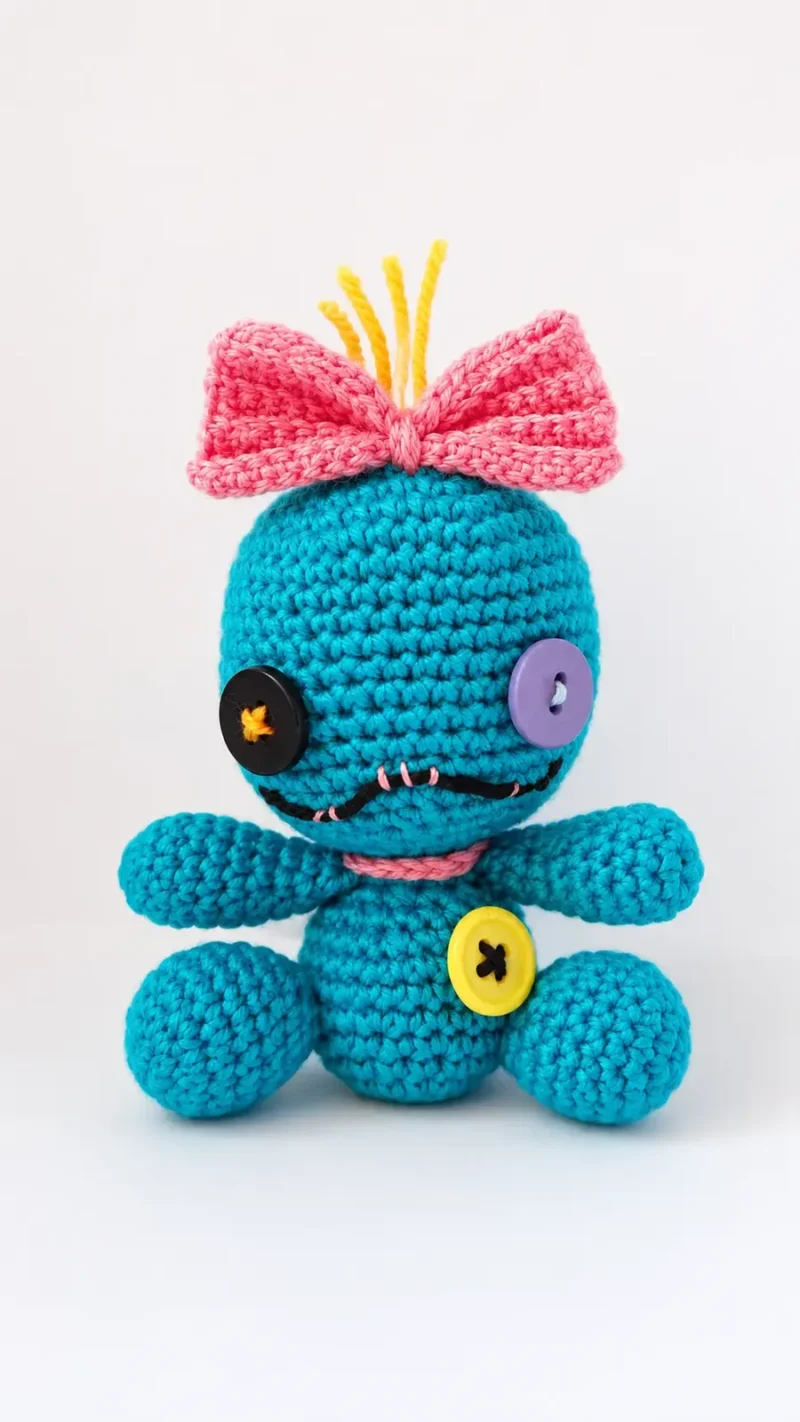
Before the first stitch
- Check you have enough yarn in all four colors: main, bow, hair, and mouth.
- Place a stitch marker before round one of the head. Continuous rounds need it.
- Read through the head's fourteen rounds once. Shaping changes pace several times.
Minutes per piece
- Head about 90 minutes, because fourteen rounds include steady shaping and stuffing.
- Arms and bow about 45 minutes, because both parts are short but need neat finishing.
Other yarns that work
- Acrylic, sport weight Makes a slightly smaller doll. Use a 2 mm hook still, but stuffing shows less with tighter stitches.
- Cotton blend, worsted weight Gives a firmer drape and crisper stitch definition. Size grows a little, so consider sizing the hook down.
Where it ends up
- A soft companion for a child's bed, paired with a small knit blanket.
- A shelf decoration beside other handmade toys, for a cozy corner.
- A thoughtful handmade gift, wrapped simply in fabric or paper.
Joining up
- Step 1 Step 1. Sew the head to the body.
- Step 2 Step 2. Sew the arms between the first and second rounds from the head on the sides.
- Step 3 Step 3. Sew the legs between the sixth and ninth rounds from the head.
- Step 4 Step 4. Embroider a smile on the toy between the fourth and sixth rounds from the body.
- Step 5 Step 5. Sew button eyes at the level of rounds 8 and 9.
- Step 6 Step 6. Sew the bow on top of the head and attach several strands of yarn for hair.
Small notes
- Use a 2 mm hook throughout. A smaller hook keeps stitches tight against the stuffing.
- Stuff the head firmly before the last decrease rounds. Shaping gets harder once rounds close in.
- Knot embroidery thread securely inside the head. The mouth should hold its shape for years.
Little questions
Why does the head take so many rounds?
The head has fourteen rounds total. That builds a rounder, more doll-like shape than a quick six-round head. It also gives room for firm stuffing before the final decreases.
Can I skip the stitch markers?
I would not. Continuous rounds blur together fast without one. A marker on round one saves real frustration later.
Where exactly do the button eyes go?
Sew them at the level of rounds eight and nine on the head. That placement keeps the face balanced and doll-like.
Do the buttons need to match?
No, mismatched buttons are part of the look. Slightly different sizes or colors give the doll a handmade, ragdoll charm.
Original pattern: https://craftwithnina.com/free-amigurumi-pattern-scrump-doll/

About the Author
Tamsin Okoro Who writes the patterns at Yarn Gallery, how a pattern gets from the hook to the page, and what this site will never do.


