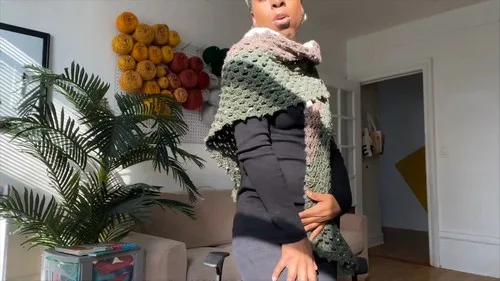
About This Pattern
This triangle scarf starts small, from a tiny ring. It grows sideways and down the center. I like it for a chair-side evening, hook in hand, half an eye on something else. It needs simple double crochets and a bit of patience for the ring rounds. Once the pattern repeats, it goes fast. It fits a wind-blown day. It fits a quiet Tuesday, too.
In the basket
Abbreviations
- ch
- chain
- st
- stitch
- sl st
- slip stitch
- sc
- single crochet
- dc
- double crochet
- inc
- increase
- fo
- finish off
Top-down triangle scarf for breezy days
Starting the Scarf
Overview The triangle scarf is worked from the top down, beginning with a small ring and increasing at the sides and middle to create a triangle shape. The pattern includes a repeatable row pattern that allows you to expand the scarf to your desired size. The scarf finishes with a simple border that adds a nice touch to the completed piece.
Make a slip knot and chain 4 .
Perform a slip stitch in the first chain to form a ring.
- Row 1Chain 4 (counts as 1 double crochet and chain 1). Work 3 double crochets inside the ring, chain 1. 3 double crochets inside the ring again, chain 1. 3 more double crochets inside the ring, chain 1. Conclude with 1 double crochet inside the ring.
- Row 2Chain 4 and turn. 3 double crochets in the chain-1 space, chain 1. For the increase: 3 double crochets, chain 1, 3 double crochets in the next chain-1 space. Chain 1, then 3 double crochets, chain 1, and 1 double crochet in the starting chain-4 space.
- Row 3Chain 4 and turn. Repeat the process of performing 3 double crochets in each chain-1 space prior to the increase, chain 1 between each. Increase in the next chain-1 space, followed by chain 1, then 3 double crochets in each chain-1 space until the end. Conclude with 3 double crochets, chain 1, and 1 double crochet in the starting chain-4 space.
- Row 4+Chain 4 and turn. This becomes the repeat row for the rest of the scarf. Continue with 3 double crochets in each chain-1 space, chain 1, performing the increase at the mid-point of each row. Finish each row with 3 double crochets, chain 1, and 1 double crochet in the starting chain-4 space.Transition with new colors at the end of a double crochet stitch to seamlessly blend the colors throughout the scarf.
Border
After completing the desired rows, change to border pattern: Single crochet in each double crochet and chain-1 space around the scarf.
Chain 3 and slip stitch in the front loop only to create a looped edge.
Fasten off and weave in the ends for a clean finish.
More pictures
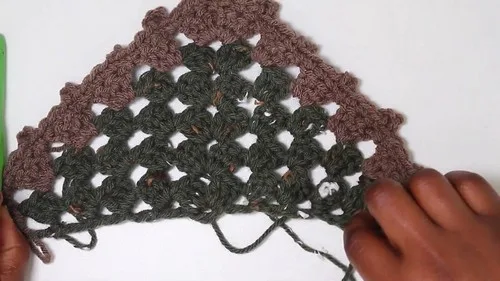
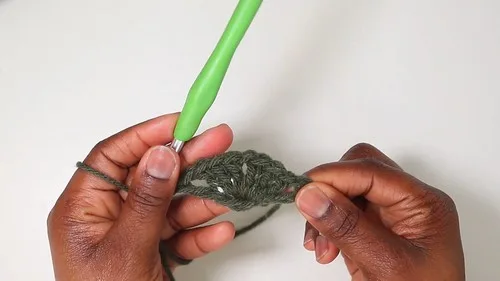
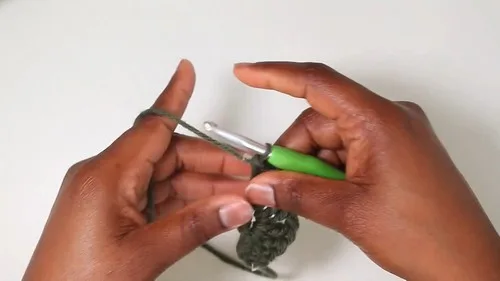
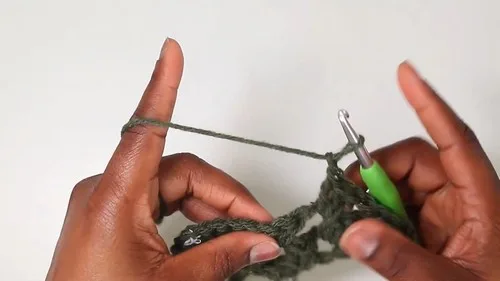
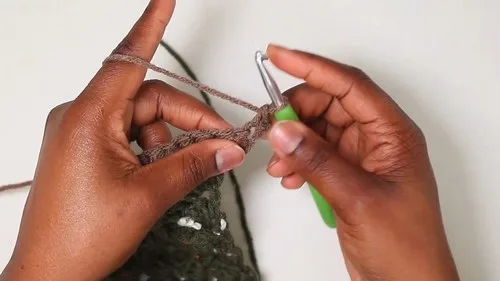
Before the first stitch
- Check your yarn amount before you start. A bigger scarf needs more skeins.
- Read Row 1 first. It sets the whole triangle shape.
- Test your hook and yarn together. A small swatch shows your chain tension.
Minutes per piece
- Starting the Scarf about 2-3 hours because the ring rounds need careful counting
- Border about 1 hour because the edge is one long single crochet pass
Other yarns that work
- acrylic, worsted weight Easy care, less drape, same hook size works fine.
- wool blend, worsted weight Warmer, more drape, may need a slightly larger hook.
Where it ends up
- Wear it over a coat on a windy walk. It pairs well with gloves.
- Drape it over a chair back at home. It adds a soft touch to the room.
- Give it as a small handmade gift. It pairs nicely with a simple card.
Small notes
- Keep your chain-1 spaces even. They shape the triangle sides.
- Choose a hook suited to your yarn. Loose stitches make a floppy scarf.
- Change colors at the end of a double crochet stitch. This blends the colors smoothly through the scarf.
Little questions
Can I make the scarf bigger?
Yes. The row pattern repeats, so keep adding rows. Stop when it reaches your desired length.
What stitch count should I check first?
Check the 3 double crochets in each corner space. That keeps the triangle even.
Does the border change the size?
No, the border just finishes the edge. It works into existing stitches and spaces.
What yarn works best for wind protection?
A wool blend holds warmth well in wind. Acrylic works too, and dries faster if damp.
Original pattern: https://crocheteverything.com/crochet-sugar-hill-scarf-tutorial-ideal-for-womens-in-windy-weather/

About the Author
Tamsin Okoro Who writes the patterns at Yarn Gallery, how a pattern gets from the hook to the page, and what this site will never do.


