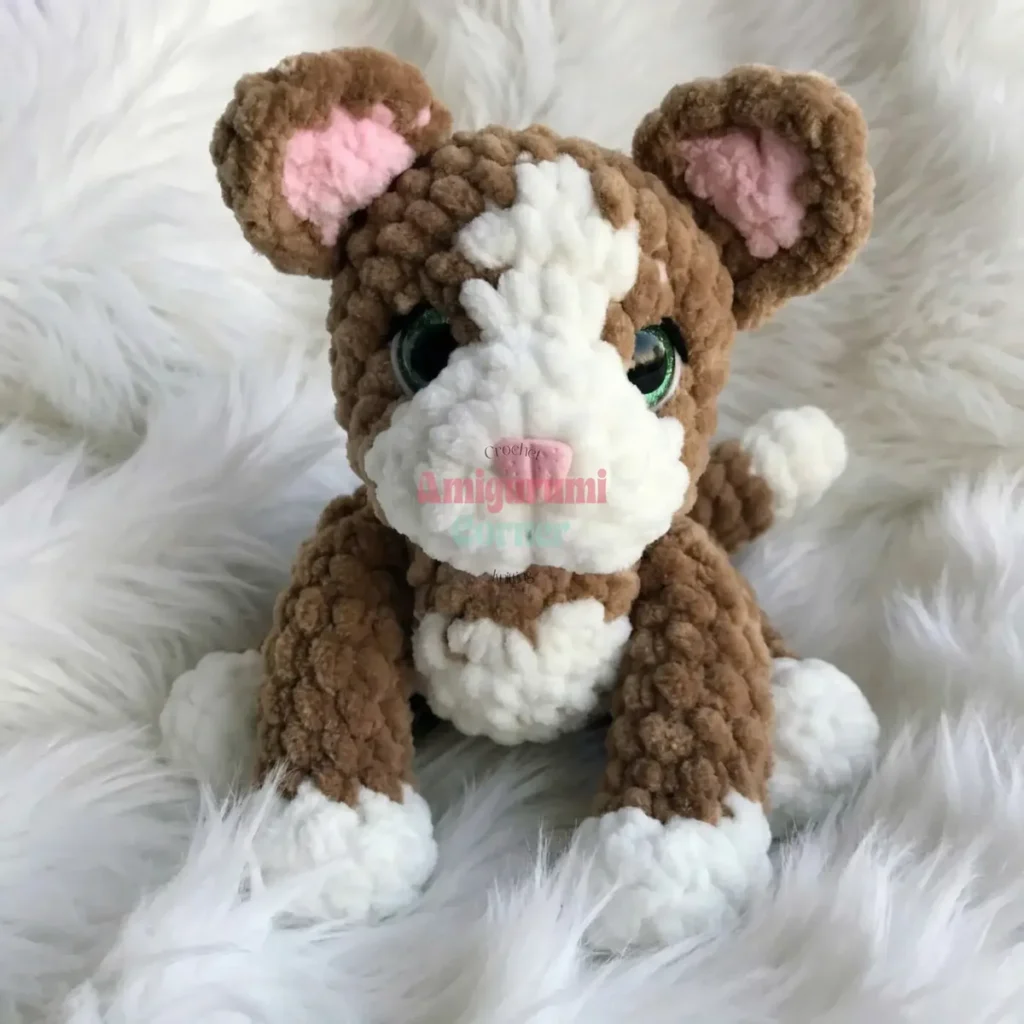
About This Pattern
This kitten sits in the palm of one hand. The ears are dark, worked right into the head. The muzzle and chest stay light, a quiet two-tone trick. It fits an evening with a show on, or two if the face shaping slows you down. You need a 3 mm hook, light and dark yarn, and a little patience for the thread pulls. Nothing about it is rushed. It asks for small stitches and a steady lap.
In the basket
Abbreviations
- ch
- chain
- st
- stitch
- sts
- stitches
- sc
- single crochet
- inc
- increase
- dec
- decrease
- mr
- magic ring
- blo
- back loops only
- rnd
- round
- rnds
- rounds
Two-tone amigurumi kitten crochet pattern for beginners
Ears
Make 2 in dark yarn + 2 in pink yarn. Worked in flat turning rows.
- Round 1Ch 2, inc in 2nd ch from hook. (2)
- Round 2Inc in each st across. (4)
- Round 3Sc in each st across. (4)Join one dark piece to one pink piece; with dark yarn, crochet around 3 sides to join. Make 2 total ear units.
Head
Worked in continuous spiral rounds. Begin with light yarn.
- Round 16 sc in mr. (6)
- Round 2Inc in each st around. (12)
- Round 3[Sc 1, inc] × 6. (18)
- Round 4Sc in each st around. (18)
- Round 5Join dark yarn. [Inc] × 2 in dark; switch to light, [inc] × 2; switch to dark, [inc] × 2; continue in dark: sc 12. (24)
- Round 6Dark: [sc 1, inc] × 2; light: [sc 1, inc] × 2; dark: [sc 1, inc] × 2; sc 12. (30)
- Round 7Dark: sc 8; light: sc 2; dark: sc 20. (30)Continue in dark yarn only.
- Round 8Sc in each st around. (30)
- Round 9Ear attachment round Sc 1; [sc 5 through both head and ear sts]; sc 4; [sc 5 through both head and ear sts]; sc 15. (30)
Note: Position ears at the top, slightly to the sides. Adjust placement with slip stitches if your marker falls differently.
Attach safety eyes between Rnds 5–6. Attach screw-back safety nose between Rnds 1–2 (if using adhesive nose, attach during finishing).
- Round 10Sc in each st around. (30)
- Round 11[Sc 3, dec] × 6. (24)
- Round 12[Sc 2, dec] × 6. (18)
- Round 13[Sc 1, dec] × 6. (12)
- Round 14Dec × 6. Fasten off. (6 → close)
Front Legs
Make 2. Begin with light yarn. Worked in continuous spiral rounds.
- Round 17 sc in mr. (7)
- Round 2Inc in each st around. (14)
- Round 3Sc 14 in BLO. (14)
- Round 4[Dec] × 4, sc 6. (10)Switch to dark yarn.
- Rounds 5–10Sc in each st around. (10)Stuff leg firmly.
- Round 11Dec × 5. Fasten off. (5 → close)
Back Legs
Make 2. Begin with light yarn. Worked in continuous spiral rounds.
- Round 17 sc in mr. (7)
- Round 2Inc in each st around. (14)
- Round 3Sc 14 in BLO. (14)
- Round 4[Dec] × 4, sc 6. (10)Switch to dark yarn.
- Rounds 5–7Sc in each st around. (10)
- Round 8Sc 1, [inc] × 3, sc 1, dec × 2, sc 1. (11)
- Round 9Sc 2, inc, sc 8. (12)
- Round 10Sc in each st around. (12)Stuff leg firmly.
- Round 11Dec × 6. Fasten off. (6 → close)
Tail
Do NOT stuff. Worked in continuous spiral rounds.
Begin with light yarn.
- Round 16 sc in mr. (6)
- Rounds 2–3Sc in each st around. (6)Switch to dark yarn.
- Rounds 4–10Sc in each st around. (6)
- Round 11Dec × 3. Fasten off. (3 → close)
Body
Stuff firmly. Worked in continuous spiral rounds. Begin with dark yarn.
- Round 16 sc in mr in dark yarn. (6)
- Round 2Light: inc × 2; dark: inc × 4. (12)
- Round 3Light: [sc 1, inc] × 2; dark: [sc 1, inc] × 4. (18)
- Round 4Light: [sc 2, inc] × 2; dark: [sc 1, inc] × 4. (24)
- Rounds 5–8Light: sc 8; dark: sc 16. (24)
- Round 9Light: [sc 2, dec] × 2; dark: [sc 2, dec] × 4. (18)
- Rounds 10–12Light: sc 6; dark: sc 12. (18)
- Round 13Dark only: [sc 1, dec] × 6. (12)
- Round 14Dec × 6. Fasten off. (6 → close)
Face Shaping (Thread Pulls / Tacking)
The subtle face shaping is what gives this kitten its irresistible expression. Here's how to do it:
Step by step: Insert needle at the bottom of the first dark round on the muzzle; draw thread up toward the left eye. From the left eye, bring needle back down to the bottom. From the bottom, bring needle up toward the right eye. From the right eye, bring needle back down; pull taut and secure the thread pull.
Eye Embellishment
A few small embroidery details make the eyes come alive:
Step by step: With white thread, embroider one stitch at the outer corner of each eye. With black thread, embroider one stitch along the top edge of each eye. With black thread, create a vertical thread pull from the first dark round down to the nose to define the muzzle center line.
More pictures
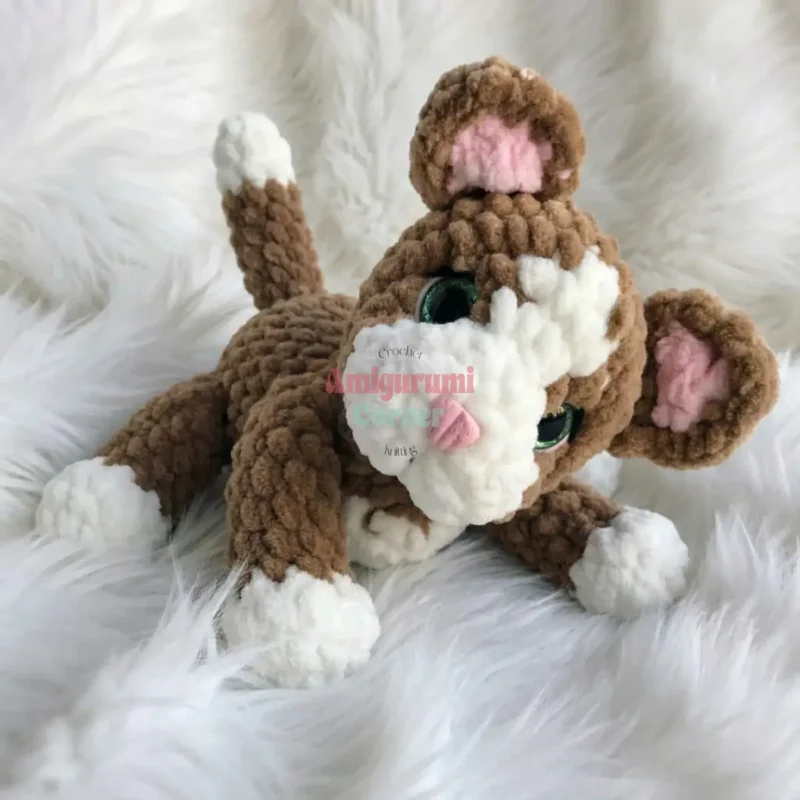
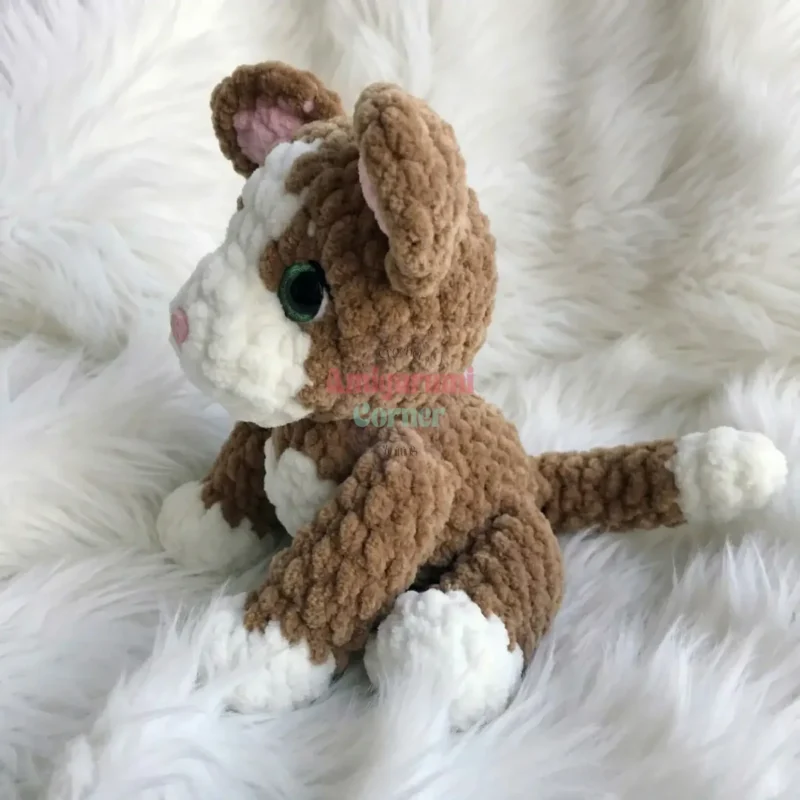
Before the first stitch
- Check you have both light and dark yarn wound and ready, so color changes do not stall you.
- Read through the Head rounds once before starting. Fourteen rounds reward a plan.
- Set out your safety eyes and nose near your hook. You will place them mid-project, not at the end.
Minutes per piece
- Head about 45 minutes, because fourteen rounds and face shaping take care
- Ears and legs about 30 minutes, because small pieces still need neat increases
Other yarns that work
- cotton, worsted weight Crisper stitch definition, firmer body. Use the same 3 mm hook, maybe a hair smaller.
- acrylic blend, DK weight Softer drape, slightly smaller finished kitten. Size down your hook to keep stitches tight.
Where it ends up
- A shelf companion, paired with a small knit blanket for a quiet corner display.
- A gift for a new crocheter, paired with a care note on gentle washing.
- A travel toy for a car seat, paired with a small carabiner clip for the tail loop.
Joining up
- Step 1 Once all the pieces are complete, it’s time to put your kitten together:
- Step 2 Glue or attach safety nose if not already secured.
- Step 3 Sew front legs to body, or attach using a thread joint for mobility.
- Step 4 Sew back legs and tail to body.
- Step 5 Sew head to body.
- Step 6 Your kitten is now complete — give it one last gentle squeeze to check the stuffing, and admire your adorable new creation!
Small notes
- Use a 3 mm hook and keep your tension snug, so stuffing does not peek through.
- The Front Legs and Back Legs both use BLO in round 3. Watch for that stitch, it shapes the leg line.
- Stuff the head firmly before closing, since thread pulls need resistance to hold shape.
Little questions
What yarn weight and hook size should I use for this amigurumi kitten?
This pattern is designed for light-weight yarn (often labeled as DK or light worsted) paired with a 3 mm crochet hook. Using the recommended hook size helps create a tight fabric that prevents the polyfill stuffing from showing through the stitches.
Can I make this kitten without safety eyes?
Yes! If you’re making this kitten for a baby or young child, safety eyes may still pose a choking hazard even when properly secured. You can substitute them by embroidering the eyes using black yarn or thread, creating a fully child-safe toy.
How do I attach the ears securely to the head?
The ears are attached during Round 9 of the head, which is specifically designated as the "ear attachment round." You crochet through both the head stitches and the ear stitches simultaneously — 5 stitches per ear — which integrates them directly into the head for a secure hold. Position the ears at the top, slightly to the sides, and use slip stitches to adjust placement if your stitch marker falls in a different spot.
Original pattern: https://amigurumicorner.com/amigurumi-kitten-crochet-pattern/

About the Author
Tamsin Okoro Who writes the patterns at Yarn Gallery, how a pattern gets from the hook to the page, and what this site will never do.


