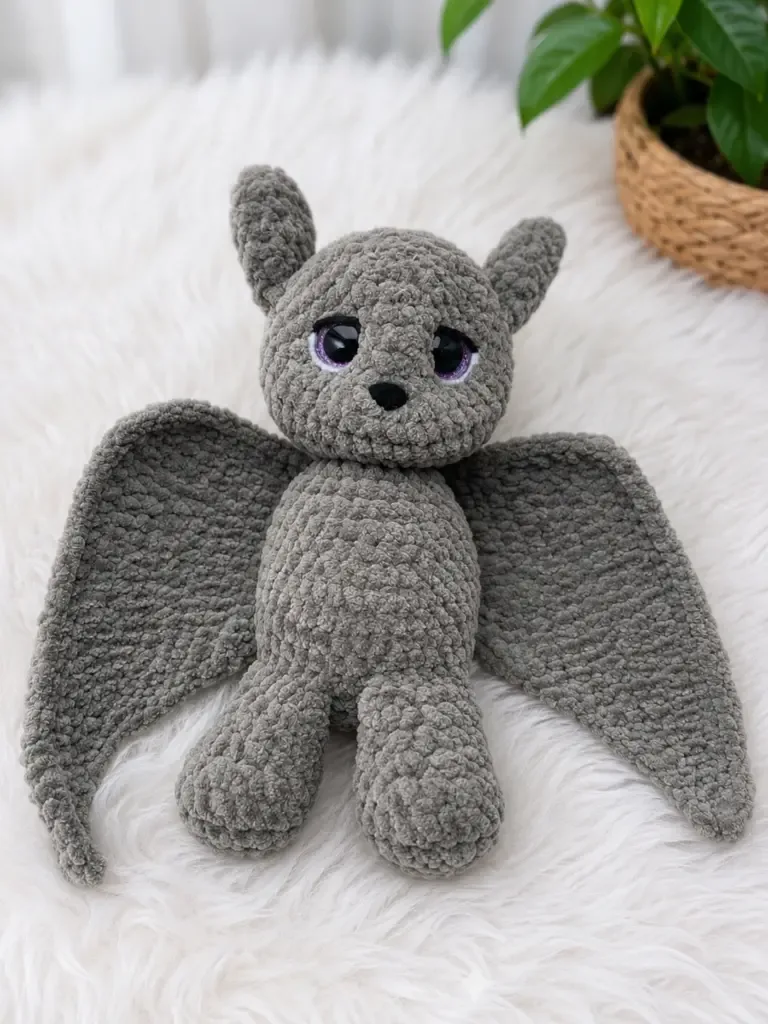
About This Pattern
This little bat comes together in one evening, mostly. It stands about 6 inches tall once stuffed. The body and head form one continuous piece, so there is no seam at the neck. Legs, ears, and wings each work up quickly on their own. It needs a soft velvet yarn, small safety eyes, and a bit of patience for the face cinching. Keep it on a shelf, or tuck it into small hands.
In the basket
Contrast Yarn
Hook Size
Safety Eyes
Stuffing
Stitch Marker
Long Needle
Strong Thread
Finished size
Abbreviations
- BLO
- Back Loop Only
- ch
- Chain
- dec
- Invisible Decrease (insert hook into front loops of next 2 sts, draw up a loop, yo, pull through all 3 loops)
- hdc
- Half Double Crochet
- inc
- Increase (2 sc in the same stitch)
- MR
- Magic Ring
- sc
- Single Crochet
- sl st
- Slip Stitch
- SM
- Stitch Marker
- st / sts
- Stitch / Stitches
Velvet amigurumi bat: a small soft toy pattern
Legs (Make 2)
- Round 16 sc in MR. (6)
- Round 2inc in each st around. (12)
- Round 3sc, inc repeat 6 times around. (18)
- Round 4sc in each st around. (18)
- Round 56 sc, dec 3 times, 6 sc. (15)
- Round 66 sc, dec 2 times, 5 sc. (13)
- Round 76 sc, dec, 5 sc. (12)
- Round 810 sc. Do not finish the round. Stuff the leg lightly. Fold the leg flat and work 6 sc through both layers to close the top edge. Fasten off and leave a tail for attachment. You may need to adjust the number of offset/shift stitches slightly — use the photos as a guide.
Body & Head (One Continuous Piece)
Begin with the body, then continue directly into the head without fastening off.
- Round 16 sc in MR. (6)
- Round 2inc in each st around. (12)
- Round 3sc, inc repeat 6 times around. (18)
- Round 42 sc, inc repeat 6 times around. (24)
- Round 53 sc, inc repeat 6 times around. (30)
- Round 64 sc, inc repeat 6 times around. (36)
- Round 711 sc, join first leg by working 6 sc through corresponding sts of the leg alongside the body, 2 sc, join second leg by working 6 sc through corresponding sts of the second leg, 11 sc. (36) Both legs are attached in this round.
- Rounds 8–11sc in each st around. (36)
- Round 1214 sc, dec 4 times, 14 sc. (32)
- Round 13sc in each st around. (32)
- Round 148 sc, dec, 14 sc, dec, 6 sc. (30)
- Round 153 sc, dec repeat 6 times around. (24)
- Round 16sc in each st around. (24)Stuff the body now before continuing.
- Round 172 sc, dec repeat 6 times around. (18)
- Round 18sc, dec repeat 6 times around. (12)
You are now transitioning into the head — continue without fastening off.
- Round 19inc in each st around. (24)
- Round 203 sc, inc repeat 6 times around. (30)
- Round 214 sc, inc repeat 6 times around. (36)
- Round 225 sc, inc repeat 6 times around. (42)
- Rounds 23–25sc in each st around. (42)
- Round 265 sc, dec repeat 6 times around. (36)
- Round 27sc in each st around. (36)
- Round 284 sc, dec repeat 6 times around. (30)Insert the 16 mm safety eyes between Rounds 27 and 28, with 8 stitches between them. Insert the safety nose between Rounds 24 and 25.
- Round 293 sc, dec repeat 6 times around. (24)Stuff the head firmly.
- Round 302 sc, dec repeat 6 times around. (18)
- Round 31sc, dec repeat 6 times around. (12)
- Round 32dec 6 times. (6)Pull the opening closed, fasten off, and weave the tail end into the head.
Ears (Make 2)
Work flat rows, turning at the end of each row. Foundation chain: ch 6. Begin working from the 2nd chain from the hook.
- Rows 1–45 sc across, ch 1, turn.
- Row 5dec, sc, dec, ch 1, turn. (3)
- Row 6Work a double decrease (draw through all 3 remaining stitches together into 1), ch 1.Without fastening off, work a single crochet edging around the entire ear. Work an increase (2 sc) at each corner to keep the edges flat. Fasten off and weave in ends.Fold each ear approximately two-thirds of the way across (as shown in the reference photos). Note: the left ear and right ear are folded in opposite directions so that each ear curves correctly when attached. Sew each ear closed along the fold.
Wings (Make 2)
Work flat rows, turning at the end of each row. Foundation chain: ch 11. Turn and begin working from the 2nd chain from the hook.
- Row 110 hdc across, ch 1, turn.
- Row 210 hdc, ch 5, turn.
- Row 34 hdc across the ch-5 extension, 10 hdc across the previous row, ch 1, turn. (14 hdc total)(14)
- Row 414 hdc, ch 5, turn.
- Row 54 hdc across the ch-5 extension, 14 hdc, ch 1, turn. (18 hdc total)(18)
- Row 618 hdc, ch 5, turn.
- Row 74 hdc across the ch-5 extension, 18 hdc, ch 1, turn. (22 hdc total)(22)
- Row 822 hdc, ch 5, turn.
- Row 94 hdc across the ch-5 extension, 22 hdc. (26 hdc total)Do not turn. Without fastening off, work a single crochet edging around the entire wing. Important: the left wing and right wing are edged starting from opposite ends so that both wings display their right side facing forward when attached. Fasten off and weave in ends.(26)
More pictures
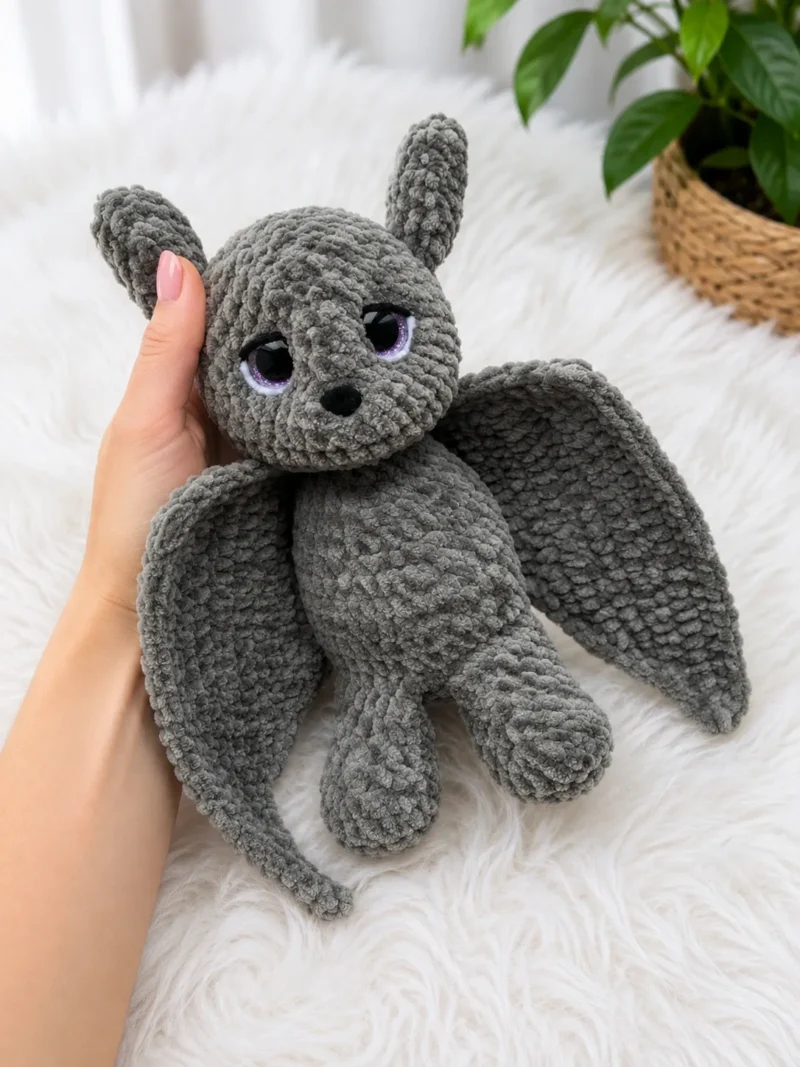
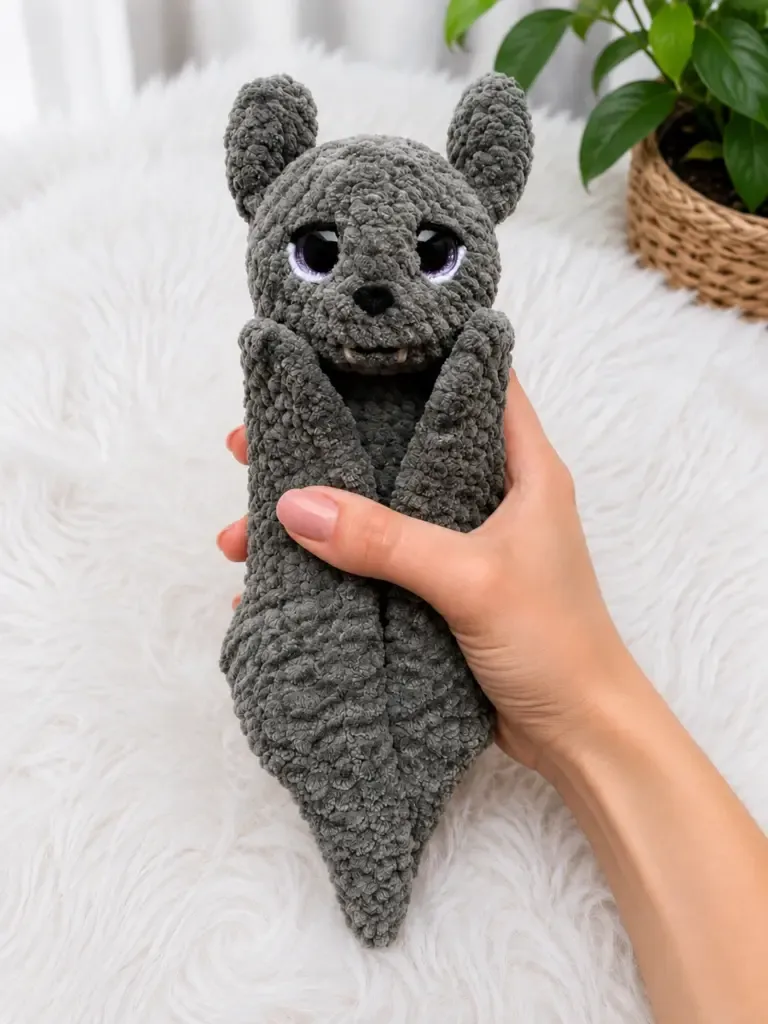
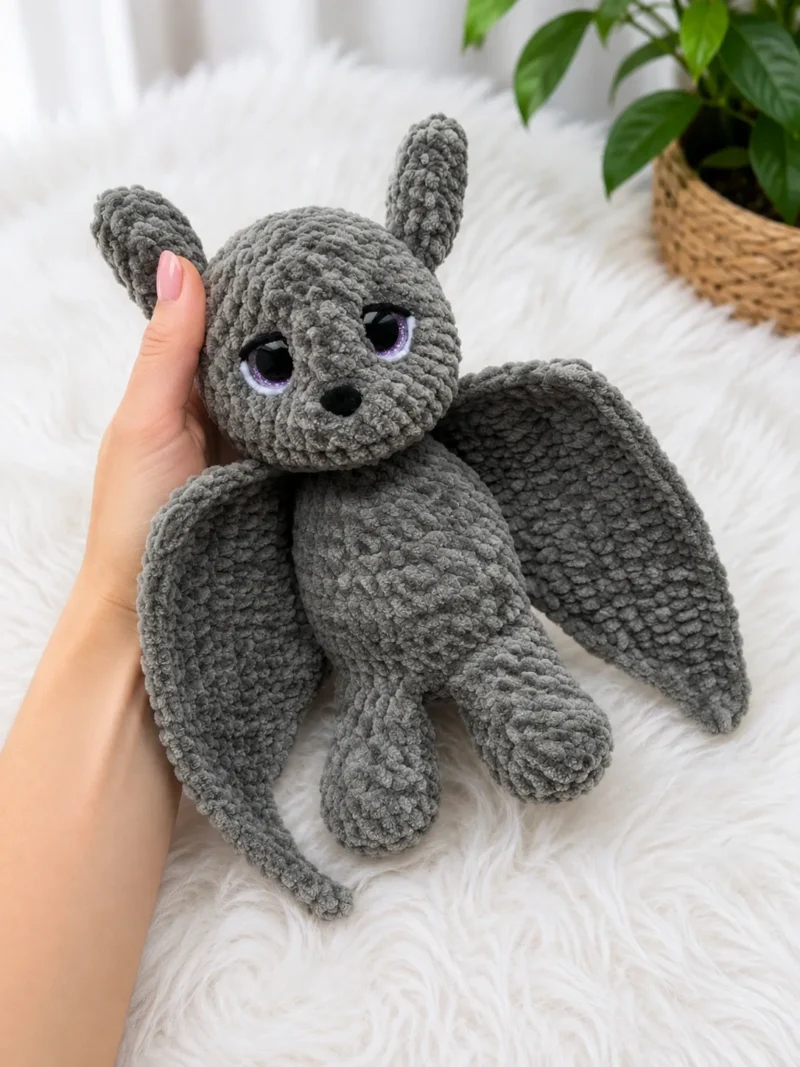
Before the first stitch
- Check your velvet yarn skein is enough for one 6-inch toy, with none left for a second.
- Place a stitch marker before Round 1 of the body. You will need it through all 32 rounds of the continuous body-and-head piece.
- Read through the face cinching steps once before you reach Round 19. They go quickly.
Minutes per piece
- Legs and Body & Head about 2 to 3 hours, since the body and head together span 32 rounds
- Ears, Wings, and Assembly about 2 to 3 hours, because the face cinching takes a careful hand
Other yarns that work
- Chenille, worsted weight Similar softness and drape. Toy size stays close to 6 inches. Use a hook one size down for a tighter fabric.
- Acrylic, worsted weight Less plush than velvet. Stitches show more, so tension needs to be even. Hook size and stuffing amount stay about the same.
Where it ends up
- A soft toy for a child's shelf, paired with other small amigurumi animals.
- A desk companion for anyone who likes a quiet, dark-colored creature nearby.
- A handmade gift for someone who collects small crocheted figures.
Joining up
- Step 1 Sculpt the face (cinching step 1): Using a long needle and strong thread, locate two points in Round 19 (the increase round at the base of the head) with one increase between them. Pull the thread through in the sequence 1 → 3 → 4 → 2 → 1 → 5 → 6 → 2. Pull tight to gather and create the initial facial structure. Knot securely.
- Step 2 Sculpt the face (cinching step 2 — rotate eyes forward): Using the same method, stitch through the face in the sequence 1 → 3 → 4 → 5 → 6 → 2. Pull tight and knot securely.
- Step 3 Sculpt the face (cinching step 3 — shape the muzzle): Stitch through the face in the sequence 1 → 2 → 3 → 4. Pull tight, knot, and trim the thread.
- Step 4 Embellish the eyes: Using the black contrast yarn, embroider around each safety eye to outline and define it.
- Step 5 Embroider the mouth and teeth: Using the black contrast yarn (or white yarn for the teeth), embroider a small mouth and tiny fangs beneath the nose.
- Step 6 Attach the ears: Position the left and right ears on top of the head, making sure each ear faces in the correct direction (the fold should curve inward toward the center). Sew firmly in place using strong thread.
- Step 7 Attach the wings: Position a wing on each side of the body. Sew each wing in place using sewing thread doubled — this gives a secure, discreet attachment without adding bulk.
- Step 8 Weave in all remaining ends.
Small notes
- Velvet yarn hides stitches well, but it also hides mistakes. Count each round before moving on.
- The body and legs are worked in a continuous spiral. Do not join at the end of a round, or your shaping will shift.
- Stuff firmly but evenly before closing the head. Loose fill will show once the face is cinched.
- This pattern is written in US crochet terminology.
- Gauge is not critical for this project, but your fabric should be tight enough that stuffing does not show through. Swatch and adjust hook size as needed.
- Stitch counts are given in parentheses at the end of each round or row: (##)
Little questions
Can I use worsted weight yarn instead of velvet?
Yes, but the finished bat will look less plush. Stitch definition will show more clearly. Adjust your hook size to keep the fabric tight and gap-free.
Why does the pattern say not to join each round?
The legs and body are worked in a continuous spiral. Joining would create a seam and throw off the stitch count. A stitch marker keeps you oriented instead.
What is the face cinching step for?
It pulls the fabric at Round 19 to shape the eye area. The second pass rotates the eyes slightly forward. Both steps use a long needle and strong thread, then a secure knot.
Do the ears and wings work the same way as the body?
No, they are worked flat in turned rows, not in a spiral. The ears start from a foundation chain of 6. Both pieces get a single crochet edging before fastening off.
Original pattern: https://amistitch.com/velvet-amigurumi-bat-free-crochet-pattern/

About the Author
Tamsin Okoro Who writes the patterns at Yarn Gallery, how a pattern gets from the hook to the page, and what this site will never do.


