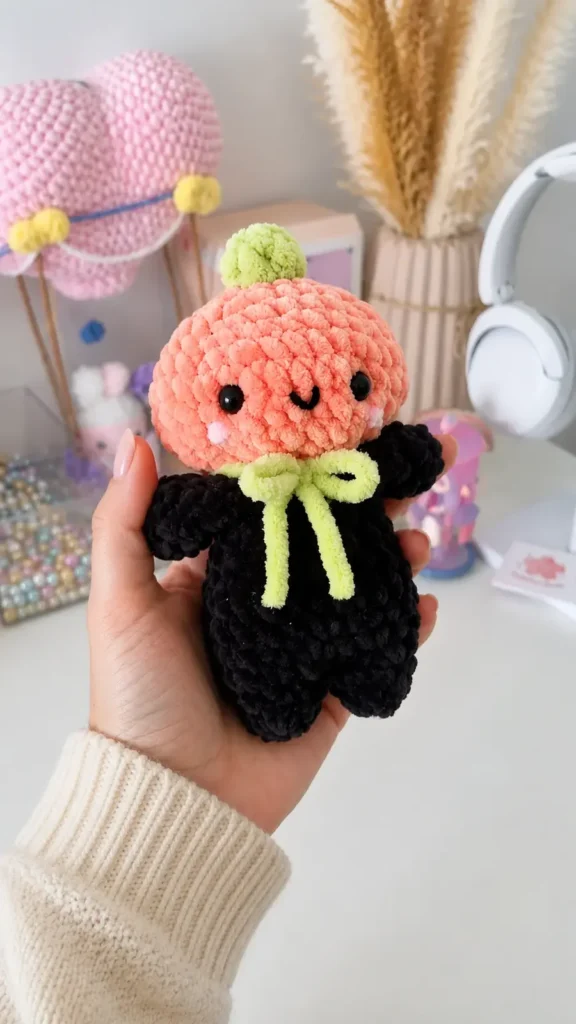
About This Pattern
This is a small velvet pumpkin doll, built from a round head and a joined leg-and-body piece. It sits well in one longer evening, or two shorter ones. The head takes patience, since it carries eleven rounds and five pressed-in ridges. It needs firm stuffing, a steady hand with velvet yarn, and sport weight thread for the small facial details. Nothing about it is large, but the shaping asks you to slow down.
In the basket
Recommended
Abbreviations
- R
- row
- ch
- chain
- MR
- magic ring
- Sc
- single crochet
- inc
- increase
- dec
- decrease
- (x)
- number of stitches
- sl st
- slip stitch
Velvet pumpkin doll pattern with ridged head and tiny legs
Head – (in orange)
- Round 16ch, begin in 2nd chain from hook 4sc, inc in last chain, 4sc on the other side of the chain, inc (12)Step by step: R3: sc around (6×2); Note: Sl st and fasten off. Leave a long tail for sewing.
- Round 2(sc, inc) x6 (18)
- Round 3(sc, inc, sc) x6 (24)
- Round 4sc around (24)
- Round 5(2sc, inc, sc) x6 (30)
- Round 6(2sc, inc, 2sc) x6 (36)
- Round 7sc around (36)
- Round 8(2sc, dec, 2sc) x6 (30)
- Round 9(2sc, dec, sc) x6 (24)
Note: Insert eyes between R7-R8, 5 stitches apart, while looking from the top, place them on the long side of the R1 oval.
Note: Begin stuffing
- Round 10(sc, dec, sc) x6 (18)
- Round 11(sc, dec) x6 (12)
Note: Finish stuffing the head, sl st and fasten off, leave a long tail for sewing.
Legs- make 2 (in black) + Body
- Round 16sc in MR (6)
- Round 2sc around (6)
- Round 3(sc, inc) x3 (9)
Note: After finishing the first leg, cut off the yarn. When making the second leg, do not fasten off and attach it to the first leg by doing 1 sc on any of the stitches of leg 1.
- Round 4counting the previous sc, SC around both legs (18)
- Round 5(sc, inc, sc) x6 (24)
- Round 6R7: sc around (24×2)
- Round 8(4sc, dec) x4 (20)
- Round 9(8sc, dec) x2 (18)
Note: Stuff the legs and body
- Round 10R11: sc around (18×2)
- Round 12(sc, dec) x6 (12)
Note: Finish stuffing, sl st and fasten off.
Arms-make 2 (in black)
- Round 16sc in MR (6)
- Round 2R4: sc around (6×3)
Note: Do not stuff the arms
- Round 5fold the arms in half and 3sc through both sides of the stitches (3)
Note: Sl st and fasten off. Leave a long tail for sewing.
More pictures
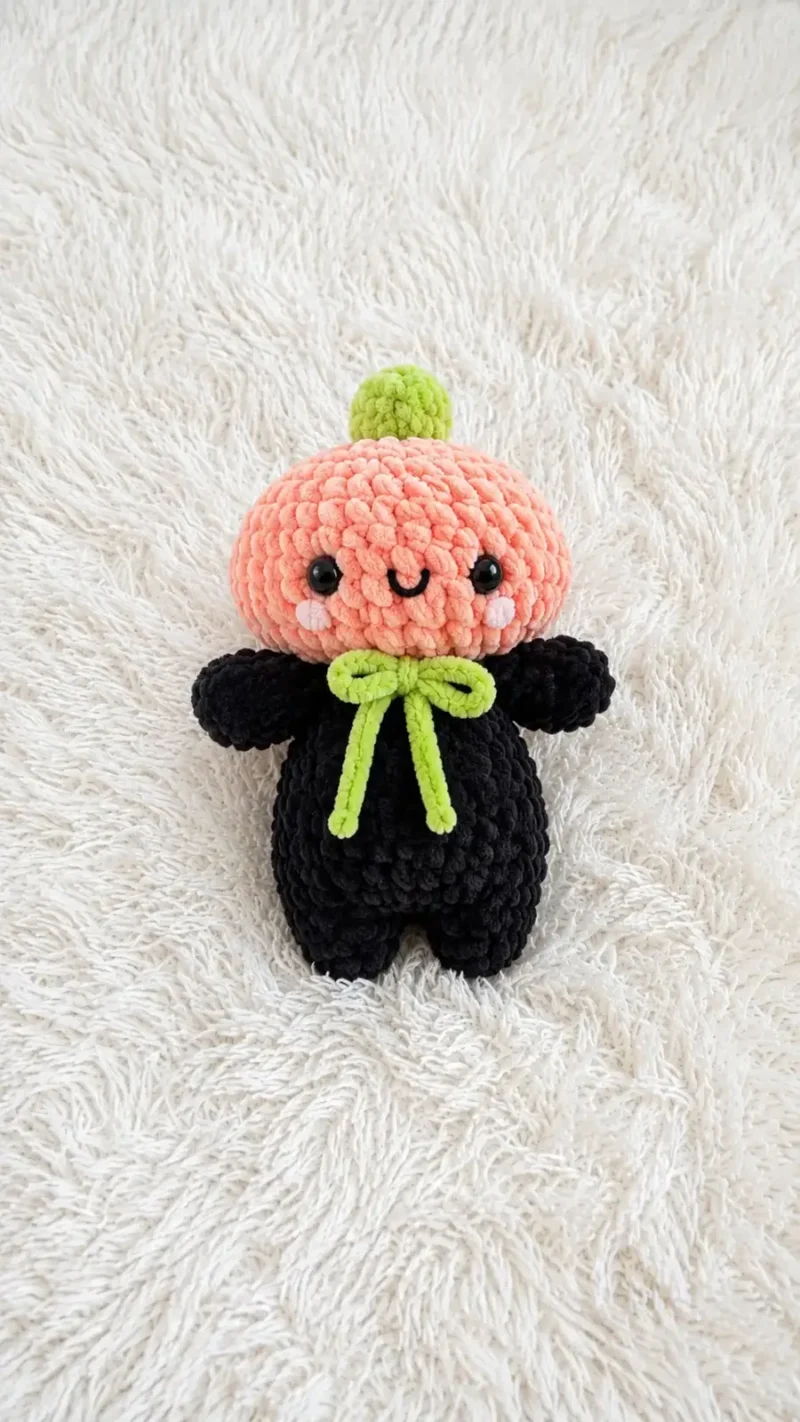
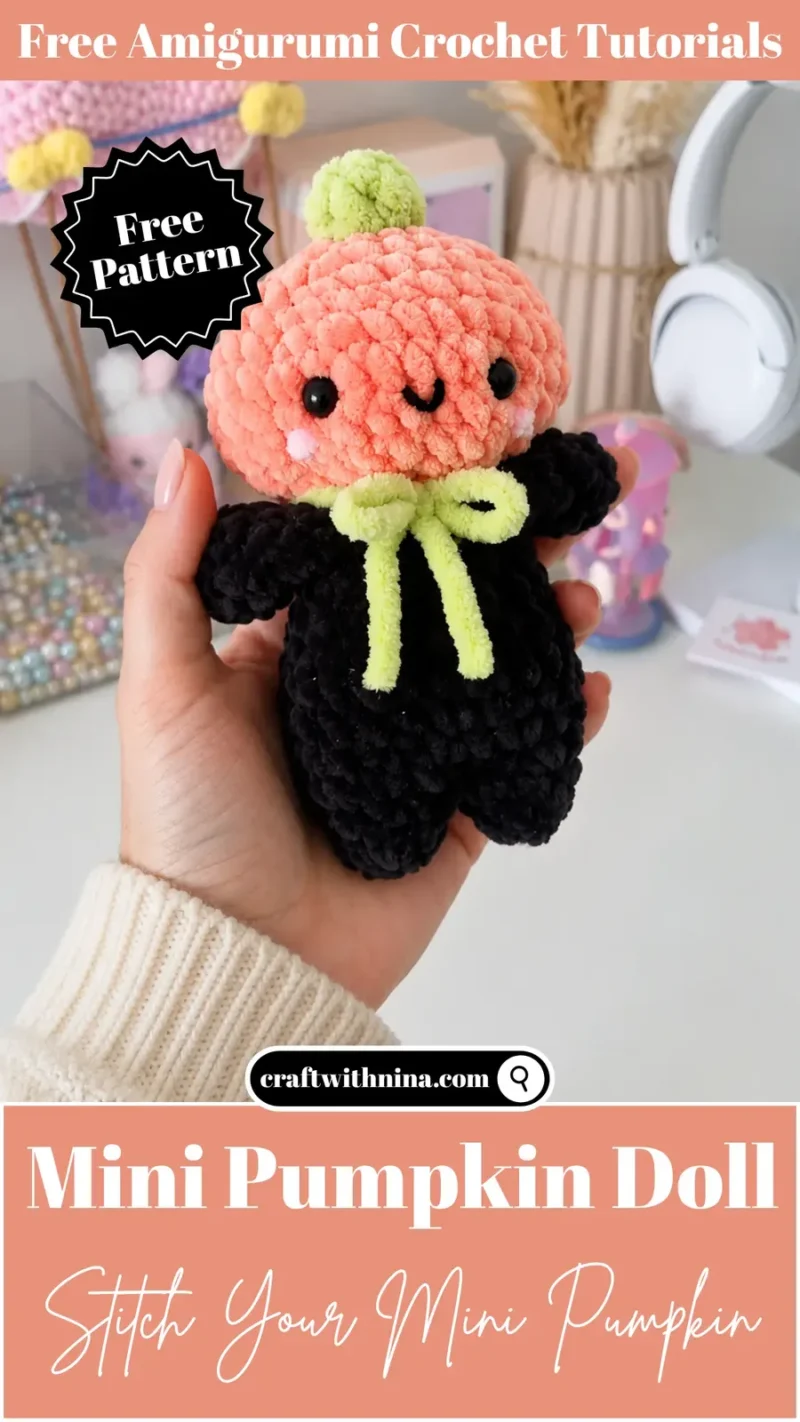
Before the first stitch
- Check you have enough orange velvet yarn for eleven head rounds plus ridge shaping.
- Place a stitch marker before round one, since velvet rounds blend together fast.
- Read through the leg-joining note before round four, so the body join makes sense.
Minutes per piece
- Head about 1.5 hours, because eleven rounds and five ridge indentations take care
- Legs, body, and arms about 1.5 hours, because joining two legs mid-round needs attention
Other yarns that work
- cotton, worsted weight Smaller finished size, crisper stitch definition, and easier stuffing through a tighter gauge; use the same 4.5mm hook.
- acrylic chenille, bulky weight Slightly larger doll, softer drape, and a looser stuffing feel; move up to a 5mm hook.
Where it ends up
- Set it on a shelf, paired with small knit gourds.
- Give it as a desk companion, alongside a mug or notebook.
- Tuck it into a basket of soft toys for a child's room.
Joining up
- Step 1 Step 1: Before sewing the head to the body, make sure to create the dents of the pumpkin as so: first look at your pumpkin man’s head from the top, you should have an oval at the top where R1 is.
- Step 2 Step 2: The face should be located on one of the long sides of the pumpkin.
- Step 3 Step 3: Drag a long piece of orange velvet yarn through the head, and begin making the dents.
- Step 4 Step 4: There should be 5 dents.
- Step 5 Step 5: To create the dents in the head, drag the orange velvet yarn from the top to the bottom of the head, alternating between sewing under and above the Rows.
- Step 6 Step 6: when reaching the bottom of the head, make sure to pull on the yarn to form the dent before moving on to the next dent.
- Step 7 Step 7: Start sewing the dents from the front and back spacing points.
- Step 8 Step 8: The front part should be wider than the rest, about 2 stitches from the eyes to each side.
- Step 9 Step 9: After you have finished sewing the head dents, drag brown sporting weight yarn through the head and over each of the dents to create lines.
- Step 10 Step 10: Next, place the head onto the body, make sure to align the eyes to the legs properly, and sew them together with the yarn tail from the head.
- Step 11 Step 11: Next, position the arms right under the head and sew the to the last row of the body, on both sides of the body.
- Step 12 Step 12: Sew the little sprout right on top of the head, on R1.
- Step 13 Step 13: Add a little V shaped mouth to the pumpkin using the black sporting weight yarn.
- Step 14 Step 14: Also add to little lines for blush one row under and one stitch to the side of each eye.
- Step 15 Step 15: If you want, you may also give your pumpkin a little bow.
- Step 16 Step 16: And you are finished!!
- Step 17 Step 17: CONGRATULATIONS!
Small notes
- Hold velvet yarn loosely as you stitch. A relaxed grip protects the core fiber from breaking.
- Mark every round start with a stitch marker. Velvet texture hides your place easily otherwise.
- Stuff the head firmly before pressing in ridges. Firm fill gives the dents something to hold against.
Little questions
Why use velvet yarn instead of regular acrylic?
Velvet yarn gives the pumpkin a plush, soft surface that holds ridge shaping well. It does need a gentler grip, since the core fiber breaks more easily than standard acrylic.
Why mark every round instead of just the first one?
Velvet texture makes stitches hard to distinguish by eye. A marker on every round keeps you from losing your place partway through.
Can I skip the sport weight yarn for the face?
I would not recommend it. Heavy velvet yarn overwhelms small details like the mouth and blush lines, so thin sport weight keeps them readable.
What happens if I stuff the head too lightly?
The ridges will look flat instead of plump. Firm stuffing gives the velvet something solid to press against when you make the dents.
Original pattern: https://craftwithnina.com/free-amigurumi-pattern-mini-pumpkin-doll/

About the Author
Tamsin Okoro Who writes the patterns at Yarn Gallery, how a pattern gets from the hook to the page, and what this site will never do.


