About This Pattern
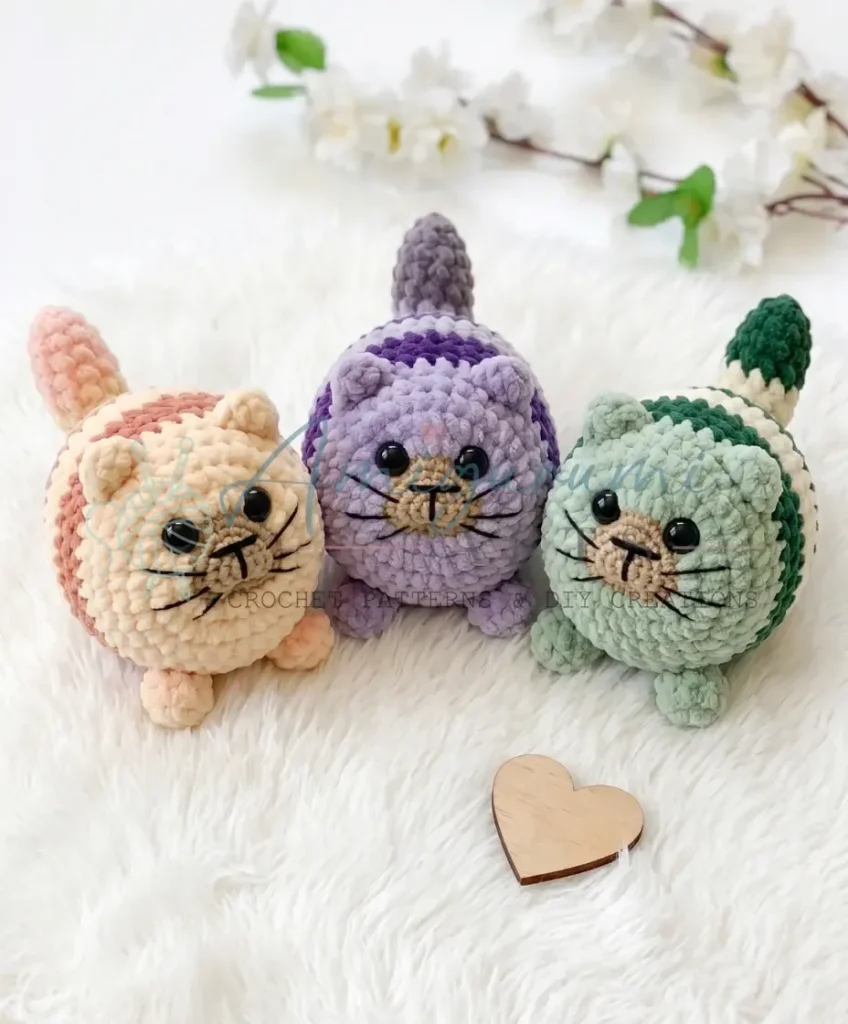
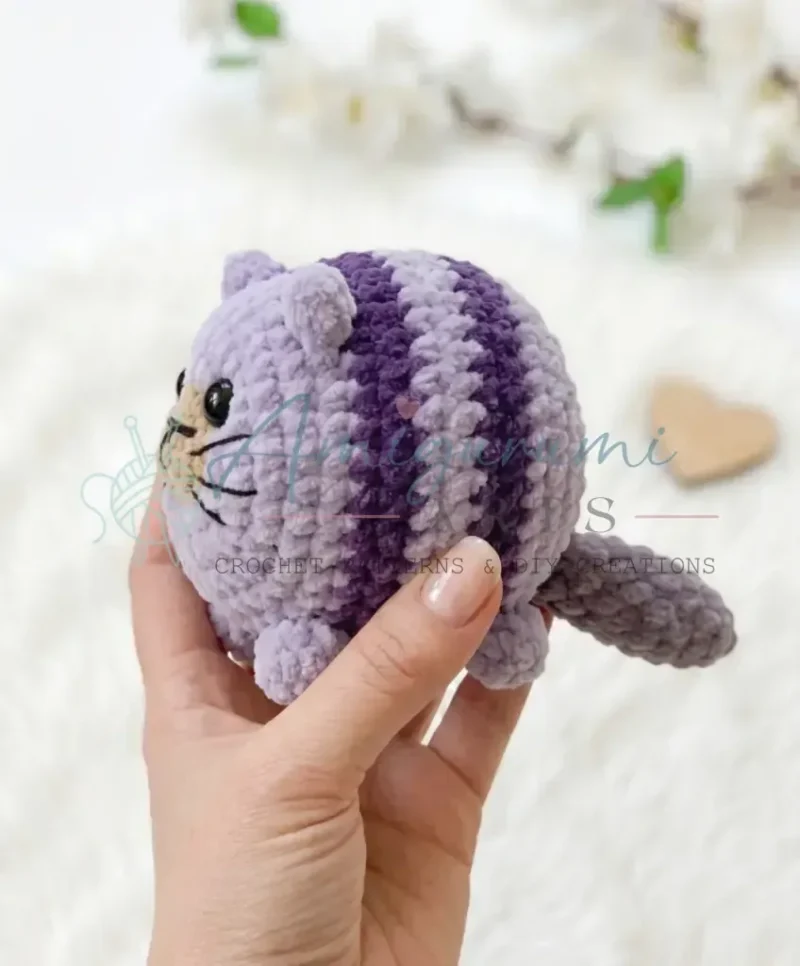
One-piece chubby cat amigurumi. 2mm and 4mm hooks. About 4-6 hours.
In the basket
Body yarn
Hook sizes
Safety eyes
Abbreviations
- BLO
- Back Loop Only
- ch
- Chain
- dc
- Double Crochet
- dec
- Invisible Decrease (2 sc crocheted together)
- FLO
- Front Loop Only
- hdc
- Half Double Crochet
- inc
- Increase (2 sc in same stitch)
- MR
- Magic Ring
- Puff st
- Puff Stitch (3 incomplete dc worked into 1 stitch, all loops drawn together in one final pull)
- sc
- Single Crochet
- sl st
- Slip Stitch
Chubby cat amigurumi pattern worked in one piece
Chubby Cat (worked as one continuous piece)
Switch yarn and hook sizes as directed within the pattern. Begin with white acrylic/cotton-acrylic blend and a US B-1 / 2 mm hook.
- Round 16 sc in MR. (6)
- Round 2inc in each st around. (12)
- Round 3sc, inc repeat 6 times. (18)
- Round 42 sc, inc repeat 6 times. (24)
- Round 5ch 1, work 8 inc using hdc (puff of hdc increases in a fan — each inc = 2 hdc in same st, worked as a “chevron” marker row). (The chain-1 does not count as a stitch; this row establishes the face structure.)Switch to plush yarn. Continue with US B-1 / 2 mm hook.
- Round 616 sc, working into each stitch of the previous round to complete the round. (32)
Note: the next round uses hdc to add body texture.
- Round 716 hdc, 1 sc.Switch to US G-6 / 4 mm hook.
- Round 815 sc. (32)
- Rounds 9–1132 sc. (32)Rnd 12 — Ear and Foot Detail Round:
- Round 12Work as follows in sequence across 32 sts: 6 sc; Ear 1: 1 sc, then (into 1 stitch in FLO: 1 hdc, 1 dc, 1 hdc), 1 sc; 2 sc; Ear 2: 1 sc, then (into 1 stitch in FLO: 1 hdc, 1 dc, 1 hdc), 1 sc; 9 sc; Foot 1: Puff st into 1 st (3 incomplete dc in same st, pull through all loops at once); 4 sc; Foot 2: Puff st into 1 st; 3 sc. (32)
- Round 137 sc, 1 sc in BLO (directly behind Ear 1), 4 sc, 1 sc in BLO (directly behind Ear 2), 19 sc. (32)Insert safety eyes now: place them in the first plush round that follows the hdc-increase chevron row (Rnd 6). Count across — skip the first two chevron increases, insert one eye; skip two more chevron increases, insert the second eye. Secure backs firmly.
- Rounds 14–1732 sc. (32)
- Round 1824 sc, Puff st into 1 st, 4 sc, Puff st into 1 st, 2 sc. (32)
- Round 1932 sc. (32)
- Round 206 sc, dec repeat 4 times. (28)
- Round 215 sc, dec repeat 4 times. (24)
- Round 224 sc, dec repeat 4 times. (20)
- Round 233 sc, dec repeat 4 times. (16)
- Round 248 dec. (8)Stuff the body firmly before continuing. This is your last easy access point.
- Rounds 25–268 sc. (8)
The next section forms the tail.
- Round 27sc, inc repeat 4 times. (12)
- Round 282 sc, inc repeat 4 times. (16)
- Round 2916 sc. (16)
- Round 302 sc, dec repeat 4 times. (12)
- Round 3112 sc. (12)
- Round 32sc, dec repeat 4 times. (8)
- Round 338 sc. (8)
- Round 344 dec. (4)Lightly stuff the tail before closing. Fasten off, leaving a yarn tail.
More pictures
Before the first stitch
- Weigh out both yarns first — about 15-20 g white, 24 g plush — so you don't run short mid-round.
- Set two stitch markers ready. You'll track the round start the whole way through.
- Read through the first four rounds before you begin. The increase pattern repeats, and it helps to see the shape coming.
Minutes per piece
- Head and body shaping about 2-3 hours because the early increase rounds set the whole shape and need close counting
Other yarns that work
- Cotton-acrylic blend, sport weight Keeps the face crisp and even. Stick with the 2 mm hook for this part.
- Velvet or chenille, light worsted Gives a softer, fuzzier body. You may need a touch more stuffing to hold the round shape.
Where it ends up
- A desk companion that pairs well with a small shelf or windowsill.
- A gift for a child who likes to carry one soft thing everywhere.
- A quiet project to keep by the sofa, paired with an evening of television.
Joining up
- Step 1 Thread the yarn tail from the tail closure onto your tapestry needle. Use it to whipstitch the tail upright against the body — positioning it vertically so it sits perky rather than flat.
- Step 2 Weave the needle back through to the front of the tail section and secure. Trim excess.
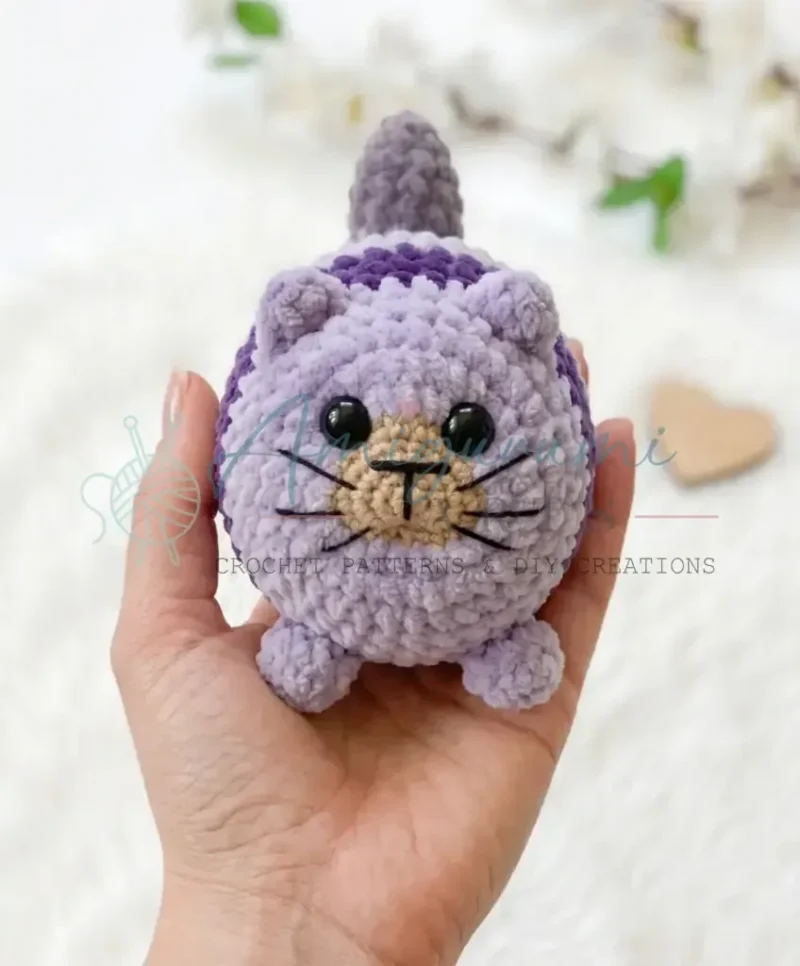
- Step 3 Using black yarn or embroidery thread, embroider the nose onto the face. A small vertical stitch with a horizontal bar beneath it gives the classic cat expression. Pull gently to sculpt.
- Step 4 To define the muzzle, use your tapestry needle threaded with the same yarn as the face: insert the needle at one cheek point, pass through to the opposite cheek point, and pull with gentle tension to create a slight indent. Repeat until the muzzle has a soft, rounded definition. Secure and trim.
- Step 5 Weave in all remaining yarn ends securely.
Small notes
- This piece has no joining rounds and no turning chains. Move your stitch marker up every round or you'll lose the start.
- Stuff as you go, a little at a time. One continuous piece makes it harder to fix thin spots later.
- This chubby round cat pattern is written in US crochet terminology.
- Gauge is not critical for amigurumi, but your fabric should be firm with no gaps so stuffing does not show through. Tighten your tension if needed.
Little questions
Can I use a different plush yarn weight for this pattern?
Yes, but stay close to the recommended 24 g of a standard chunky chenille or plush yarn. A heavier plush yarn may cause the body to grow too large relative to the acrylic face section, throwing off the proportions. If you substitute, swatch a small section first and check that your stitch count still matches before committing to the full body.
Why are the ears worked in Front Loop Only instead of both loops?
Working the ear stitches in FLO leaves the back loop free, which you pick up in the very next round to create a clean, flat base behind each ear. This technique is what gives the ears their upright, sculpted look rather than a floppy or detached appearance. Do not skip the BLO round that follows — it anchors everything in place.
Where exactly do I place the safety eyes?
Place the safety eyes in Round 6 — the first plush round worked after the hdc-increase fan row. Look for the chevron-shaped increases along the face and count from left to right: skip the first two increases, place one eye, skip two more increases, and place the second eye. This spacing creates a naturally proportioned cat face. Always secure the backings fully before continuing to crochet.
Original pattern: https://amigurumiarts.com/crochet-chubby-round-cat-amigurumi-pattern-one-piece/

About the Author
Tamsin Okoro Who writes the patterns at Yarn Gallery, how a pattern gets from the hook to the page, and what this site will never do.