About This Pattern
This Honeybee amigurumi pattern turns a few skeins of plush and smooth yarn into the fuzziest, most huggable little bee you've ever seen. With six tiny legs, a striped caramel-and-mocha body, delicate wings, and a soft pink-cheeked face, this design captures every bit of a honeybee's charm without any of the sting. It's a perfect project for anyone who loves nature-inspired amigurumi, garden-themed nurseries, or simply wants a cheerful new addition to their crochet shelf.
You'll work with both plush yarn for that irresistibly soft body and smooth yarn for crisp facial details like the pink cheeks and black features. Expect to use magic rings, single crochet increases and decreases, and multiple color changes as you build the striped body and shape the rounded head. This is a comfortable intermediate project — if you've made a few amigurumi before and know your way around continuous spiral rounds, you'll breeze through it in a weekend, roughly 4 to 6 hours of relaxed stitching.
The finished Honeybee stands as a plump, cuddly little friend with a soft plush body, six spindly legs tucked underneath, two gauzy wings on its back, and a tiny curved stinger for authenticity. It's substantial enough to feel like a proper huggable toy but small enough to perch on a shelf or nightstand. Whether you're making it for a baby's room, a bee-lover's birthday, or your own amigurumi collection, this little buzzer is guaranteed to bring a smile.
- Start by making all six legs and both antennae as small quick pieces you'll attach later.
- Crochet the two wings separately in smooth yarn, giving them their own delicate shape and texture.
- Work the curved stinger as a compact standalone piece to attach near the bee's back end.
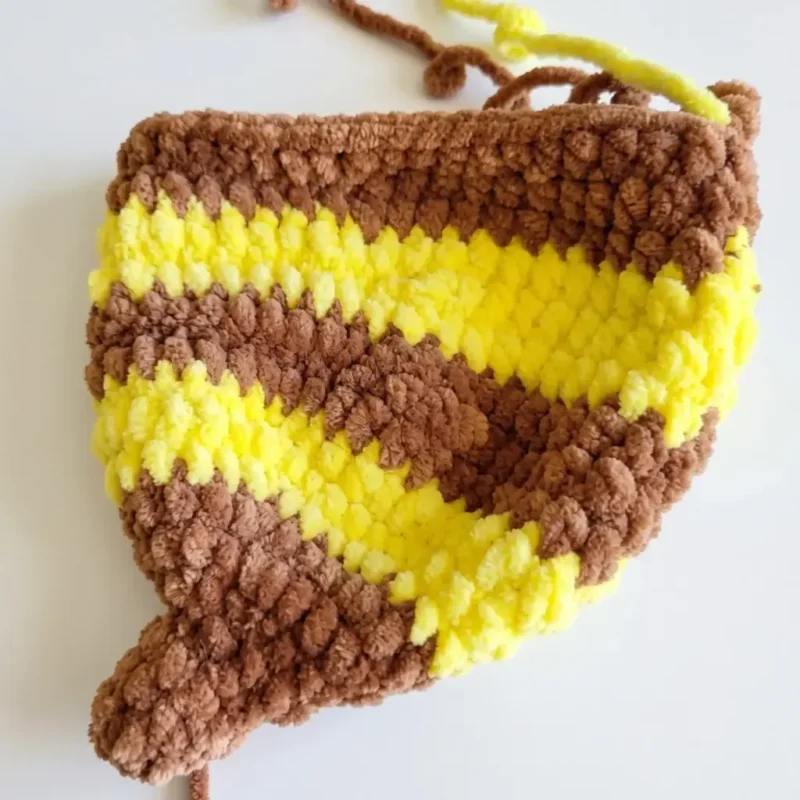
- Build the body in continuous spiral rounds, changing colors to form the classic caramel and mocha stripes.
- Stuff the body firmly in stages as the rounds progress, keeping the shape round and even.
- Shape the head in its own spiral rounds, then insert the safety eyes before closing it up.
- Use a long doll needle to refine the facial features for extra personality and definition.
- Assemble everything together in eight steps, attaching legs, antennae, wings, and stinger to the finished body.
Materials
Crochet Abbreviations
- ch
- Chain
- dc
- Double Crochet
- dec
- Decrease (invisible decrease)
- dec-dc
- Decrease worked in double crochet
- hdc
- Half Double Crochet
- inc
- Increase (2 sc in same stitch)
- inc-dc
- Increase worked in double crochet
- rnd(s)
- Round(s)
- sc
- Single Crochet
- shift st
- Displacement stitch (used to re-center the round marker)
- sl st
- Slip Stitch
- st(s)
- Stitch(es)
Honeybee Amigurumi Pattern: Free Crochet Bee Tutorial
Legs (make 6)
Work in Mocha.
- Round 1Ch 2, work 6 sc in 2nd ch from hook. (6)
- Round 2-3sc in each st around. (6) (2 rnds)
- Round 4-54 sl st, 2 hdc. (2 rnds)
- Round 66 sc, sl st. Fasten off, leaving a tail for sewing. Stuff the piece firmly before setting it aside.
Antennae (make 2)
Work in Mocha.
- Round 1Ch 2, work 8 sc in 2nd ch from hook. (8)
- Round 2-3sc in each st around. (8) (2 rnds)
- Round 4(2 sc, dec) x 2. (6)
- Round 5-8sc in each st around, then sl st to close. (6) (4 rnds) Fasten off, leaving a tail for sewing. Stuff the piece lightly.
Wings (make 2)
Work in White.
- Round 1Ch 2, work 7 sc in 2nd ch from hook. (7)
- Round 27 inc-dc. (14)
- Round 3(dc, inc-dc) x 7. (21)
- Round 4(2 dc, inc-dc) x 7. (28)
- Round 5-6dc in each st around. (28) (2 rnds)
- Round 7(5 dc, dec-dc) x 4. (24)
- Round 8dc in each st around. (24)
- Round 9(4 dc, dec-dc) x 4. (20)
- Round 10dc in each st around. (20)
- Round 11(3 dc, dec-dc) x 4. (16) Even out the row count between wings here.
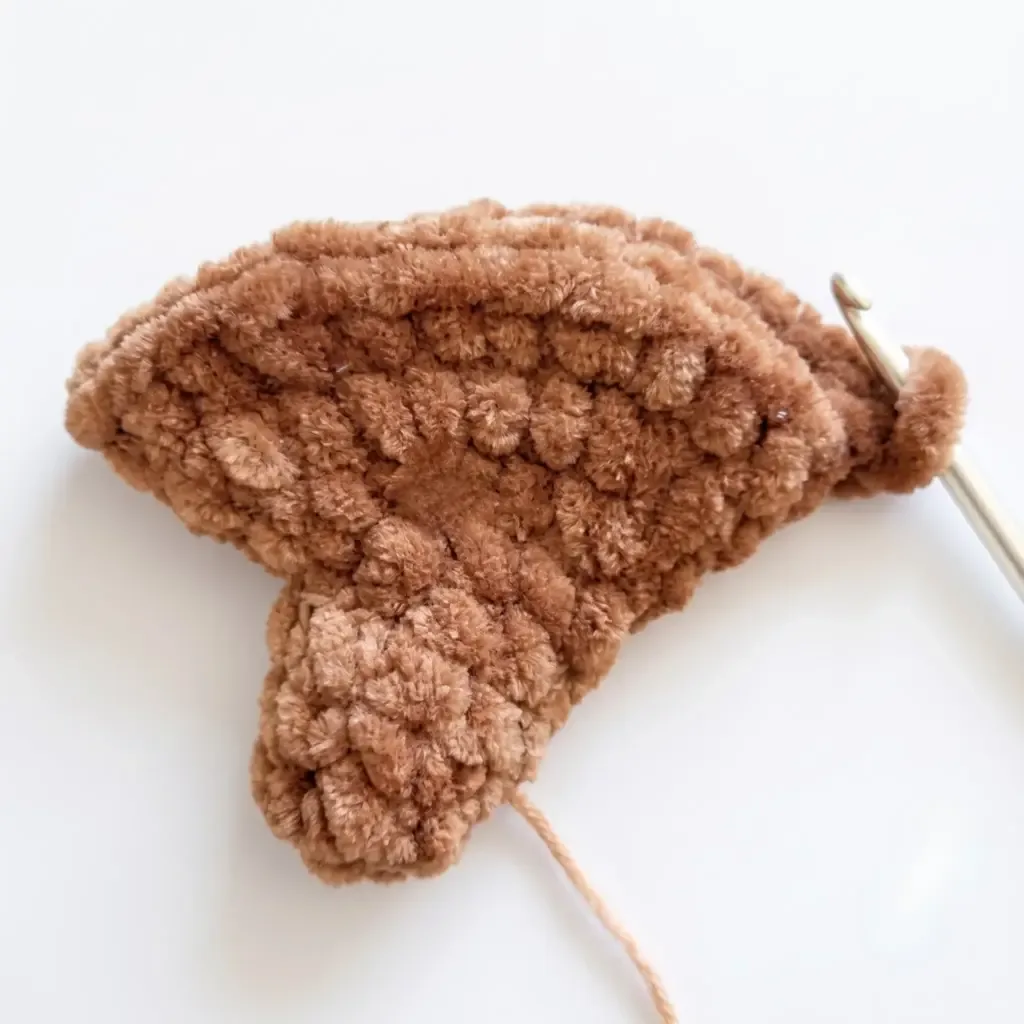
- Round 127 dc, hdc, 8 sc. Fasten off the first wing, leaving a short tail. The dc side of each wing is the right side. Fold each wing in half and, working through both layers together, work 8 sc along the first wing and 8 sc along the second wing (16 sts total) to join them into one piece. Fasten off and weave in the end. Using the leftover tail from the first wing, reinforce the seam between the wings with 2–3 stitches, then fasten off and weave in the end.
Stinger
Work in Caramel.
- Round 1Ch 2, work 6 sc in 2nd ch from hook. (6)
- Round 2sc in each st around. (6)
- Round 3(sc, inc) x 3. (9)
- Round 4sc in each st around. (9)
- Round 53 sc, 4 sl st, sc, inc. (10)
- Round 6inc, 2 sc, 4 sl st, 2 sc, inc. (12)
Body
General Notes on the Body and Head: Keep the round marker positioned exactly at the center back throughout. Because spiral rounds naturally drift, work a shift stitch (sc or hdc, matching the previous stitch) to bring the marker back to center — never count this stitch. Make all color changes on the final stitch of a round or at the shift stitch by completing the stitch partway and finishing it with the new color.
Work in Caramel.
- Round 7(sc, inc) x 6. (18)
- Round 8(2 sc, inc) x 6. (24)
- Round 9(3 sc, inc) x 6. (30)Switch to Lemon — this is the first light stripe.
- Round 10(4 sc, inc) x 6. (36)
- Round 11(5 sc, inc) x 6. (42)
- Round 1210 hdc, sc, 20 sl st, sc, 10 hdc. (42)Switch to Caramel.
- Round 1311 hdc, 20 sc, 11 hdc. (42)
- Round 1410 hdc, sc, 20 sl st, sc, 10 hdc. (42)
- Round 1511 hdc, 20 sc, 11 hdc. (42)Switch to Lemon — second light stripe.
- Round 1611 hdc, 20 sc, 11 hdc. (42)
- Round 1710 hdc, sc, 20 sl st, sc, 10 hdc. (42)
- Round 1811 hdc, 20 sc, 11 hdc. (42)Switch to Caramel.
- Round 1911 hdc, 20 sc, 11 hdc. (42)
- Round 2010 hdc, sc, 20 sl st, sc, 10 hdc. (42)
- Round 2111 hdc, 20 sc, 11 hdc. (42)Switch to Lemon — third light stripe.
- Round 2211 hdc, 20 sc, 11 hdc. (42)
- Round 2310 hdc, sc, 20 sl st, sc, 10 hdc. (42)
- Round 2411 hdc, 20 sc, 11 hdc. (42)Switch to Caramel.
- Round 25-2710 hdc, sc, 20 sl st, sc, 10 hdc. (42) (3 rnds) Fasten off the Caramel yarn and weave the end into the body.
Head
Keep the marker centered at the back, using shift stitches as needed. Round 28 shapes the cheeks and begins attaching the wings; Round 29 finishes attaching them.
Work in Lemon.
- Round 2810 hdc, 3 sc, 4 inc, 8 sc, 4 inc, 3 sc, 2 hdc, 8 hdc worked through both the head and wings. (50)
- Round 298 hdc worked through both the head and wings, 3 hdc, 28 sc, 11 hdc. (50)
- Round 3010 hdc, 30 sc, 10 hdc. (50)
- Round 3111 hdc, 2 sc, 4 dec, 8 sc, 4 dec, 2 sc, 11 hdc. (42)
- Round 3210 hdc, 22 sc, 10 hdc. (42)
- Round 3311 hdc, 20 sc, 11 hdc. (42)
- Round 3410 hdc, 22 sc, 10 hdc. (42)
- Round 3511 hdc, 20 sc, 11 hdc. (42)Insert the safety eyes now, between Rnds 32 and 33, spacing the posts 8 sc apart (approximately 4 sc visible between the eyes).
- Round 3610 hdc, 22 sc, 10 hdc. (42)Stuff the stinger and body firmly before continuing.
- Round 37(5 sc, dec) x 6. (36)
- Round 38(4 sc, dec) x 6. (30)Begin stuffing the head, paying extra attention to filling out the cheeks.
- Round 39(3 sc, dec) x 6. (24)
- Round 40(2 sc, dec) x 6. (18)
- Round 41(sc, dec) x 6. (12)Finish stuffing the head completely. Fasten off, leaving a short tail. Thread the tail onto your yarn needle and cinch the opening closed, then secure the yarn, trim, and weave the end into the head.
More photos
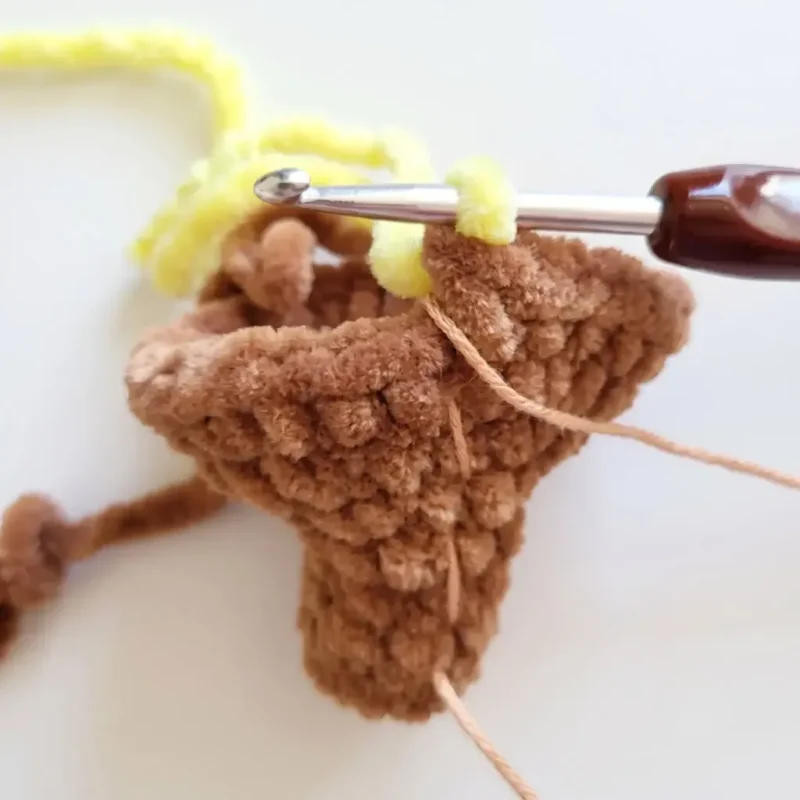
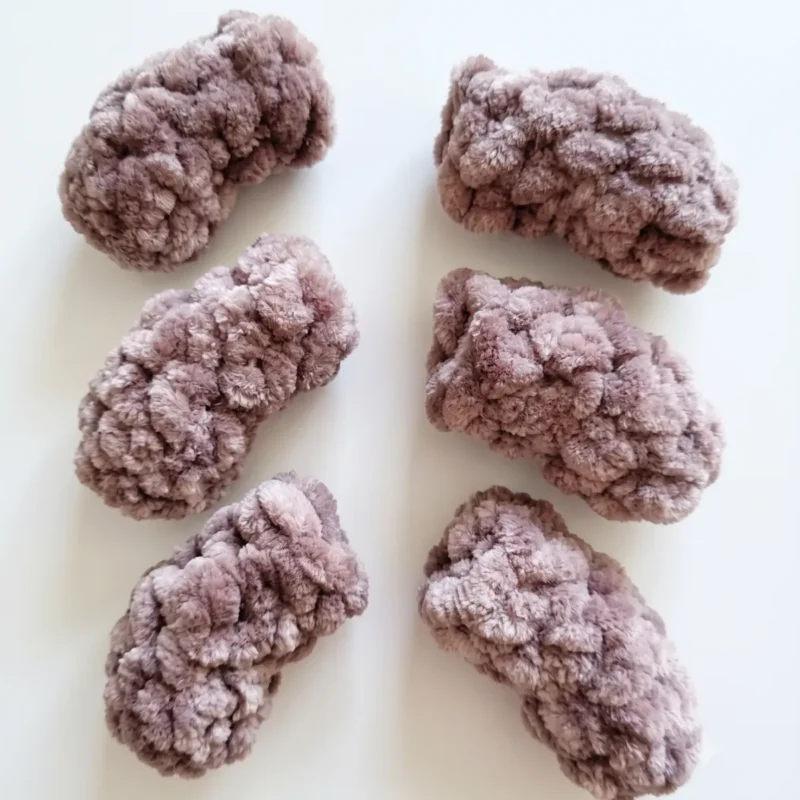
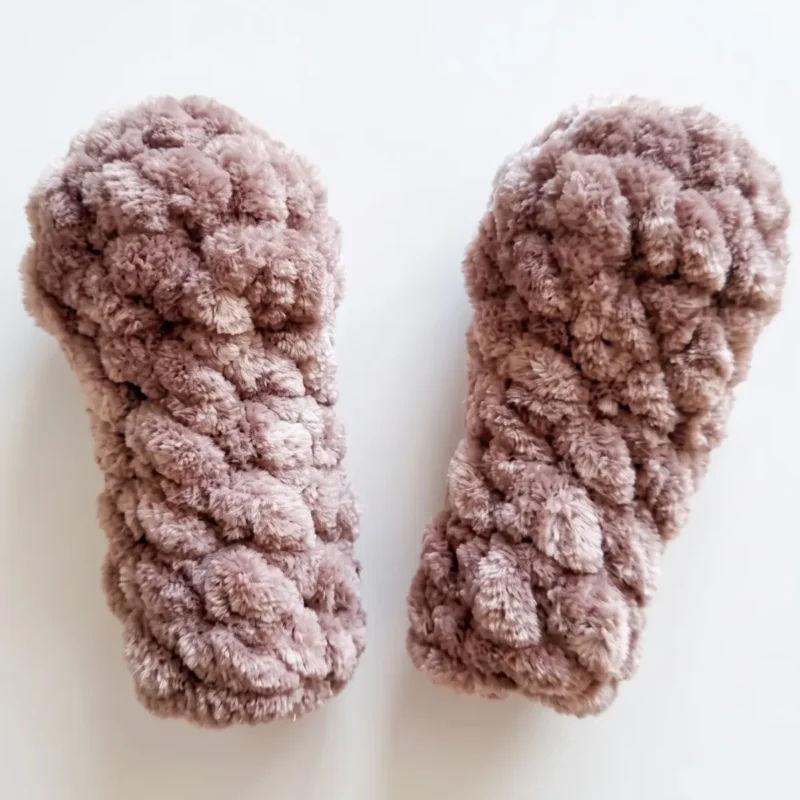
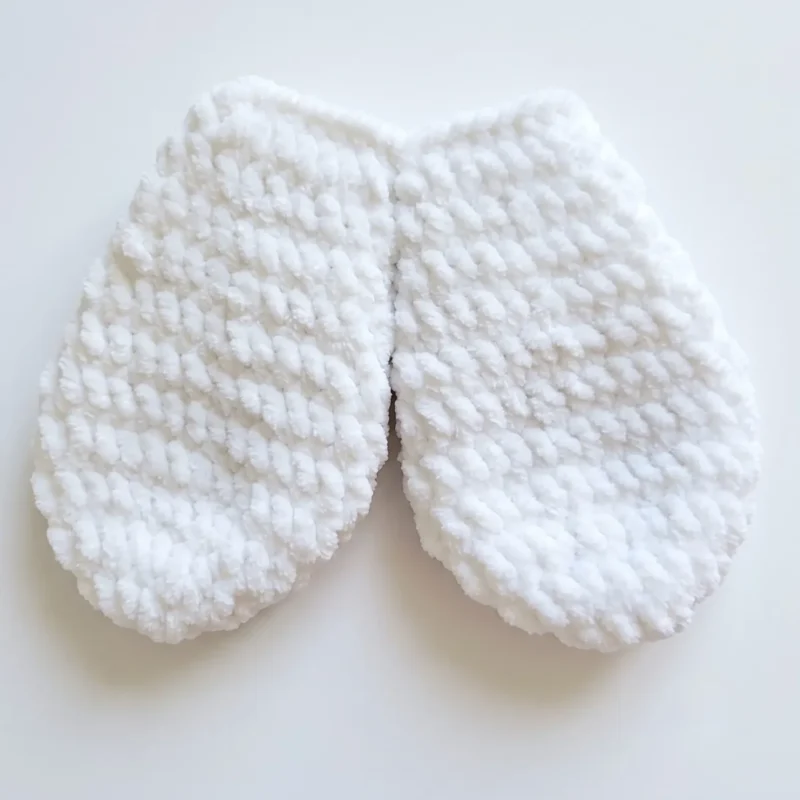
Putting It Together
- Step 1 Using the smooth Jeans-weight yarn and a long doll needle, shape the face: insert the needle at Point 1, located between Rnds 27–28, five stitches from the center of the face. Bring the needle out at Point 2, at the inner corner of one eye, catching plenty of stuffing.
- Step 2 Insert the needle back in at Point 3, at the outer corner of the same eye, then bring it out at Point 4, one stitch away from Point 1. Pull the yarn snug to set the eye indentation, tie off, and bury the ends inside the head.
- Step 3 Repeat the same face-shaping technique on the second eye.
- Step 4 Embroider the eye whites, eyelashes, eyebrows, nose, mouth, and cheeks using the smooth yarn.
- Step 5 Sew the Antennae to the top of the head using their yarn tails and a whipstitch.
- Step 6 Sew all 6 Legs onto the light-colored (Lemon) stripes of the body using their yarn tails.
- Step 7 Attach the finished Wings to the back of the head or body if they weren’t fully secured during the joining rounds, using a whipstitch and the reserved tail.
- Step 8 Weave in all remaining yarn ends throughout the piece.
Important Notes
💡 Stuff the body and head firmly in small handfuls as you go rather than all at once at the end, especially before closing up those spiral rounds — this prevents lumps and keeps the plush yarn looking smooth.
💡 Keep a stitch marker on the working loop at all times for the body and head, since these are worked in continuous spiral rounds with no chain-1 turn to mark your place.
💡 When working the six legs, make all of them before moving on to the body — batching identical small pieces keeps your tension consistent and saves you from constantly re-reading instructions.
💡 Use a long doll needle to sculpt the face after the safety eyes are in — a few careful stitches through the head can create subtle definition around the eyes for extra personality.
💡 Separate your plush and smooth yarn balls before starting so you're not hunting for the right yarn mid-round, especially since the pattern uses several colors of each type across different pieces.
💡 This pattern is written in US crochet terminology — if you're used to UK terms, double-check your stitch abbreviations (US sc = UK dc, US dc = UK tr, etc.) before you begin.
💡 Gauge is not critical for this project — it only affects the finished size and how much yarn you'll use, so work at a tension that gives you a firm, stuffing-resistant fabric rather than chasing an exact gauge swatch.
Common Mistakes and Fixes
Starting the legs, antennae, and wings
Pull the magic ring tail snug before working your first round of single crochets, and give it a second tug afterward — with only 4 rounds on the legs, a loose start is very noticeable and can leave a visible hole.
Losing track of the spiral round start on the body and head
Place a stitch marker in the first stitch of every round and move it up as you go; with 19 rounds on the body and 14 on the head, it's easy to drift off-count without this simple habit.
Overstuffing the body and head before checking overall shape
Stuff firmly but in stages, checking the silhouette every few rounds so the bee stays round and proportional rather than lumpy or misshapen — remember gauge affects finished size, so a firm, resistant fabric is the goal, not rock-hard stuffing.
Placing the safety eyes without pre-planning spacing
Insert the 25/28mm safety eyes but don't secure the backs yet — try a few positions, count stitches evenly on each side, and only lock them in place once you're happy with the symmetry.
Attaching the wings and stinger before
Finish stuffing and closing the body and head first, then attach the wings, six legs, antennae, and stinger last so you have full access to shape and adjust final placement.
What Makes It Good
- I adore this pattern because it's such a satisfying blend of texture and technique. Working the body in that plush YarnArt Dolce yarn gives you the fuzziest, most tactile fabric — it practically begs to be squeezed the moment you finish stuffing it. I love how the caramel and mocha stripes come together on the body using simple color changes, giving you that classic bee look without any complicated colorwork charts. The six legs and two antennae are quick little components that feel like instant wins, perfect for a coffee-break crochet session. Shaping the head with a long doll needle for the facial features is one of my favorite parts of any amigurumi project — it's where the personality really comes alive. And don't get me started on the wings; working them separately in smooth yarn creates a lovely contrast against the plush body, giving the whole piece a layered, dimensional feel. By the time you attach that curled stinger at the end, you'll have a genuinely charming little creature that looks far more impressive than the actual time investment required.
Frequently Asked Questions
What yarn weight works best for this Honeybee pattern?
The pattern calls for worsted/bulky plush yarn like YarnArt Dolce for the body and DK/worsted smooth yarn like YarnArt Jeans for facial details and wings. Mixing these two textures is what gives the finished bee its signature fuzzy-yet-defined look.
Can I make this pattern without plush yarn?
Yes, you can substitute a standard worsted weight acrylic or cotton yarn for the whole project, though the finished bee will have a smoother, less fuzzy texture. Just keep the same G-6 (4.0mm) hook and stitch counts for consistent sizing.
How much yarn do I actually need for one bee?
You'll need about 45g of Lemon/Light Yellow, 30g Caramel, 15g Mocha, and 40g Snow White in plush yarn, plus smaller amounts of Snow White, Bright Pink, and Black in smooth yarn. This is enough for the full body, head, legs, wings, antennae, and stinger.
Are safety eyes required, or can I embroider the eyes instead?
The pattern is designed around 25/28mm safety eyes with beveled pupils for a polished amigurumi look. If you're making this for a young child, you can embroider the eyes instead with black smooth yarn for a safer, no-hardware alternative.
How long does it realistically take to finish this bee?
Most intermediate crocheters finish the Honeybee in about 4 to 6 hours total, though this can be spread across a few evenings. The body and head rounds take the longest, while the legs, antennae, wings, and stinger are quick to whip up.
Original pattern: https://amigurumicorner.com/honeybee-amigurumi-crochet-pattern/

About the Author
Tamsin Okoro Who writes the patterns at Yarn Gallery, how a pattern gets from the hook to the page, and what this site will never do.