About This Pattern
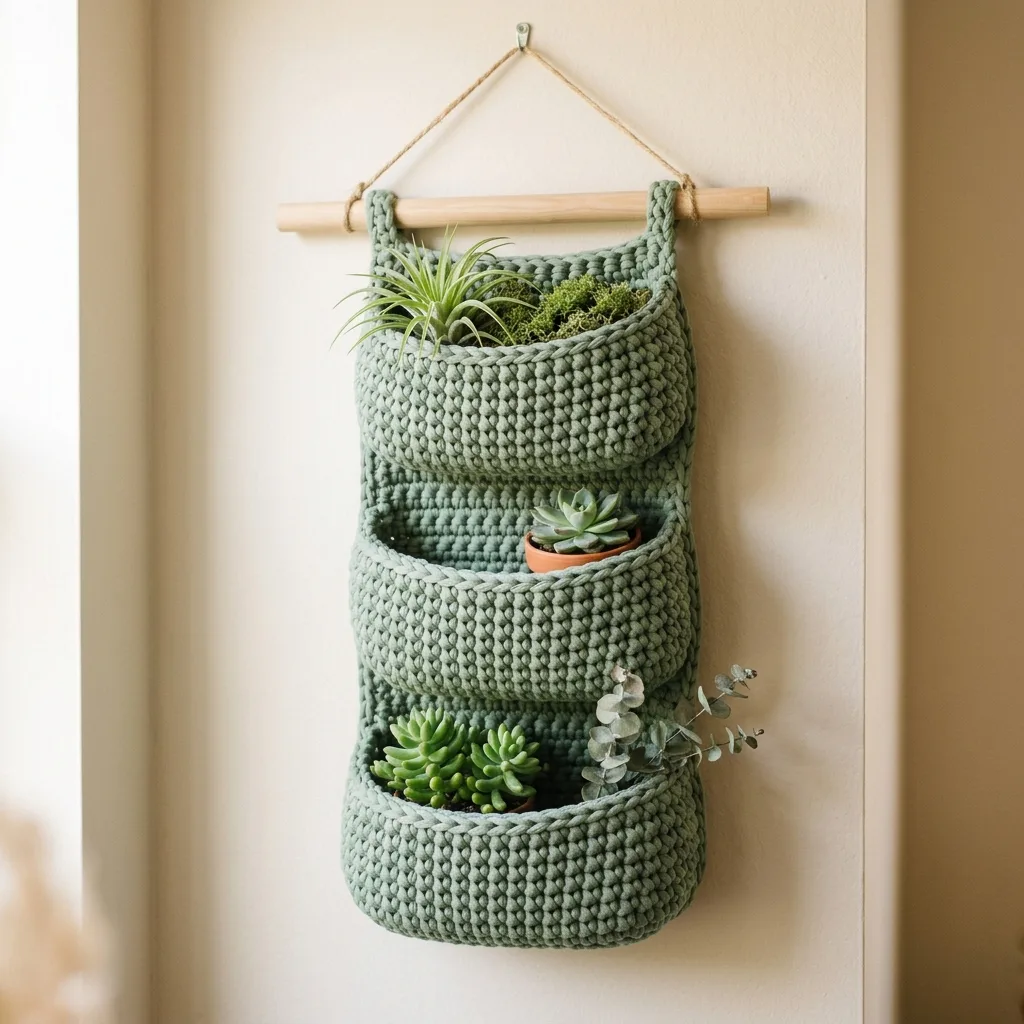
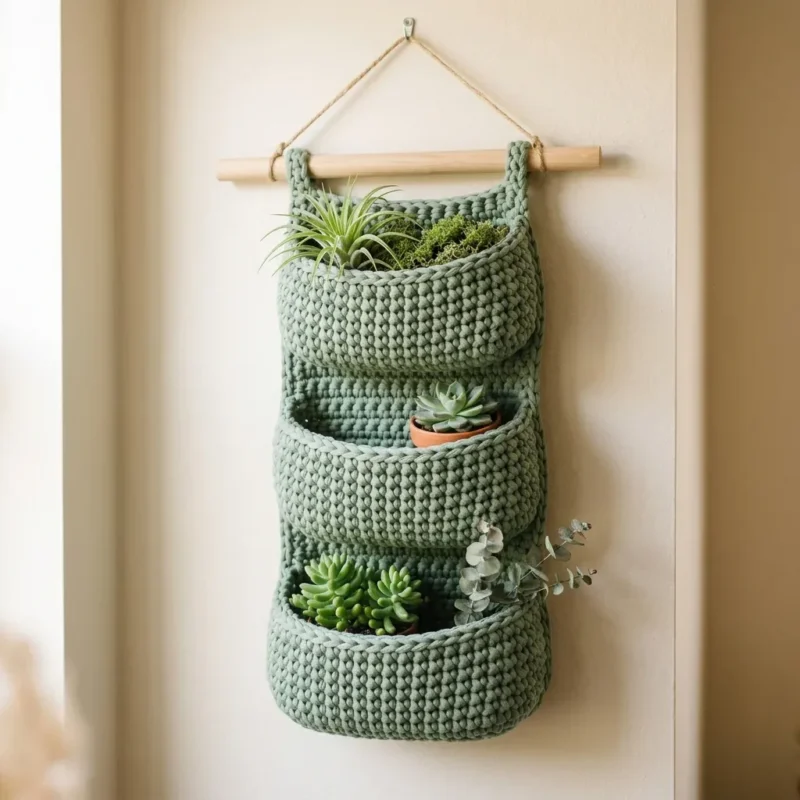
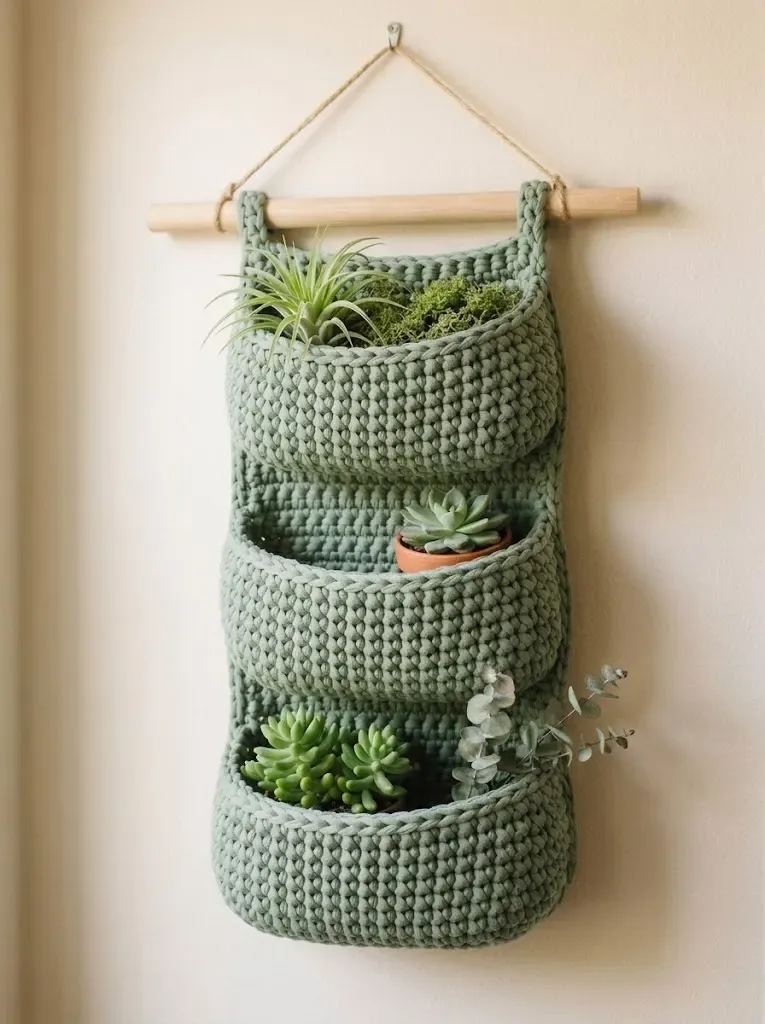
This is a tiered wall planter, built from a backing panel and two small loops. It holds plants against a wall, no shelf needed. I'd set this between dinner and dishes, maybe two evenings total. It needs sturdy cotton cord, a dowel to test the loops, and patience for the increase rounds. Nothing fussy, just steady single crochet and a fit check partway through.
In the basket
Abbreviations
- ch
- chain
- st
- stitch
- sts
- stitches
- sl st
- slip stitch
- sc
- single crochet
- inc
- increase
Sage green tiered wall planter crochet pattern
First Loop
- Round 1Ch 1, turn. Sc in first 3 sts only. (3 sc)
- Rounds 2–8Ch 1, turn. Sc in each st across. (3 sc) Fold this strip over your dowel to check the fit. It should wrap around comfortably with a little ease. Adjust rows if needed.Sl st the end of this strip to the top corner of your backing panel, creating a loop.Fasten off.
Second Loop
Rejoin yarn in the 10th st of the backing panel’s top edge (counting from where you started the first loop).
- Round 1Sc in this st and next 2 sts. (3 sc)
- Rounds 2–8Ch 1, turn. Sc in each st across. (3 sc) Sl st to attach and form the second loop.Fasten off and weave in ends.
Foundation
- Round 1Ch 1, sc in each ch around. (16 sc) Place marker in first st.
- Round 2Sc in each st around. (16 sc)
- Round 3[Sc in next 3 sts, inc in next st] 4 times. (20 sc)
- Rounds 4–5Sc in each st around. (20 sc)
- Round 6[Sc in next 4 sts, inc in next st] 4 times. (24 sc)
- Rounds 7–10Sc in each st around. (24 sc) Now here’s the important part. On Round 11, you’ll begin attaching this pocket to your backing panel.
- Round 11Attachment Round Sc in first 12 sts of the pocket. Now, holding the pocket against the backing panel at the marked position, sl st through both the next pocket st AND the corresponding st on the backing panel. Continue sl st through both layers for 12 sts total.
- Rounds 12–14Continue working around the open portion only (the front half of the pocket), working sc across the front 12 sts, then sl st across the 12 sts attached to the backing.Fasten off and weave in ends.
Foundation
- Round 1Ch 1, sc in each ch around. (20 sc) Place marker.
- Round 2Sc in each st around. (20 sc)
- Round 3[Sc in next 4 sts, inc in next st] 4 times. (24 sc)
- Rounds 4–5Sc in each st around. (24 sc)
- Round 6[Sc in next 5 sts, inc in next st] 4 times. (28 sc)
- Rounds 7–12Sc in each st around. (28 sc)
- Rounds 13–16Attachment Rounds Sc in first 14 sts, sl st through both pocket and backing panel for remaining 14 sts.Fasten off and weave in ends.
Foundation
- Round 1Ch 1, sc in each ch around. (24 sc) Place marker.
- Round 2Sc in each st around. (24 sc)
- Round 3[Sc in next 5 sts, inc in next st] 4 times. (28 sc)
- Rounds 4–5Sc in each st around. (28 sc)
- Round 6[Sc in next 6 sts, inc in next st] 4 times. (32 sc)
- Rounds 7–14Sc in each st around. (32 sc)
- Rounds 15–18Attachment Rounds Sc in first 16 sts, sl st through both pocket and backing panel for remaining 16 sts.Fasten off and weave in ends.
Hook
8.0mm (L/11) crochet hook Size down to 7.0mm if your stitches look loose after your gauge swatch
Notions
Wooden dowel, 12 inches long and approximately 0.5 inches in diameter Tapestry needle for weaving ends Stitch marker Scissors
Jute twine or macrame cord for hanging (approximately 24 inches)
Gauge
10 sc and 11 rows = 4 inches in single crochet Gauge matters here for structure. Take time to check yours.
Chain (ch)
Slip stitch (sl st): Insert hook, yarn over, pull through stitch and loop on hook in one motion Working in continuous rounds
Increasing and decreasing Basic shaping and construction
If you’ve made a simple basket or bag before, you’re absolutely ready for this project. The construction might look complex in the finished photo, but I promise you’ll understand the logic once we break it down step by step.
Resize for different uses
I really hope you love making this sage green tiered wall planter as much as I enjoyed designing it. It’s one of those projects that looks impressive hanging on your wall, but you’ll know just how simple the construction really was. Thank you for choosing this pattern for your next crochet project.
If this wall planter is calling your name but you’re not quite ready to start today, go ahead and save this pattern to your Pinterest boards so you can find it easily later. And please, I would absolutely love to see your finished planters. Drop a comment below when you make one, or tag me on Instagram. Seeing your creations honestly makes my whole week.
More pictures
Before the first stitch
- Check you have the full 250 yards before starting the foundation rounds.
- Keep your dowel nearby to test loop fit after row 8.
- Place a stitch marker at round 1 of the foundation; you'll need it.
Minutes per piece
- First and Second Loops about 30 minutes because each loop is only 2 rounds, but fitting takes care
- Foundation panels about 3-4 hours because three foundations with 7-8 rounds each, plus increase shaping
Other yarns that work
- 100% cotton, super bulky weight closest to the original; firm drape, same 8.0mm hook, no stretch under plant weight
- t-shirt yarn, super bulky weight softer drape, slightly larger stitches, may need the 7.0mm hook for a tighter gauge
Where it ends up
- A kitchen wall, paired with a small trailing plant and a sunny window.
- An entryway, paired with dried stems for a low-care welcome.
- A reading nook, paired with a single potted herb within reach.
Small notes
- My gauge swatch told me to size down to 7.0mm; check yours before round 1.
- Cotton holds its shape under plant weight; acrylic will stretch and sag.
- Fold each loop over the dowel before fastening off, so the fit is right.
Little questions
Can I use regular worsted weight yarn instead?
I wouldn't recommend it here. The pattern is sized for super bulky cord, so worsted would leave gaps and a loose backing panel.
Why does the pattern mention sizing down to 7.0mm?
That's for stitches that look loose after your gauge swatch. I always swatch first, then decide between 8.0mm and 7.0mm.
How do I know my loops are the right size?
Fold the strip over your dowel after row 8 and check the fit. It should wrap with a little ease, not pull tight.
Do the three foundation rounds make separate tiers?
Yes, each foundation builds its own round count, from 7 to 8 rounds. They form the stacked pockets of the planter.
Original pattern: https://bunnypatterns.com/sage-green-tiered-wall-planter-free-crochet-pattern/

About the Author
Tamsin Okoro Who writes the patterns at Yarn Gallery, how a pattern gets from the hook to the page, and what this site will never do.