About This Pattern
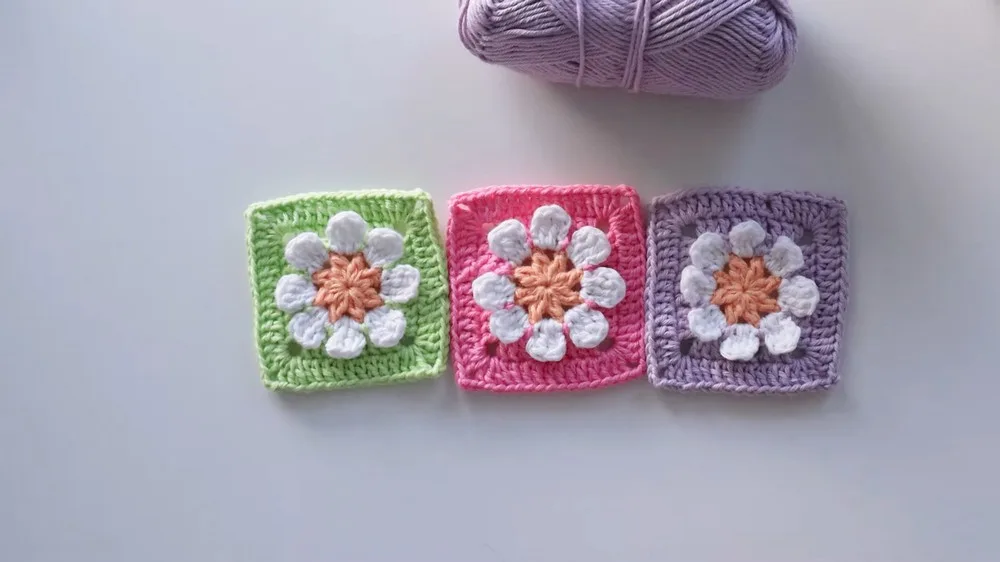
This 3D Daisy Flower Granny Square takes the classic granny square we all know and love and gives it a fresh, dimensional twist. Instead of a flat center, you'll build a raised daisy with petals that pop right off the surface of the square. It's the kind of motif that makes people stop and ask 'wait, how did you DO that?' Perfect for crocheters who love florals and want to level up their granny square game without a steep learning curve.
The magic here happens through simple techniques layered together: working in the round, building petal shapes with basic stitch combinations, and repeating around a circle to create the full daisy bloom. You don't need fancy stitches or complicated shaping—just patience and attention as you form each petal one at a time. This is genuinely approachable for beginners, especially if you've made a standard granny square before. Expect to spend somewhere around 2-3 hours from your first magic ring to your last woven-in end.
When you're done, you'll have a small, textured square with a daisy that truly stands up in 3D relief—cotton yarn gives it lovely stitch definition and a crisp, clean finish. These squares are wonderful worked in multiples for a daisy-covered blanket, or make just one to embellish a tote bag, pillow, or headband. They also make an incredibly sweet handmade gift for anyone who loves flowers, gardens, or all things springtime.
- Start with a magic ring and work the main pattern round to establish the base of your daisy center.
- Keep your tension even and snug so the foundation stays tight and ready to support raised petals.
- Move into forming the daisy petals, working each one individually to build up its dimensional shape.
- Focus on consistent stitch tension here so every petal stands up at the same height around the circle.
- Repeat the petal motif around the circle, counting carefully to keep spacing even on all sides.
- Watch that each petal repeat lines up neatly with the last, keeping the daisy symmetrical overall.
- Once the circle is complete, secure your final stitches and weave in any remaining yarn tails.
- Give the finished square a light block if needed to help the petals sit crisp and upright.
Materials
Yarn
Crochet Hook
Additional Tools
Crochet Abbreviations
- ch
- chain
- st
- stitch
- sl st
- slip stitch
- sc
- single crochet
- hdc
- half double crochet
- dc
- double crochet
- inc
- increase
- dec
- decrease
- mr
- magic ring
- fo
- finish off
3D Daisy Flower Granny Square Crochet Pattern for Beginners
Main Pattern
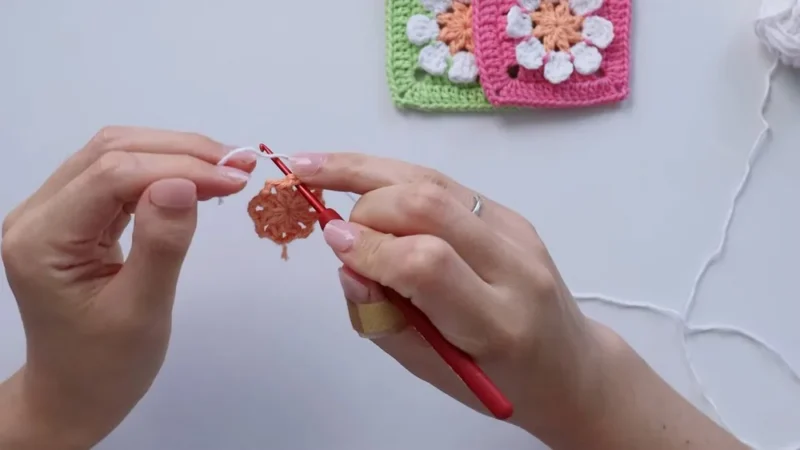
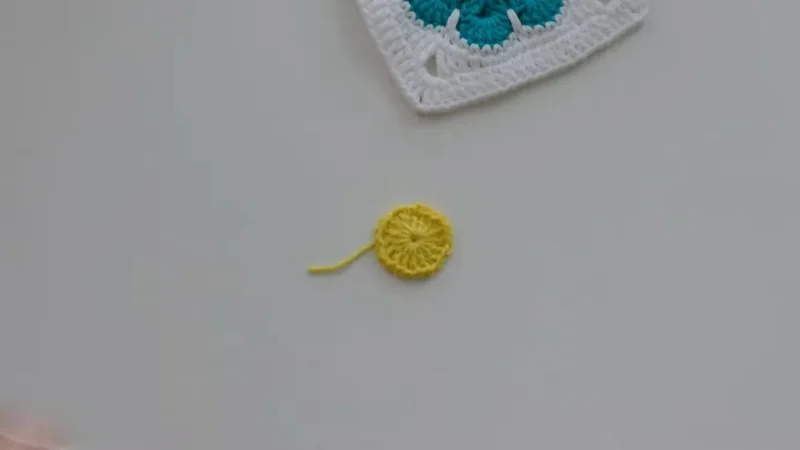
- Round 1Creating the Daisy Center Begin with a Magic Ring: Start by forming a magic ring and chaining three.
Form the Daisy Petals
Each petal is created using double crochet stitches and chains.
Alternate between complete and incomplete double crochets to shape the petals.
Complete the First Round: Repeat the pattern to make a total of eight petals, joining to complete the round.
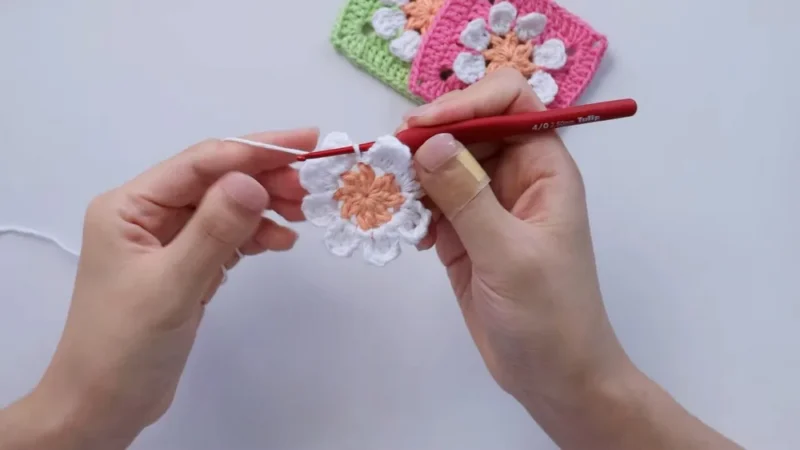
- Round 2Adding 3D Daisy Petals Start in Any Chain Space: Slip stitch into a chain space to prepare for the next round.Create Elevated 3D Petals: Chain three and add treble crochets for each petal into the chain spaces from Round 1.Secure each petal by slip stitching into the chain space.
Repeat Around the Circle
Complete eight petals in total, ensuring uniformity and structure.
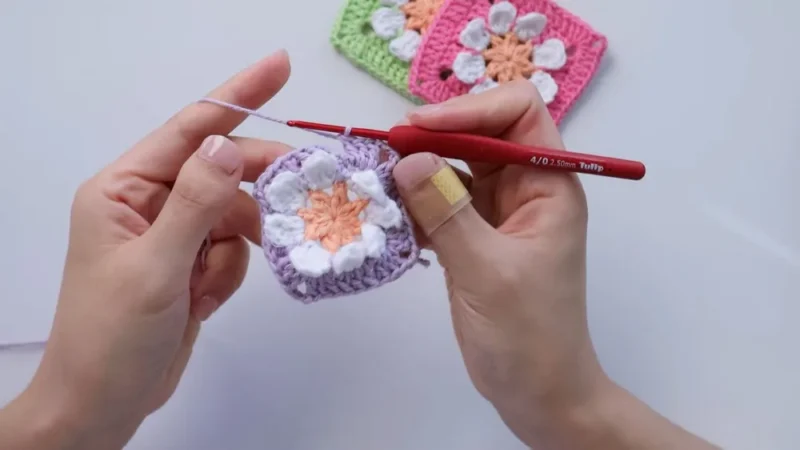
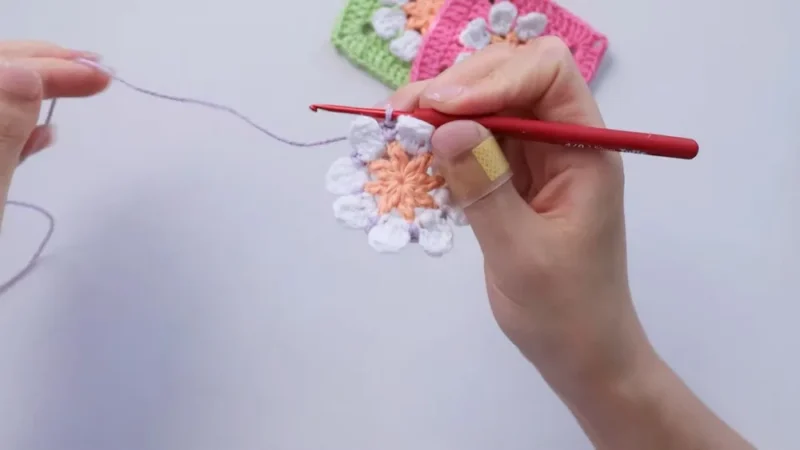
- Round 3Adding Space Behind the Daisy Single Crochet Between Petals: Begin in the space between two petals with a single crochet.Create Chain Loops: Chain to form loops in the background for the upcoming square shaping.
More photos
Important Notes
💡 Use a 2.5mm hook exactly as specified—sizing up will make your stitches too loose to hold the 3D petal shape properly.
💡 Six skeins of cotton yarn suggests this pattern is often made in a multi-color set, so plan your palette (petals, center, background) before you start.
💡 A locking stitch marker on your first stitch of each round makes it much easier to track where the Repeat Around the Circle round begins and ends.
💡 Weave in ends from color changes as you go rather than saving them all for the end—cotton yarn tails can be slippery and are easier to secure while stitches are fresh.
💡 Block your finished square lightly with steam or a light misting of water to help the petals sit even more crisply upright.
💡 Keep a yarn needle handy throughout, not just at the end—it's useful for weaving in the center round tail before starting the petals so it doesn't get tangled.
Common Mistakes and Fixes
Pulling the magic ring too loose at the start, leaving a visible hole in the center of the daisy.
Cinch the magic ring closed firmly before working your first round, and give it a second tug after your first few stitches to make sure it stays tight and invisible.
Losing track of which repeat of the petal round you're on, resulting in uneven petals around the circle.
Place a stitch marker at the start of each petal repeat, or count aloud as you go, so you always know exactly where you are in the Repeat Around the Circle round.
Working the petals too loosely, causing them to lie flat instead of standing up in 3D.
Keep your tension slightly firmer than usual for the petal stitches specifically—this is what gives the daisy its raised, dimensional pop off the surface of the square.
Choosing a fuzzy or highly textured yarn that hides the petal shaping.
Stick with a smooth cotton yarn as the pattern suggests; it shows off every petal edge crisply, which is essential for this motif to read clearly as a daisy.
Using a hook that's too large for the 2.5mm recommendation, causing loose, gappy stitches in the center round.
Match your hook size to your yarn weight carefully—if your stitches feel sloppy, size down until the fabric feels dense enough to support the petals standing upright.
Rushing the transition between the main pattern round and the petal-forming round without checking stitch placement.
Pause after the Main Pattern round to count your stitches and confirm even spacing before starting to Form the Daisy Petals, so your petals land symmetrically around the circle.
What Makes It Good
- I am obsessed with how this little square tricks your eyes—it looks so much more complicated than it actually is! The magic ring start keeps your center tight and tidy, and forming the daisy petals round by round is honestly one of the most satisfying parts of any crochet project I've made this year. There's something so rhythmic about repeating the petal motif around the circle; once you get the hang of the first two or three, your hands just know what to do. I love using cotton yarn for this pattern specifically because it holds its shape beautifully—those petals stay perky and dimensional instead of flopping over like they might in a squishier acrylic. With a 2.5mm hook, your stitches stay nice and compact, which really shows off the texture of the daisy against the smoother granny square background. Whether you're making one to sew onto a bag or a whole stack for a blanket, this pattern gives you that irresistible 'I made this' moment. It's simple enough for a relaxing evening project but impressive enough to show off to group.
Frequently Asked Questions
What yarn weight works best for this 3D daisy granny square?
A worsted weight cotton yarn is ideal since it holds its shape well and gives the petals crisp definition. Cotton is specifically recommended because it's less stretchy than acrylic, helping the daisy stay raised and dimensional.
Can I make this pattern with acrylic yarn instead of cotton?
Yes, acrylic will still work and the pattern will still form correctly. Just expect the petals to be a bit softer and less crisply structured than they would be in cotton.
How many of these squares do I need for a blanket?
That depends entirely on your desired blanket size and how large each square turns out with your yarn and hook choice. Making a few test squares first will help you calculate exactly how many you'll need.
Is this pattern really beginner-friendly?
Yes, it's designed for beginners who already have basic stitch and magic ring experience. The petal-forming technique is repetitive once you learn the first one, making it approachable even for newer crocheters.
Why does my daisy look flat instead of 3D?
This usually happens when the petal stitches are worked too loosely, allowing them to lie down instead of standing up. Try tightening your tension slightly on the petal round for a more raised, dimensional result.
Original pattern: https://redagapeblog.com/crochet-3d-daisy-flower-granny-square/

About the Author
Tamsin Okoro Who writes the patterns at Yarn Gallery, how a pattern gets from the hook to the page, and what this site will never do.