About This Pattern
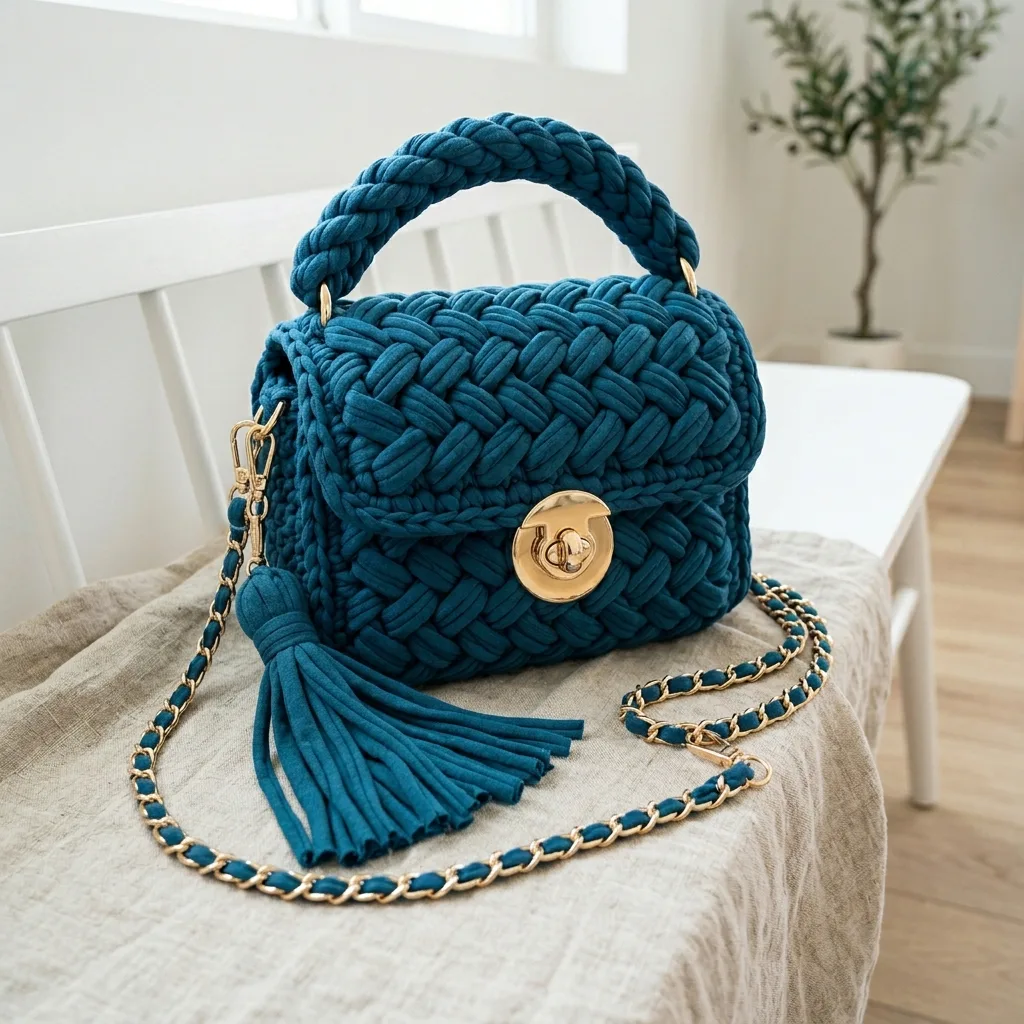
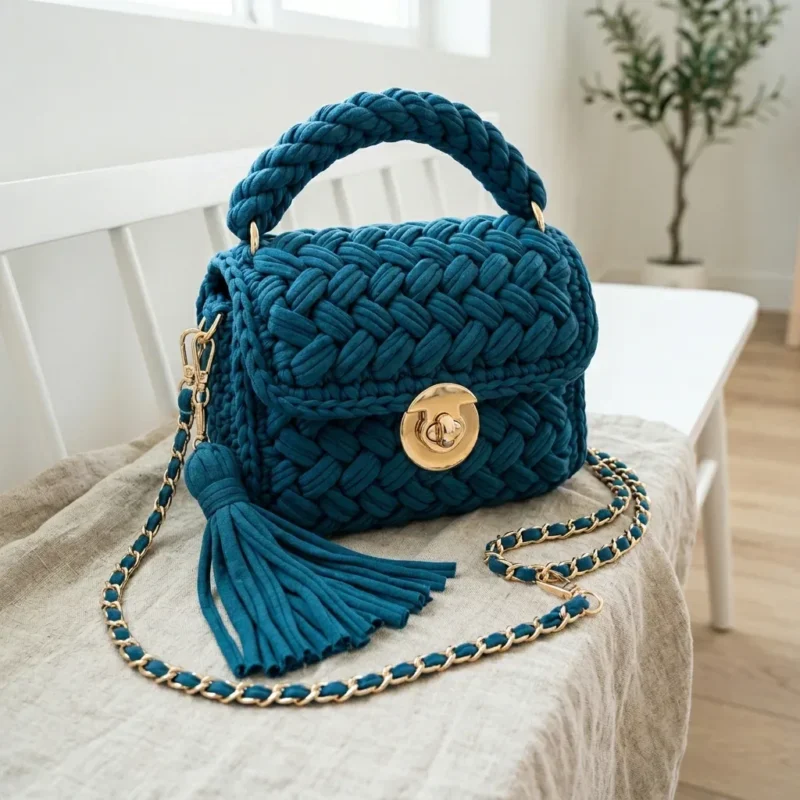
This purse is a weekend project, not an evening one. The woven texture comes from alternating front and back post stitches, round after round. It needs a thick, flat t-shirt yarn to hold its shape. The hardware turns a simple shell into something you can actually carry. I like how the fabric feels dense under my fingers, almost like felt. It sits well on a table while you work, no lapful of stitches.
In the basket
Yarn
Hook
Hardware
Tools
Abbreviations
- ch
- chain
- st
- stitch
- sts
- stitches
- sl st
- slip stitch
- sc
- single crochet
- hdc
- half double crochet
- inc
- increase
- mr
- magic ring
- FPdc
- front post double crochet
- BPdc
- back post double crochet
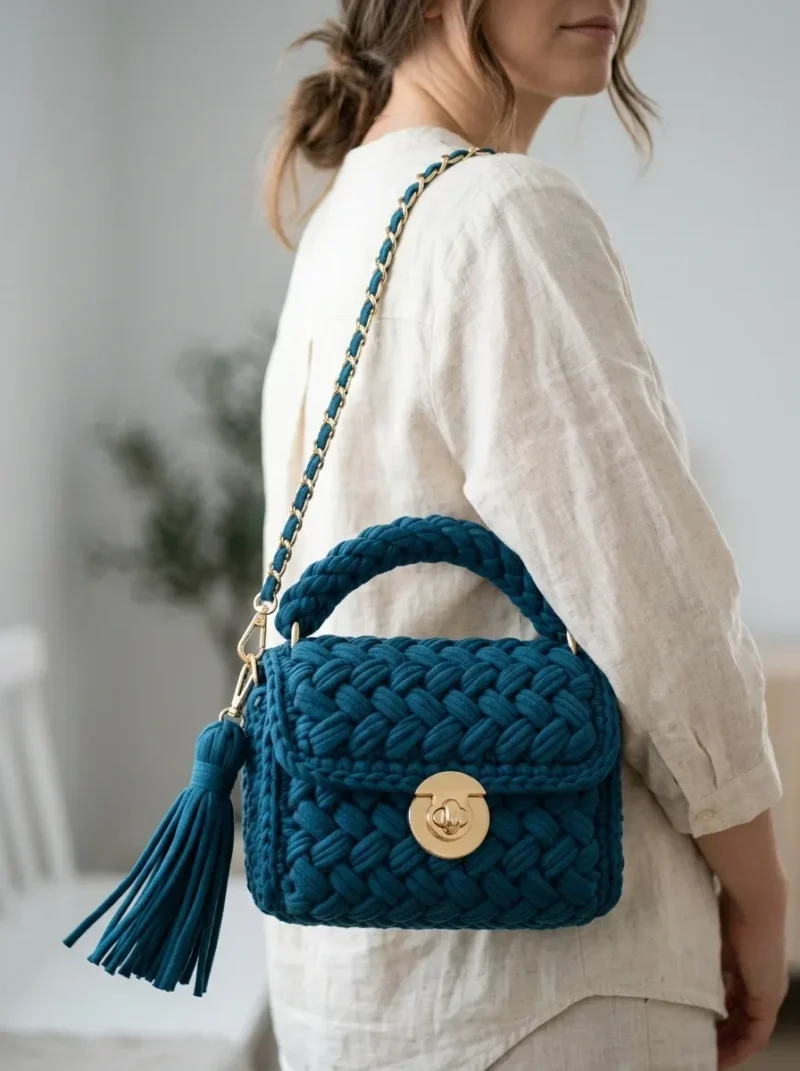
Ocean teal woven purse made with t-shirt yarn
Setup Round
Place a stitch marker at the beginning of your round.
- Round 1Ch 2 (counts as first hdc here and throughout). Hdc in each st around. Sl st to top of ch-2 to join. (52 hdc)
- Round 2Establish Woven Pattern Ch 2. *FPdc around next st, BPdc around next st* repeat around. Sl st to join. (52 sts)
This is where the magic happens. Your FPdc stitches will pop forward, and your BPdc stitches will recede, creating that woven texture.
- Round 3Ch 2. *BPdc around FPdc from previous round, FPdc around BPdc from previous round* repeat around. Sl st to join. (52 sts)Do you see it? By reversing which stitches get front posts and which get back posts, you create that basketweave effect.
- Round 4through 14: Continue alternating the pattern. On even rounds, work FPdc over the stitches that were BPdc, and BPdc over the stitches that were FPdc. On odd rounds, reverse again. (52 sts each round)After Round 14, your body should measure approximately 5 to 6 inches tall.(52)
- Round 15Top Edge Ch 1. Sc in each st around. Sl st to join. (52 sc) Fasten off and weave in your end.
Hook
8mm or 9mm crochet hook (US L/11 or M/N/13)
Your gauge may vary with t-shirt yarn, so go up or down as needed
Hardware
1 twist lock clasp (also called turn lock or purse lock), gold finish 2 D-rings, 1 inch (2.5 cm), gold finish 2 swivel lobster clasps, gold finish
1 chain strap, approximately 47 inches (120 cm), gold finish with woven yarn option Tools: Tapestry needle Scissors Stitch markers
Ruler or measuring tape Pencil or fabric marker for hardware placement Small screwdriver (if your twist lock requires it)
Chain (ch)
- Round 1Single Crochet (sc):Insert hook into stitch, yarn over, pull up a loop (2 loops on hook), yarn over, pull through both loops. This is your basic building block stitch.
- Round 2Half Double Crochet (hdc):Yarn over, insert hook into stitch, yarn over, pull up a loop (3 loops on hook), yarn over, pull through all 3 loops at once.
- Round 3Slip Stitch (sl st):Insert hook into stitch, yarn over, pull through both the stitch and the loop on your hook in one motion. Used for joining and moving across stitches.
- Round 4Front Post Double Crochet (FPdc):
- Round 5Yarn over, insert your hook from front to back to front around the post (the vertical part) of the stitch in the row below, yarn over, pull up a loop, then complete as a regular double crochet. This pushes the stitch forward toward you.
- Round 6Back Post Double Crochet (BPdc):
- Round 7Yarn over, insert your hook from back to front to back around the post of the stitch in the row below, yarn over, pull up a loop, then complete as a regular double crochet. This pushes the stitch backward away from you.
- Round 8Increase (inc): Work 2 stitches into the same stitch.
- Round 9Magic Ring (MR):
- Round 10An adjustable starting loop that can be pulled tight to close completely. If you are not comfortable with magic rings, you can chain 4 and slip stitch to join, then work your first round into the center.
Target gauge
If your swatch is too loose, go down a hook size. Too tight? Go up. A loose gauge will result in a floppy bag that does not hold its shape.
Edging
Fasten off, leaving a long tail for sewing.
My hardware keeps spinning
The flap does not lay flat: Block your flap before attaching. Wet it lightly, shape it, and let it dry completely.
Neutral tones
Skip the chain: Use only the braided handle for a classic top-handle style
More pictures
Before the first stitch
- Check you have close to 200 yards of t-shirt yarn before casting on.
- Read Round 2 twice. The FPdc and BPdc alternation sets the whole pattern.
- Place a stitch marker at the start of Round 1. You will need it for every round after.
Minutes per piece
- Setup rounds about 2 hours, because the woven stitch pattern needs close attention each round
- Hardware attachment about 1 hour, because D-rings and clasps need careful, even placement
Other yarns that work
- Cotton tape yarn, similar thickness to t-shirt yarn Keeps the same drape and hook size, but may show more surface texture.
- Bulky cotton or acrylic blend, single strand Lighter purse overall, but you will likely need a smaller hook and a tighter gauge for sturdiness.
Where it ends up
- An everyday carry bag for essentials, paired with a simple outfit.
- A sturdy market tote for small errands, paired with flat sandals.
- A structured evening bag on the chain strap, paired with a plain dress.
Small notes
- Use an 8mm or 9mm hook. T-shirt yarn is thick, and a smaller hook will fight you.
- Keep your stitch marker in place at the round start. The join points get easy to lose in this texture.
- Gauge will vary by yarn batch. Swatch a small woven round first, then adjust hook size if the fabric feels stiff or loose.
Little questions
Why does my woven texture look flat instead of raised?
Your FPdc and BPdc stitches may be too loose. Try a slightly smaller hook, or pull your t-shirt yarn a touch tighter on each post stitch.
Can I use a different color of t-shirt yarn?
Yes, any color works the same way. The teal shown is just a preference, not a requirement.
Do I need the exact chain strap length?
No, 47 inches is just the sample length. Choose a chain strap that suits how you like to wear a bag.
What if my twist lock hardware needs tools I don't have?
Some twist locks need a small screwdriver to fasten the back plate. Check your specific hardware kit before you start assembly.
Original pattern: https://bunnypatterns.com/ocean-teal-woven-purse-on-linen-free-pattern/

About the Author
Tamsin Okoro Who writes the patterns at Yarn Gallery, how a pattern gets from the hook to the page, and what this site will never do.