About This Pattern
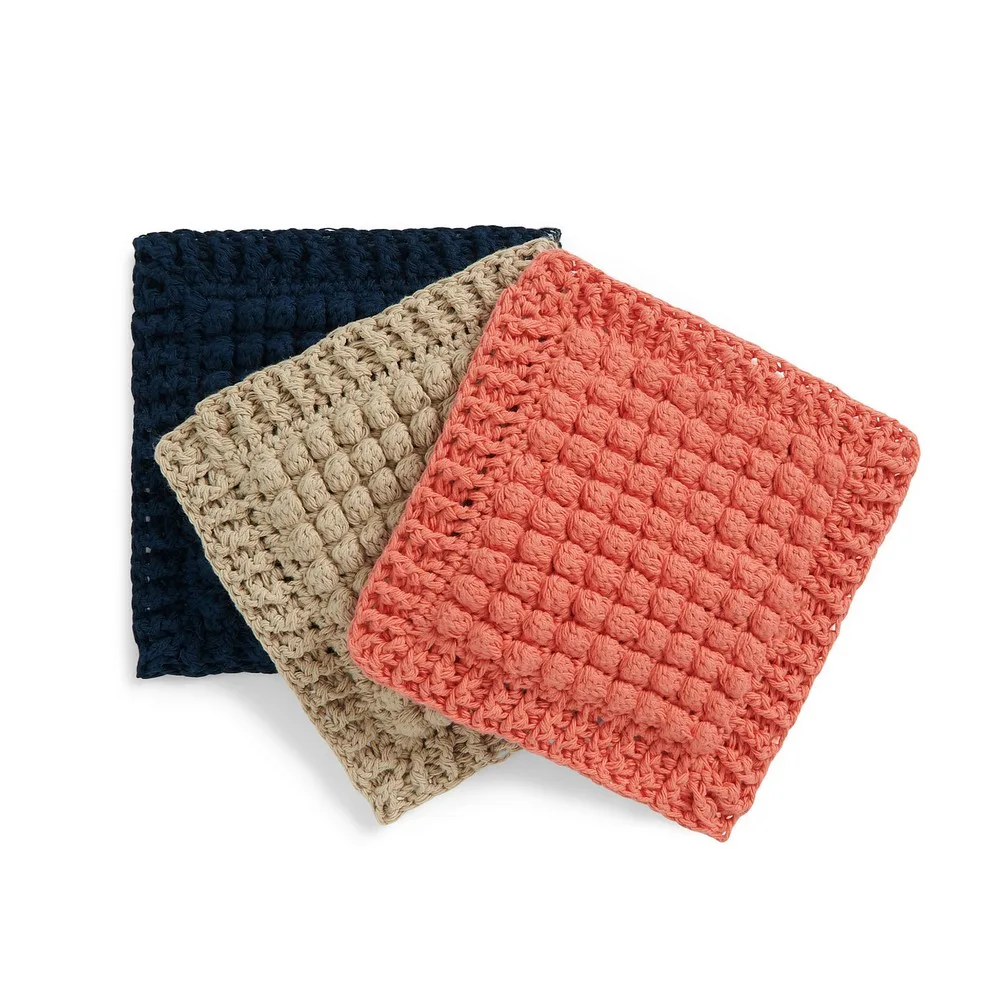
I love a hot pad that earns its place on the table. This one starts as two bobble-stitch squares, then joins into one thick pad. Cotton yarn keeps it sturdy and washable. The bobble texture grips a warm pot without sliding. Joining rounds add ribbed post stitches around the edge, so it lays flat. It fits neatly on a kitchen counter, ready between dinner and dessert. All it needs is a hook, four stitch markers, and a quiet hour or two.
In the basket
Skill Level
Measurements
Gauge
Abbreviations
- Alt
- Alternate(ing)
- Approx
- Approximately
- Beg
- Beginning
- Bobble
- (Yoh and draw up a loop. Yoh and draw through 2 loops on hook) 4 times in the next stitch. Yoh and draw through all 5 loops on hook.
- Ch
- Chain(s)
- Dc
- Double crochet
- Dcbp
- Yoh and draw up a loop around the post of the next stitch at the back of the work, inserting hook from right to left. (Yoh and draw through 2 loops on hook) twice.
- Dcfp
- Yoh and draw up a loop around the post of the next stitch at the front of work, inserting hook from right to left. (Yoh and draw through 2 loops on hook) twice.
- PM
- Place marker
- Rep
- Repeat
- Rnd(s)
- Round(s)
- RS
- Right side
- Sc
- Single crochet
- Sl st
- Slip stitch
- St(s)
- Stitch(es)
- WS
- Wrong side
- Yoh
- Yarn over hook
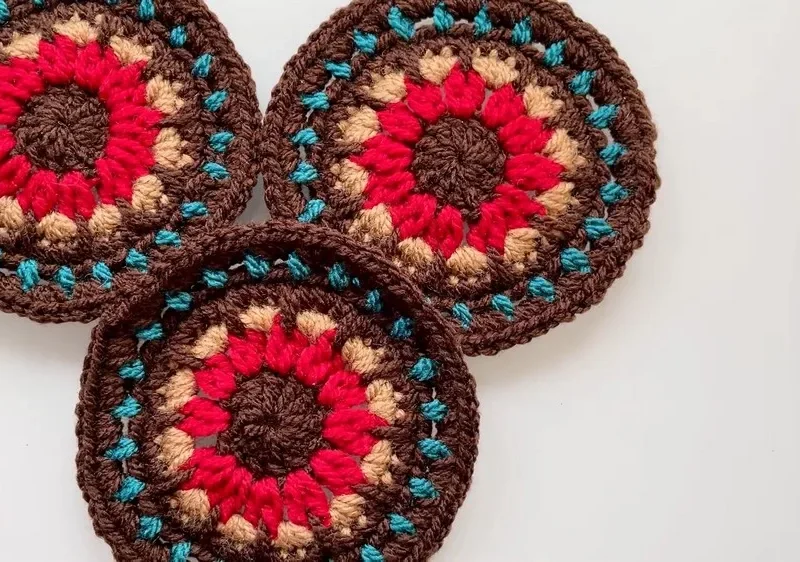
Textured bobble hot pads in warm autumn hues
Hot Pad Squares (make 2)
- Row 1(WS): 1 sc in 2nd ch from hook. 1 sc in each ch to the end of the chain. Turn. (21 sc)
- Row 2Ch 1. 1 sc in the first sc. *Bobble in the next sc. 1 sc in the next st. Rep from * to the end of the row. Turn.
- Row 3Ch 1. 1 sc in each st to the end of the row. Turn. Repeat 2nd and 3rd rows 8 times more. Fasten off.
Before the first stitch
- Check you have two balls, or about 155 yards, before starting.
- Swatch first to confirm 13 sc and 14 rows equal 4 inches.
- Read the second row of the square once, so the bobble placement makes sense before you begin.
Minutes per piece
- Hot Pad Squares (make 2) about 3 hours because each square repeats its two-row pattern eight times
- Assembly (joining and ribbing rounds) about 1 hour because the post-stitch ribbing goes around the whole edge
Other yarns that work
- 100% cotton, worsted weight, any brand keeps the same gauge and heat resistance, though colors will shift; stay with the H/8 hook.
- Wool-blend, worsted weight gives a softer drape but less heat resistance, so use it as a trivet only; you may need a smaller hook to match gauge.
Where it ends up
- Sits under a hot pan on the dinner table.
- Pairs well with a matching table runner in the same colors.
- Doubles as a set of oversized coasters for large mugs.
Joining up
- Step 1 Place one Square on top of the other with WS facing and align. Join yarn with sl st to any corner.
- Step 2 1st rnd (joining rnd): Ch 2. (3 dc in corner. Work 1 dc in each of the next 21 sts. 3 dc in corner. PM on center st. Work 21 dc evenly along the edge to the next corner) twice. Join with sl st to the first dc.
- Step 3 2nd rnd: Ch 2. Working 1 st around each unmarked st and 3 sts around each marked st, work in alt (Dcfp. Dcbp) ribbing, working 3 sts around each marked st. PM on the center st. Join with sl st to the first dc.
- Step 4 3rd rnd: As 2nd rnd. Fasten off.
Small notes
- The chain 2 at the start of a round does not count as a stitch, so don't skip it.
- Keep your tension even across all 21 stitches, or the two squares won't match.
- Use the four locking stitch markers to track each marked corner through both assembly rounds.
Little questions
Why are there two squares before assembly?
Each hot pad is made of two bobble squares stacked together. Joining them adds thickness for real heat protection. Working two flat pieces first also keeps the bobble pattern even.
What does the bobble stitch do here?
The bobble adds texture and thickness to the front of the square. It repeats every other stitch, row after row. That texture helps the finished pad grip hot cookware.
Why use locking stitch markers?
The joining round marks one stitch at each corner. Locking markers keep those corners visible through two rounds of assembly. Without them, it's easy to lose track during the ribbing round.
Can I skip the ribbing round and still get a hot pad?
The first joining round only holds the two squares together at the edge. The second round adds ribbed post stitches for structure and a neat finish. Skipping it leaves the edge looser and less durable.
Original pattern: https://crocheteverything.com/crochet-fall-colors-hot-pads-pattern/

About the Author
Tamsin Okoro Who writes the patterns at Yarn Gallery, how a pattern gets from the hook to the page, and what this site will never do.