About This Pattern
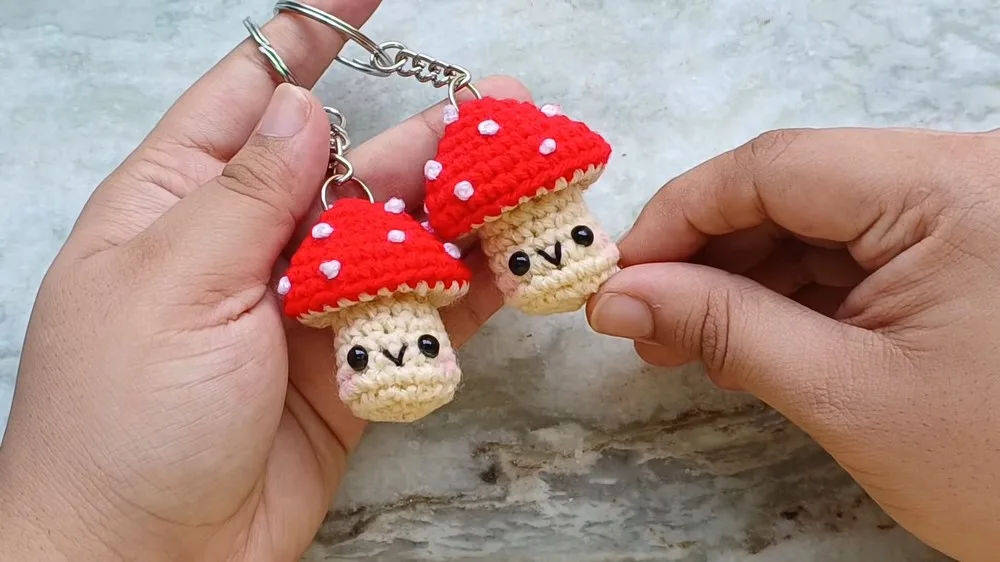
This little mushroom fits in a palm. It works up in red, white, and tan, with black for the face. I like to start it after dinner, when the light is soft and the house is quiet. The cap builds fast in four rounds. The gills and stem take a little more care. It needs a 3 mm hook, small amounts of yarn, and a keychain blank if you want it to travel on a bag.
In the basket
Abbreviations
- sc
- single crochet
- dc
- double crochet
- tog
- together
Little mushroom amigurumi keychain pattern
Mushroom Cap
Start with a magic circle using red yarn.
- Round 1Chain 1 (does not count as a stitch), then make 6 single crochets (sc) into the magic circle. Pull the tail to cinch the circle closed. (6 sc)
- Round 2Increase Round Increase in each stitch around (two sc in each stitch). (12 sc)For Round 3: 1 sc in the next three stitches, increase in the fourth stitch. Repeat - two more times. (15 sc)
- Round 41 sc in the next four stitches, increase in the fifth stitch. Repeat - two more times. (18 sc)For Round 5: 1 sc in the next two stitches, increase in the third stitch. Repeat - five more times. (24 sc)
- Rounds 6–71 sc in each stitch around. (24 sc each round) Cut the yarn, leaving a tail for weaving in.
Make Gills
Gills Round 1:
- Round 1Work into the back loops of the last round of the mushroom cap using tan yarn to create the gills with two double crochets together (2 dc tog) around. (12 stitches)(2)
- Round 2Gills Round 2: Decrease in the back loops only around. (6 stitches)Close up the opening and weave in the ends.
Make Stem
Stem Round 1:
- Round 1Work into the front loops of the round where the gills began using tan yarn, 1 sc in each loop around. (12 sc)
- Round 2Stem Round 2: 1 sc in each stitch around. (12 sc)
- Round 3In Stem Round 3: 1 sc in the next three stitches, increase in the fourth stitch. Repeat - two more times. (15 sc)
- Round 4Stem Round 4: 1 sc in each stitch around. (15 sc)
- Round 5Stem Round 5: 1 sc in the next four stitches, increase in the fifth stitch. Repeat - two more times. (18 sc)
- Round 6In Stem Round 6: 1 sc in each stitch around. (18 sc)
- Round 7Stem Round 7 (Decrease Round): 1 sc in the next stitch, then invisible decrease. Repeat - five more times. (12 sc)Stuff the stem.
- Round 8Stem Round 8 (Decrease Round): Decrease in each stitch around. (6 sc)Close up the opening and weave in the ends.
More pictures
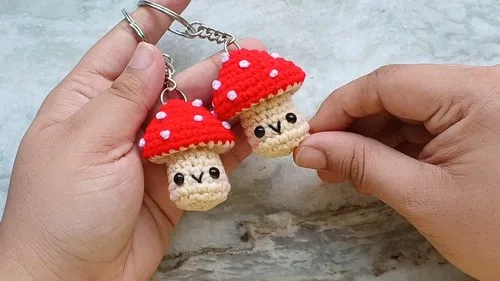
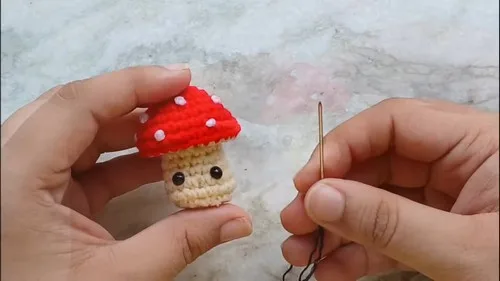
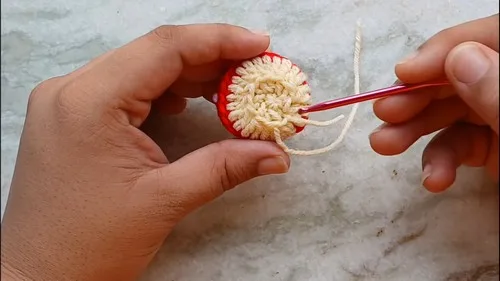
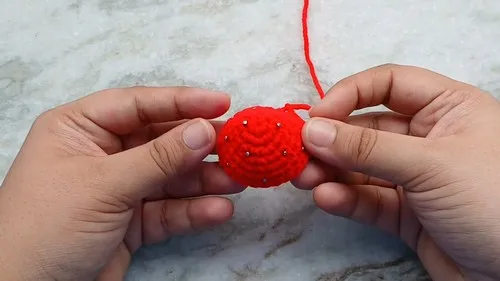
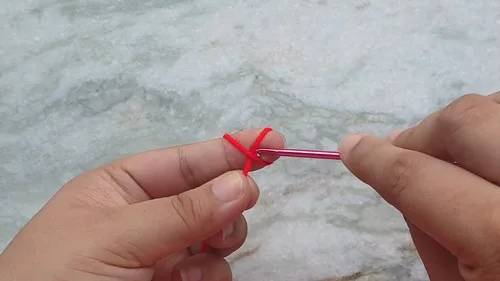
Before the first stitch
- Check you have all four yarn colors ready: red, white, tan, black.
- Read through the gills section once before you begin the cap.
- Have a stitch marker or paper clip nearby to track your rounds.
Minutes per piece
- Mushroom cap about 30 minutes, because it moves through four rounds with steady increases
- Gills and stem about 45 minutes, because the loop work is fiddly and the stem builds slowly
Other yarns that work
- Cotton, worsted weight Gives a crisper cap and cleaner stitch definition, but needs a touch more tension control with a 3 mm hook.
- Acrylic, DK weight Makes a smaller, lighter mushroom, so you may want a smaller hook and less stuffing overall.
Where it ends up
- Clip it to a backpack zipper for a small daily companion.
- Hang it from keys, paired with a plain keyring.
- Sit it on a shelf with other tiny amigurumi, no keychain hardware needed.
Joining up
- Step 1 Add safety eyes between rounds 4 and 5, two stitches apart.
- Step 2 Embroider a smile with black yarn between rounds 4 and 5.
- Step 3 Add blush to the cheeks if desired.
- Step 4 Attach the keychain hardware.
Small notes
- Work loosely enough that your 3 mm hook glides, but tight enough to hide stuffing later.
- Keep your stitch marker on the last stitch of each round, not the first, so you don't lose count during increases.
Little questions
Can I skip the safety eyes and use beads instead?
Yes, black beads work just as well between rounds 4 and 5. Sew them the same two stitches apart for a balanced face.
Why work the gills into back loops only?
Back loops leave the front loops free for the stem later. This is what lets both pieces meet cleanly at the same round.
Do I need to stuff the mushroom before closing the gills?
Stuff the cap before you finish the gills round, since the opening closes fully after that. It's much harder to add stuffing afterward.
What if I don't want a keychain?
Skip the keychain blank entirely and finish by weaving in your ends. The mushroom stands nicely on its own without any hardware.
Original pattern: https://crocheteverything.com/crochet-cute-mushroom-pop-amigurumi-keychain-tutorial/

About the Author
Tamsin Okoro Who writes the patterns at Yarn Gallery, how a pattern gets from the hook to the page, and what this site will never do.