About This Pattern
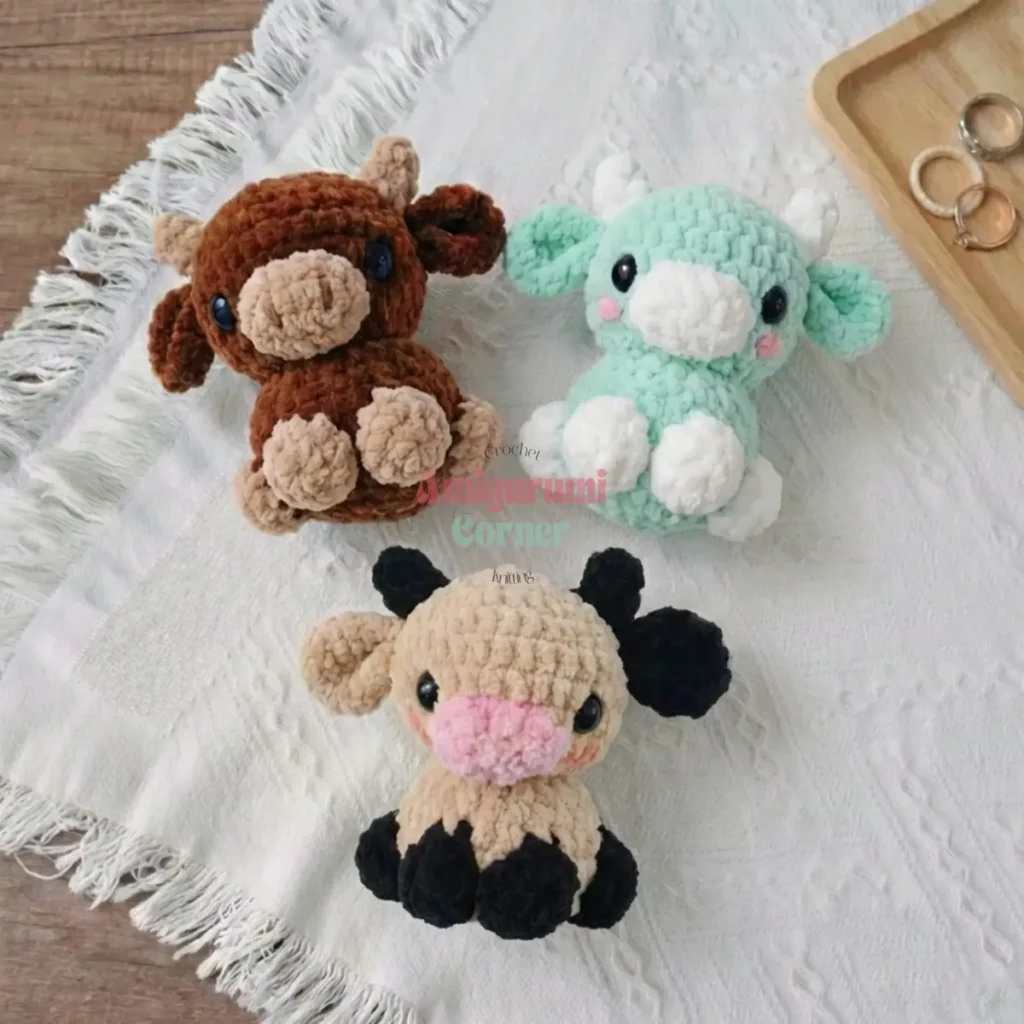
This little cow sits just 9 cm tall. It fits easily into a bag or a pocket. The body works in one continuous spiral, so there's no joining as you go. Ears, muzzle, and horns are small enough to finish in one sitting. It needs plush yarn, a steady hand for the color changes, and a bit of patience for the eye placement. Good for an evening when you want something small to hold.
In the basket
Abbreviations
- ch
- Chain
- dc
- Double Crochet
- dc4tog
- Double Crochet 4 Together (worked as a closed cluster)
- dec
- Decrease (invisible decrease)
- inc
- Increase (2 sc in same stitch)
- mr
- Magic Ring
- sc
- Single Crochet
- sl st
- Slip Stitch
- st(s)
- Stitch(es)
Little cow keychain crochet pattern for a quick amigurumi
Body and Head
Work any rounds noted as contrast color in a second color of yarn.
- Round 16 sc in mr. (6)
- Round 2inc around. (12)
- Round 3inc around. (24)
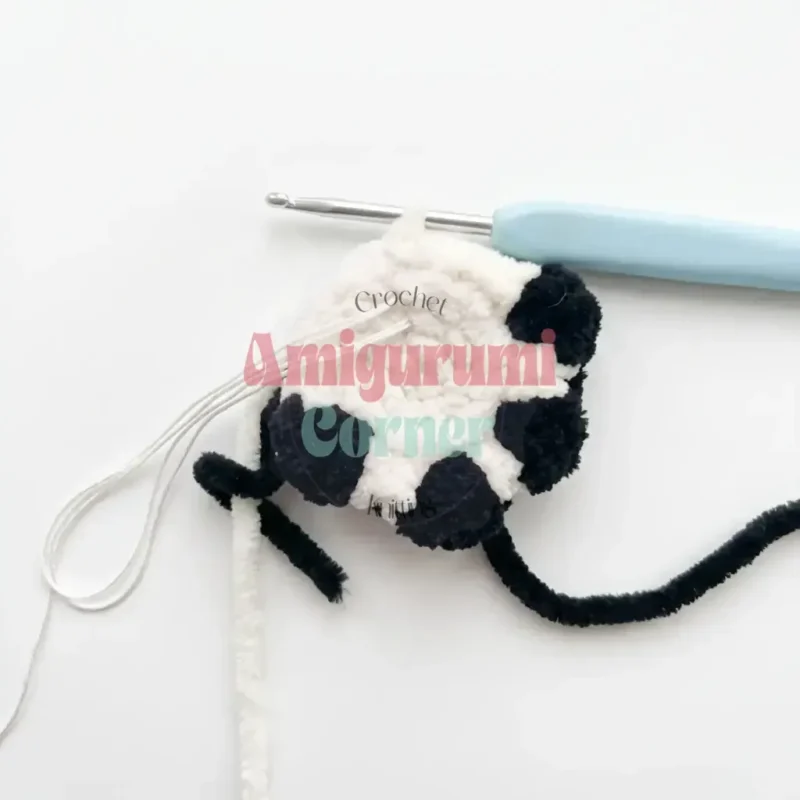
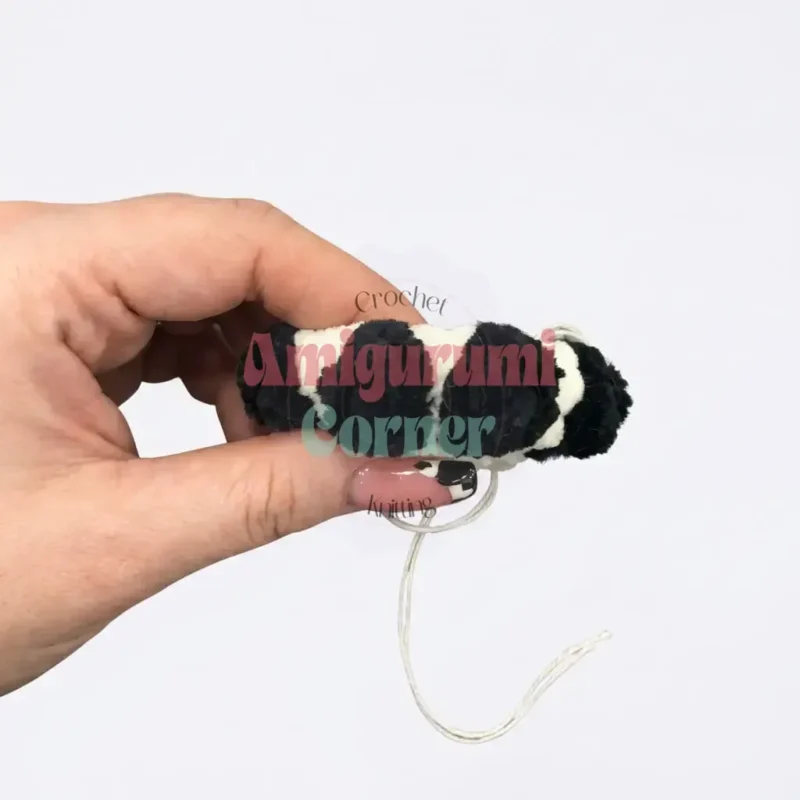
- Round 46 sc, 4 dc in next st, 3 sc, 4 dc in next st, 2 sc, 4 dc in next st, 3 sc, 4 dc in next st, 6 sc. (36)
- Round 56 sc, dc4tog, 3 sc, dc4tog, 2 sc, dc4tog, 3 sc, dc4tog, 6 sc. (24)Take your time with Rnds 4-5. The four-stitch clusters that build and then close in these two rounds form the cow's signature rounded snout shape. Work them slowly and count carefully - this section sets the tone for the whole face.
- Rounds 6–8sc around. (24)
- Round 9dec around. (12)
- Round 10inc around. (24)
- Round 11(1 sc, inc) repeat around. (36)Work any rounds noted as contrast color in a second color of yarn.
- Round 128 sc, 1 sc, 27 sc. (36)
- Round 137 sc, 3 sc, 26 sc. (36)
- Round 146 sc, 5 sc, 25 sc. (36)
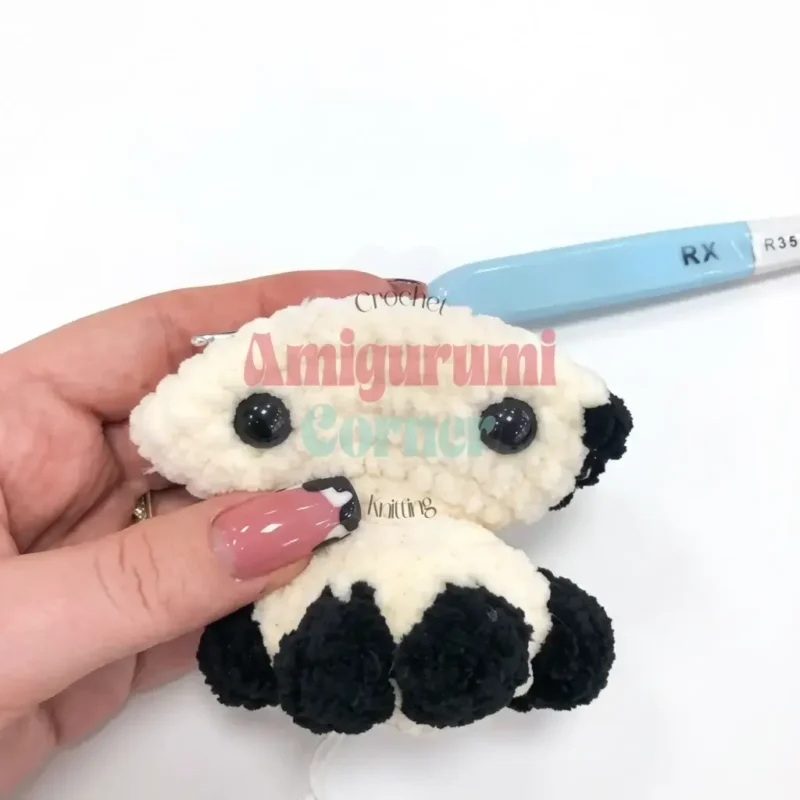
- Round 155 sc, 7 sc, 24 sc. (36)Insert the safety eyes between Rnds 13 and 14, spacing them 10 stitches apart.
- Round 164 sc, dec, 4 sc, dec, (4 sc, dec) repeat 4 times. (30)
- Round 173 sc, dec, 1 sc, 2 sc, dec, (3 sc, dec) repeat 4 times. (24)
- Round 182 sc, dec, 2 sc, dec, (2 sc, dec) repeat 4 times. (18)
- Round 19(sc, dec) repeat 6 times. (12)Stuff the head firmly before continuing to the final round.
- Round 20dec around. (6)Fasten off, leaving a tail for closing the opening. Weave in the end. Use dental floss or strong thread to add a small gathering stitch around the eyes for extra definition.
Muzzle
Chain 4, starting in the 2nd chain from hook.
- Row 12 sc, 3 sc in next st, working across the opposite side of the foundation chain: 2 sc, sl st.Sew the muzzle on with the wrong side facing out, centered between Rnds 11 and 13 of the head.
Ears (make 2)
- Round 16 sc in mr. (6)
- Row 2ch 1, turn, inc in each of the 6 sts, join both edges together with a sl st. (12)Sew each ear on between Rnds 14 and 15, positioning them 3-4 stitches away from the eyes.
Horns (make 2)
Chain 3, starting in the 2nd chain from hook.
- Row 11 sc, 1 dc, join both edges together with a sl st.Sew each horn on with the right side facing out on one side and the wrong side facing out on the other, positioning them directly under the ears.
More pictures
Before the first stitch
- Check you have beige, pink, and black plush yarn on hand before starting.
- Read through the Body and Head rounds once, since they run in a continuous spiral with no joins.
- Have your stitch marker ready before Round 1, so you never lose your place in the spiral.
Minutes per piece
- Body and Head about 3 hours because it runs 18 rounds with shaping throughout
- Muzzle, Ears, Horns, and assembly about 1-2 hours because the small parts are fiddly and eye placement needs care
Other yarns that work
- Cotton, worsted weight Gives a firmer, less fuzzy finish. Stitches show more, so tension needs to stay even. Same E-4 hook works fine.
- Acrylic, worsted weight Lighter drape than plush yarn, so the body may look less plump. Stuffing shows through more easily, so pack it tighter.
Where it ends up
- Clip it to a backpack zipper for a small daily companion.
- Give it as a bag charm alongside a keyring and a small notebook.
- Set it on a desk shelf next to other mini amigurumi for a tiny collection.
Joining up
- Step 1 Stuff the Body and Head piece firmly and evenly, checking that the shape stays smooth and round before closing the final decrease round.
- Step 2 Attach the safety eyes at the marked position between Rnds 13 and 14, spacing them 10 stitches apart, then gently gather the surrounding stitches with dental floss for a crisp eye shape.
- Step 3 Using the yarn tail, sew the Muzzle onto the face with the wrong side facing out, centering it between Rnds 11 and 13.
- Step 4 Sew both Ears in place between Rnds 14 and 15, positioning each one 3–4 stitches from the eyes for a balanced, symmetrical look.
- Step 5 Sew both Horns directly beneath the ears, alternating which side faces out on each one so they curve naturally.
- Step 6 Weave in every remaining yarn tail on the wrong side of the work, trimming the ends close to the fabric.
Small notes
- Use the E-4 hook and keep your tension snug. Loose stitches let stuffing peek through on a piece this small.
- Mark Round 1 clearly with your stitch marker. The continuous spiral gives no natural stopping point to check your place. The muzzle and horns, by contrast, are worked in short turned rows.
- Gather the eye area with dental floss, not yarn. Floss holds the shape crisp under the pull of the safety eyes.
- This pattern is written in US crochet terminology.
- Gauge isn't critical here - just aim for a tight enough tension that stuffing doesn't peek through your stitches. Made with the recommended worsted-weight plush yarn and an E-4 (3.5 mm) hook, the finished cow measures about 3.5 inches (9 cm) tall.
- Master the invisible decrease before Rnds 16-20, since those rounds rely heavily on decreases to shape the top of the head - practicing beforehand keeps your shaping smooth instead of pointy or lumpy.
- Stuff a little at a time rather than cramming it all in at the end - this keeps the stuffing distributed evenly and prevents the final rounds from puckering.
Little questions
Why is the Body and Head worked in a spiral?
Continuous rounds keep the shape smooth without a seam. A stitch marker is essential here since there's no join to guide you.
How do I keep the eyes even?
Place them between Rounds 13 and 14, spacing them 10 stitches apart. Gathering with dental floss afterward tightens the shape around each eye.
Can I skip the fiberfill and use scrap yarn instead?
Fiberfill gives the most even, round shape for a piece this size. Scrap yarn tends to clump and can distort the smooth head shape.
Why does the muzzle sew on with the wrong side facing out?
It gives the muzzle a slightly raised, textured look against the smooth head. Center it between Rounds 11 and 13 for the right placement.
Original pattern: https://amigurumicorner.com/mini-cow-keychain-crochet-pattern-easy-9-cm-plush-amigurumi/

About the Author
Tamsin Okoro Who writes the patterns at Yarn Gallery, how a pattern gets from the hook to the page, and what this site will never do.